
Your Dyson air purifier suddenly stops responding, the filter light won’t turn off, or it’s stuck on an error code. You reach for the remote—only to find it missing, broken, or with dead batteries. Sound familiar? The good news: every Dyson model includes physical controls that let you perform a complete reset without any remote at all. This guide walks you through the exact button combinations for your specific model, plus troubleshooting tips when things don’t go as planned. Whether you’re dealing with a TP07 tower or HP04 heating model, you’ll have your air purifier functioning like new in minutes.
Find Your Dyson Model Number Before Starting
Check the base or back of your unit before attempting any reset procedure. The model number appears on a small silver sticker—TP07, HP04, DP02, etc.—and determines which reset sequence you’ll need to use. This critical step prevents wasted time with incorrect methods that won’t work for your specific unit.
- TP series: Tall tower purifiers (cooling only)
- HP series: Heating + cooling purifiers with thermostat functions
- DP series: Compact desktop models designed for smaller spaces
- BP series: Bladeless tower designs with different button layouts
Pro Tip: Take a photo of your model number with your phone before you begin—this saves you from having to bend down repeatedly to check instructions mid-process.
Physical Button Location Identification
Press your unit’s power button to confirm it’s responsive before starting the reset. If the button feels sticky or unresponsive, clean around it with a dry microfiber cloth to remove dust buildup that could interfere with the reset process. For touch-sensitive models (TP04+ and newer), ensure your hands are dry and press firmly but gently on the control surface.
TP Series Tower Reset Steps for No-Remote Situations
TP01/TP02/TP03 Reset Without Remote Control
- Power on the unit (even if displaying error codes or acting strangely)
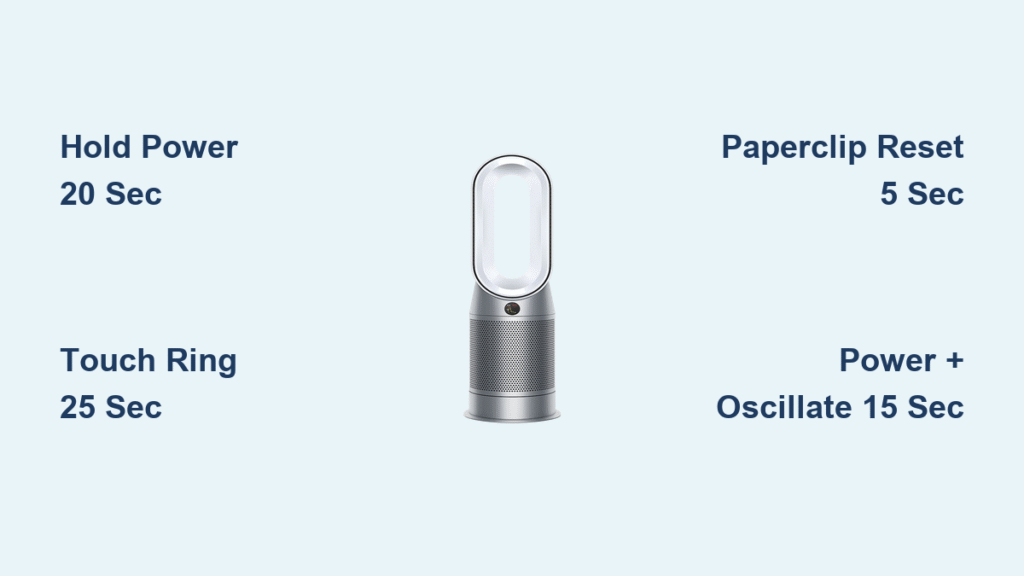
- Press and hold the Power button on top for exactly 20 seconds—use a timer on your phone
- Watch the display cycle through all settings while continuing to hold
- Release when screen goes black—unit powers off completely
- Wait 10 seconds, then press Power once to restart
- Factory settings restored—Wi-Fi cleared, filters reset to default
Common mistake: Releasing too early when the display changes—wait until the screen is completely dark before letting go.
TP07/TP09 Touch Controls Reset Procedure
- Locate the touch ring on top of the amplifier housing
- Touch and hold the power icon for 25 seconds (not just a quick tap)
- LED ring will flash white rapidly, then turn off completely
- Unit restarts automatically with default settings—no need to power on manually
Visual cue: The white light will pulse faster as the reset completes—keep holding until it stops entirely.
HP Series Heating Model Reset Without Remote
HP01/HP02/HP04 Physical Reset Button Method
- Find the recessed button near power cord entry point on the base
- Use paperclip (not metal!) to press reset for 5 full seconds
- Listen for 3 distinct beeps—this confirms reset initiation
- Display shows “rSt” for 2-3 seconds confirming reset complete
- Unit restarts in 30-60 seconds with fresh settings
Safety note: Always unplug your HP model before attempting this reset since heating elements could be hot.
HP07/HP09 Touch Controls Reset Sequence
- Press Power + Oscillation buttons simultaneously—both must be pressed at same time
- Hold 15 seconds until unit powers down with audible click
- Automatic restart loads factory defaults within 45 seconds
- Temperature settings reset to 20°C (68°F)—adjust after reset completes
Time estimate: This process takes approximately 2 minutes from start to full operational status.
Filter Reset Without Remote After Replacement

Model-Specific Filter Counter Reset Techniques
Different button combinations reset the filter counter depending on your model:
- TP/DP models: Hold Power + Night Mode buttons together for 10 seconds
- HP models: Hold Power + Temperature down simultaneously for 10 seconds
- BP models: Hold Power + Speed increase buttons for 10 seconds
Visual confirmation: The filter indicator will either return to 100% or the unit will emit a single confirmation beep. If you don’t see or hear this, repeat the process.
Manual Filter Status Check Without Remote
Press and hold Information button for exactly 3 seconds to see remaining filter life—no remote needed. The LED indicator will flash a specific pattern:
– Green: 75-100% filter life remaining
– Amber: 25-74% filter life
– Red: Less than 25%—time to replace
Expert note: This status check works even when Wi-Fi is disconnected—perfect for troubleshooting when your remote is missing.
Wi-Fi Reset When Remote Is Missing
Smart Model Setup Mode Activation
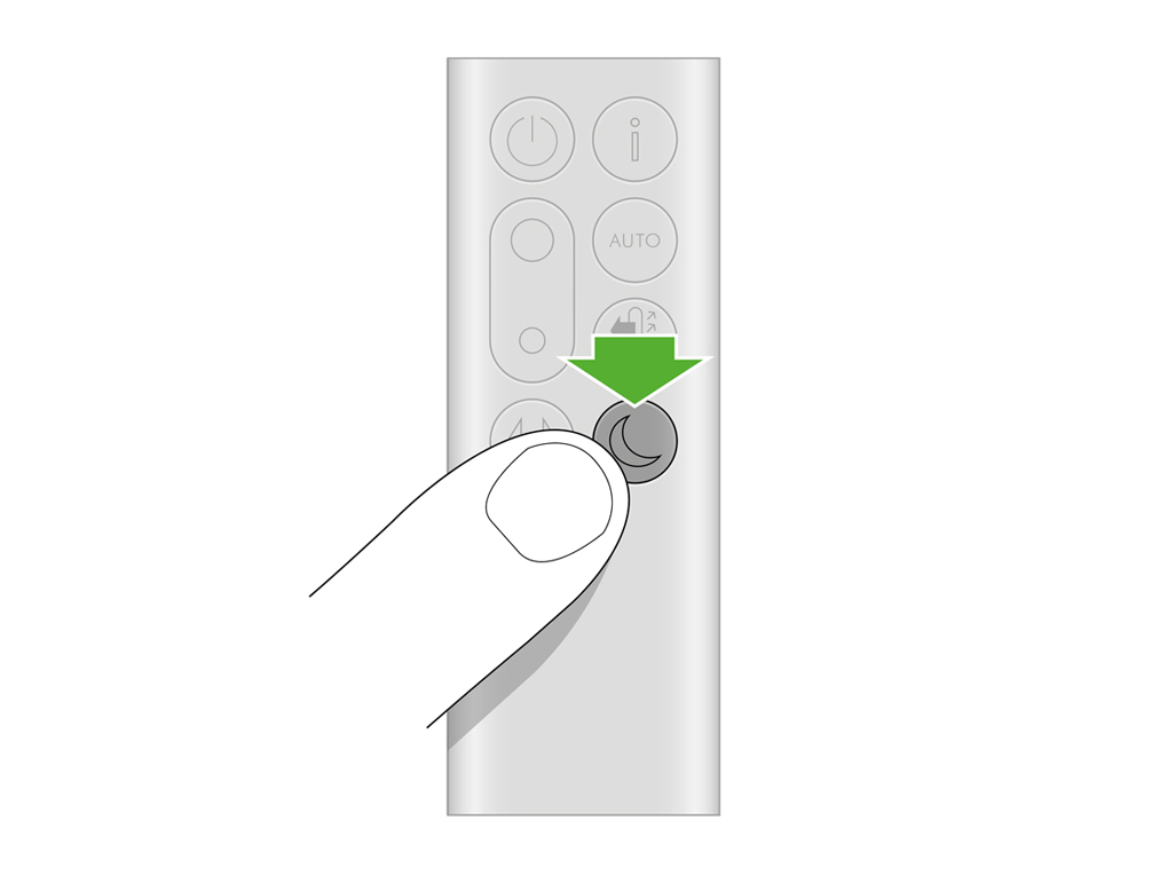
- Press Standby button for 20 seconds—count slowly to be precise
- Wi-Fi light changes from blue to flashing amber/orange
- Release and wait 15-20 seconds for solid blue light to return
- Open Dyson Link app on your smartphone to reconnect immediately
Critical timing: If you release too early, the unit won’t enter setup mode—wait until the light pattern changes completely.
Alternative Wi-Fi Reset for Stubborn Connections
- Unplug for full 30 seconds—set a timer to be sure
- Plug back in while holding any physical button firmly
- Keep holding 10 seconds after power returns
- Setup mode activates automatically—Wi-Fi indicator blinks rapidly
Pro tip: After reconnecting via app, rename your purifier with a memorable name like “Living Room Purifier” instead of the default code—this makes future remote control easier.
Reset Not Working? Immediate Troubleshooting
Power Cycle Method for Unresponsive Units
- Unplug unit completely from wall outlet
- Wait full 2 minutes—this allows capacitors to discharge
- Plug back in and retry reset sequence with precise timing
- Test basic functions before attempting another reset
Why this works: Many “stuck” errors occur because residual power remains in the system—waiting 2 minutes eliminates this issue.
Button Cleaning Fix for Sticky Controls
- Wipe around buttons with dry microfiber cloth using circular motions
- Remove dust/debris with compressed air (hold can upright)
- Try firmer pressure without forcing—touch controls sometimes need more contact
Warning: Never use liquids near button areas—moisture damage isn’t covered under warranty.
Post-Reset Setup Without Remote
Basic Function Control Using Physical Buttons
Without remote, navigate all features through these physical controls:
- Speed: Press + and – buttons (1-10 levels with tactile feedback)
- Oscillation: Dedicated rotation button with LED indicator
- Auto mode: Press leaf symbol button—unit adjusts based on air quality
- Night mode: Moon symbol button dims display and reduces noise
- Timer: Clock symbol (where available) for 2-8 hour auto-shutoff
Time-saving shortcut: After resetting an HP model, press the Auto button twice to quickly return to your preferred temperature setting pattern.
Permanent Remote Solutions When Remote Is Gone
Dyson Link App Setup Process
- Download Dyson Link from App Store or Google Play
- Connect via Wi-Fi following in-app prompts—takes under 5 minutes
- Access full scheduling and advanced settings from your phone
- Create custom routines like “sleep mode” or “allergy season boost”
Pro tip: Enable notifications in the app to receive filter replacement reminders—no more guessing when it’s time for maintenance.
Safety During Reset Procedures
Always follow these critical safety steps:
– Unplug before any manipulation—especially with HP heating models
– Keep hands completely dry when pressing buttons
– Use plastic (never metal) for recessed reset buttons
– Let HP models cool for 30 minutes before resetting
– Reset procedures never void warranty when performed correctly
Urgent warning: If you smell burning during reset, unplug immediately and contact Dyson support—do not continue using the unit.
Quick Model Reference for Emergency Situations
| Model | Reset Method | Button Location | Time Required |
|---|---|---|---|
| TP01-03 | Hold Power 20 sec | Top circular amplifier | 2 minutes |
| TP04+ | Hold Power 25 sec | Touch ring top | 2.5 minutes |
| HP01-03 | Paperclip reset 5 sec | Base near power cord | 3 minutes |
| HP04+ | Power + Oscillation 15 sec | Touch controls top | 2 minutes |
| DP01-04 | Hold Power 25 sec | Top surface | 2.5 minutes |
| BP01-02 | Hold Power 30 sec | Front of base | 3 minutes |
Final verification step: After any reset, run your unit on maximum speed for 10 minutes to verify proper operation and clear any remaining error states. Listen for unusual noises and check that air output feels strong from all vents.
Your Dyson is now restored to factory settings—all without touching a remote. The physical controls give you complete access to every function, and with the Dyson Link app, you’ll never need to hunt for that missing remote again. Keep this guide bookmarked for future reference, and consider taking a photo of your model’s button layout for quick access during your next maintenance session.


