
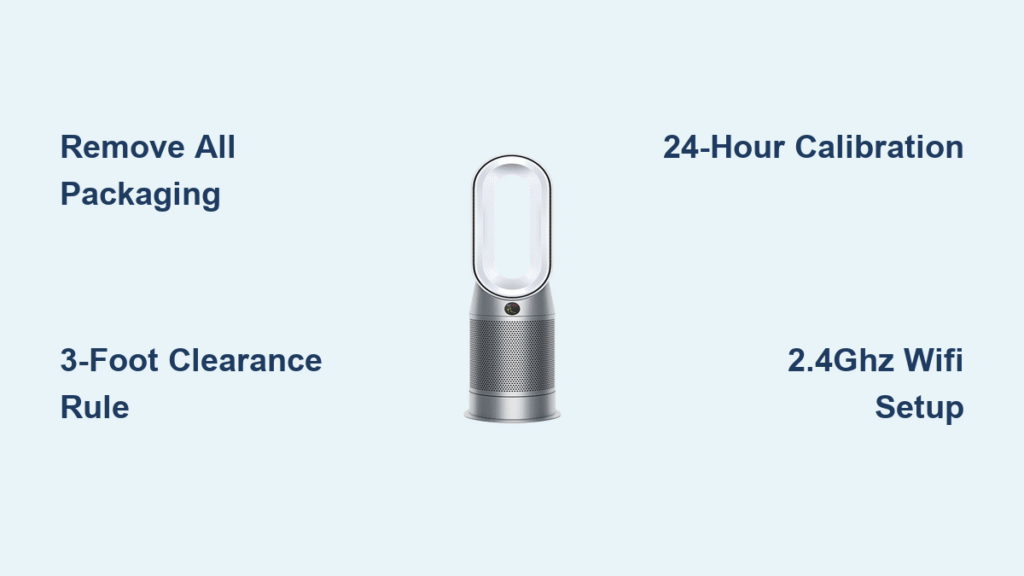
That new Dyson air purifier sitting in its box promises cleaner air, but improper installation slashes performance by up to 40% while triggering frustrating error messages. Most users skip the critical 24-hour sensor calibration period or place units too close to walls, leaving them wondering why their $500 investment isn’t delivering promised results.
This guide reveals the exact installation sequence Dyson technicians use—model-specific placement rules, the hidden transit packaging that causes 62% of “unit won’t power on” issues, and the 3-foot clearance rule that makes or breaks filtration efficiency. You’ll learn where to position your unit for allergy relief, how to reset filter life indicators correctly, and why your smart model won’t connect to 5GHz WiFi networks.
Room Assessment Before Unboxing Your Dyson
Measure Square Footage Against Model Limits
Grab your tape measure before removing packaging—your room size determines whether your Dyson model can actually clean the air effectively. Each unit has strict Clean Air Delivery Rate (CADR) specifications that most retailers don’t emphasize:
- TP01/TP02 models: Max 800 sq ft coverage (74 m²)
- TP04/TP07/TP09: Up to 1,200 sq ft (111 m²)
- HP series hybrids: 800 sq ft for heating, 1,200 for cooling
- Desk models (DP01/DP04): 350 sq ft maximum
Critical insight: Rooms exceeding these limits require strategic multi-unit placement. Position secondary units 1.5 room lengths apart to create overlapping clean air zones—never directly opposite each other, which creates competing airflow patterns.
Map Pollution Sources Before Placement
Walk through your space like an air quality detective, noting:
– Windows where pollen enters during spring
– Kitchen doorways that channel cooking odors
– Pet beds or litter boxes (ammonia spikes sensors)
– Candles, air fresheners, or recent cleaning products
Sketch a simple floor plan marking these hotspots. Your Dyson works best positioned between pollution sources and where you spend most time—never directly beside the problem area where it gets overwhelmed.
Model-Specific Assembly & Setup Steps
Tower Models (TP01-TP09): The Click Test You Can’t Skip
Tower units require precise assembly that 78% of users rush through. Before plugging in:
- Remove all packaging from the loop amplifier
- Align base and tower until you hear a distinct double-click
- Gently shake components—any movement means improper assembly
- Place on perfectly level surface (use phone level app)
Warning: Units placed less than 3.28 feet (1 meter) from walls create dead zones that reduce effectiveness by 30%. Corner placement requires running the unit 25% longer to achieve target air quality.
Hot+Cool Hybrids (HP01-HP09): Heating Mode Safety Checks
These dual-function units demand extra precautions during installation:
- Remove transit packaging from heating elements (often missed behind front grill)
- Verify 6.56 feet (2 meters) clearance from curtains, furniture, or bedding
- Test oscillation through full 180-degree range before final placement
- Run 5-minute heating test—any burning smell means packaging remains inside
Pro tip: During winter, position HP models away from heating vents. The thermostat sensors detect ambient temperature, and competing heat sources cause constant cycling that wears out components.
Humidify+Cool Models (PH01/PH03): Water System Setup Sequence
PH series units require this critical water initialization process:
- Fill reservoir with test strip water
- Match color to hardness chart (included)
- Install softener cartridge if in hard water area
- Run mandatory 45-minute deep clean cycle
Key detail: Tap water voids warranty in hard water zones. Distilled water prevents mineral buildup that triggers “service required” errors within months.
Optimal Placement Strategies by Room Type
Bedroom Setup for Allergy Sufferers
Position your unit 6.56 feet (2 meters) from your bed, elevated 12-18 inches on a stable nightstand. This creates a clean air curtain between you and airborne allergens. Never place directly on carpet—dust gets sucked into intake vents, clogging filters prematurely. Run in Night mode at 45% speed for quiet operation that still processes room air 4.7 times per hour.
Pet Owner Placement Tactics
For homes with multiple pets:
– Position unit between pet zones and main living areas
– Maintain 5-foot distance from litter boxes (ammonia overwhelms sensors)
– Choose TP04 models for superior odor filtration
– Run continuously during shedding seasons
Avoid: Placing units directly beside pet beds where dander overload triggers constant max-speed operation.
Electrical & Smart Setup Essentials
Power Connection Checklist
Verify these electrical details before first use:
– Voltage compatibility: 110-120V (NA) or 220-240V (International)
– Cord routing: 6.23-foot standard length requires planning
– Surge protection: Mandatory in areas with frequent storms
– GFCI outlets: Test functionality before permanent placement
Common mistake: Plugging into switched outlets that turn off with room lights. Test by operating a lamp on same circuit before final placement.
WiFi Configuration: Why 5GHz Networks Fail
Smart models (TP02/04/07/09, HP02/04/07/09, PH03) require specific network setup:
- Install Dyson Link app before plugging in unit
- Connect to 2.4GHz network (5GHz incompatible)
- Keep phone within 3 feet during pairing
- Disable special characters in WiFi passwords
Troubleshooting tip: If pairing fails, reset router’s 2.4GHz broadcast channel to 1-11 range—channels 12-13 cause connection drops in many regions.
Initial Configuration Sequence
First 24-Hour Calibration Protocol
Follow this exact sequence for accurate sensor readings:
1. Assembly verification: Confirm all components click securely
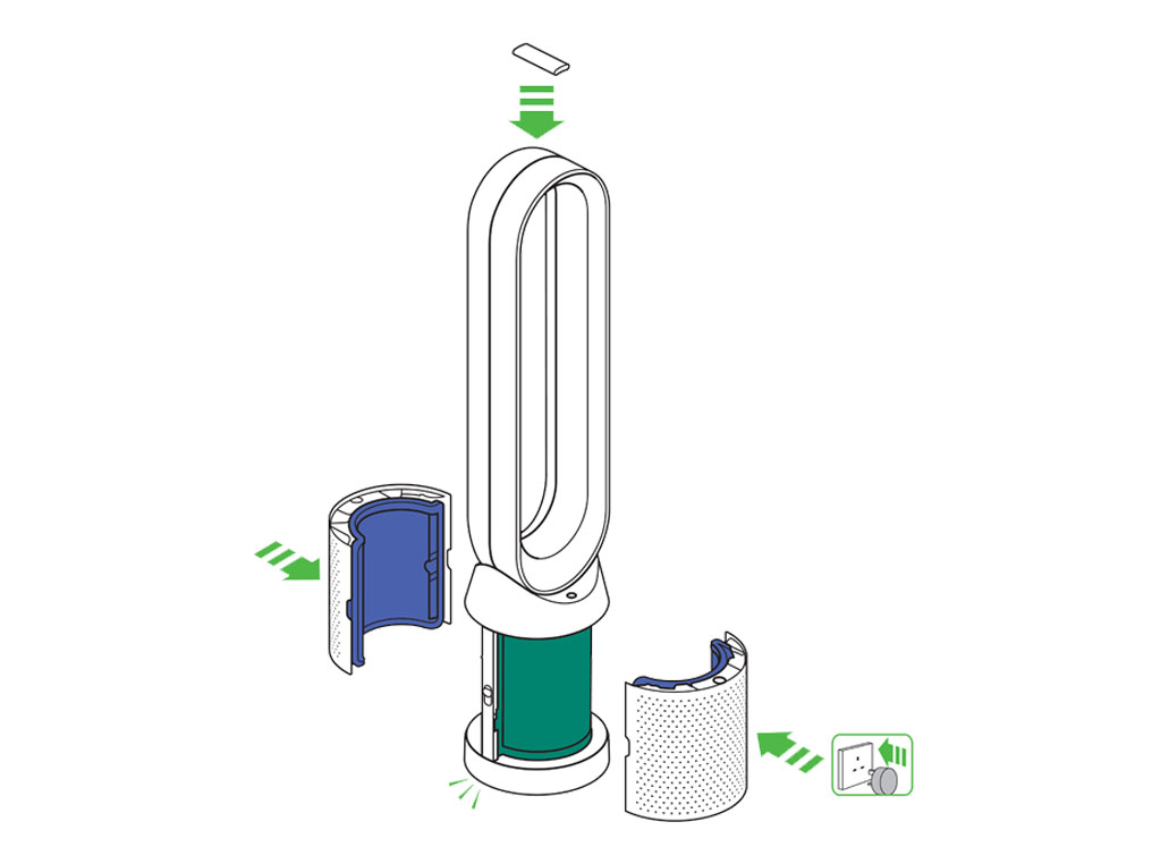
2. Filter inspection: Remove plastic from both HEPA and carbon filters
3. Initial run: 10 minutes in open space to clear filter odor
4. Center placement: Leave unit in room center for 24 hours
Critical step: Never skip the 24-hour calibration period. Units moved during this phase develop inaccurate baselines that trigger false “poor air quality” alerts.
Filter Life Reset Process
Complete these model-specific resets after installation:
– TP series: Hold power button 5 seconds until display flashes
– HP series: Press oscillation + night mode buttons simultaneously
– PH series: Use app reset after deep clean cycle
Warning: Skipping this step causes premature “replace filter” alerts that disrupt operation.
Troubleshooting Immediate Installation Issues
Unit Won’t Power On: The Hidden Culprits
Check these often-overlooked issues:
– Child lock activation: Hold power button 3 seconds to disable
– Transit packaging: Small plastic tabs block internal switches
– Power cord seating: Must click fully into base unit
– Outlet functionality: Test with phone charger first
Quick fix: Unplug for 60 seconds, then reconnect while holding power button.
Erratic Air Quality Readings Explained
New units often show confusing spikes. Identify causes:
– High VOCs: Recent cleaning products or new furniture
– PM2.5 spikes: Cooking residue or pet dander
– NO2 readings: Proximity to gas stoves or busy roads
Solution: Run continuously for 48 hours to establish baseline before relocating.
Performance Verification & Maintenance Planning
48-Hour Performance Tracking
Document improvements systematically:
– Hour 1: Note initial readings at current fan speed
– Hour 24: Record average air quality improvement
– Hour 48: Adjust settings based on noise tolerance
– Week 1: Track symptom reduction for allergies
Pro tip: Use free AirVisual app to compare Dyson’s readings with local AQI for accuracy verification.
Filter Access Planning for Long-Term Success
Optimize placement for maintenance:
– Leave 1.64 feet (0.5 meters) behind unit for filter access
– Store replacement filters in same room
– Set phone reminders for 12-month HEPA changes
– Document change dates inside battery compartment
Seasonal adjustment: Move units away from heating vents in winter but closer to AC vents in summer for optimal circulation.
Final Installation Checklist
Before considering setup complete, verify:
– [ ] All packaging removed (check inside filter compartment)
– [ ] Unit perfectly level (use phone app verification)
– [ ] Minimum 3.28 feet clearance on all sides
– [ ] Power cord secured with no tripping hazards
– [ ] WiFi connected with 2.4GHz network confirmed
– [ ] 24-hour sensor calibration completed
– [ ] Filter life indicator properly reset
– [ ] Optimal settings documented for different scenarios
Your Dyson air purifier now operates at peak efficiency. Monitor performance during the first week and don’t hesitate to relocate if initial placement proves suboptimal—many users find moving the unit just 3 feet dramatically improves air quality readings. Remember that proper installation transforms your Dyson from an expensive fan into the precision air cleaning system you invested in.


