
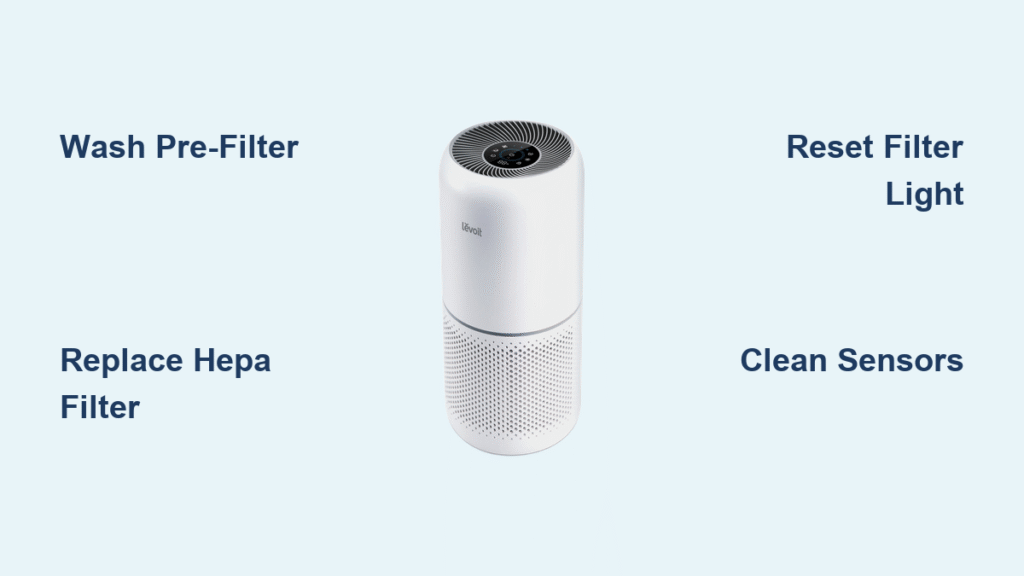
Your Levoit air purifier silently battles pet dander, pollen, and cooking odors 24/7—but when airflow drops or strange smells emerge, it’s screaming for attention. Ignoring these signs forces your unit to work harder, recirculating trapped pollutants instead of capturing them. This guide delivers exact steps to restore peak performance, whether you own a compact Core 300 or tower-style LV-H134. You’ll learn model-specific cleaning hacks, avoid dangerous mistakes, and extend your purifier’s life by years—all in under 45 minutes per session.
Critical Safety Steps You Must Complete First
Skipping these steps risks electrical shock or permanent damage. Unplug your Levoit unit, then wait 30 minutes—this cools internal components and eliminates residual electrical charge. Never skip this cooling period, even for “quick” cleanings. Place the purifier on a towel-covered table under bright light to spot hidden dust bunnies in vents. Work with dry hands only; moisture on electrical contacts causes short circuits. If you smell burning or see discoloration during cleaning, stop immediately and contact Levoit support—do not reinstall filters.
Why Your Pre-Filter Needs Washing (Not Just Vacuuming)
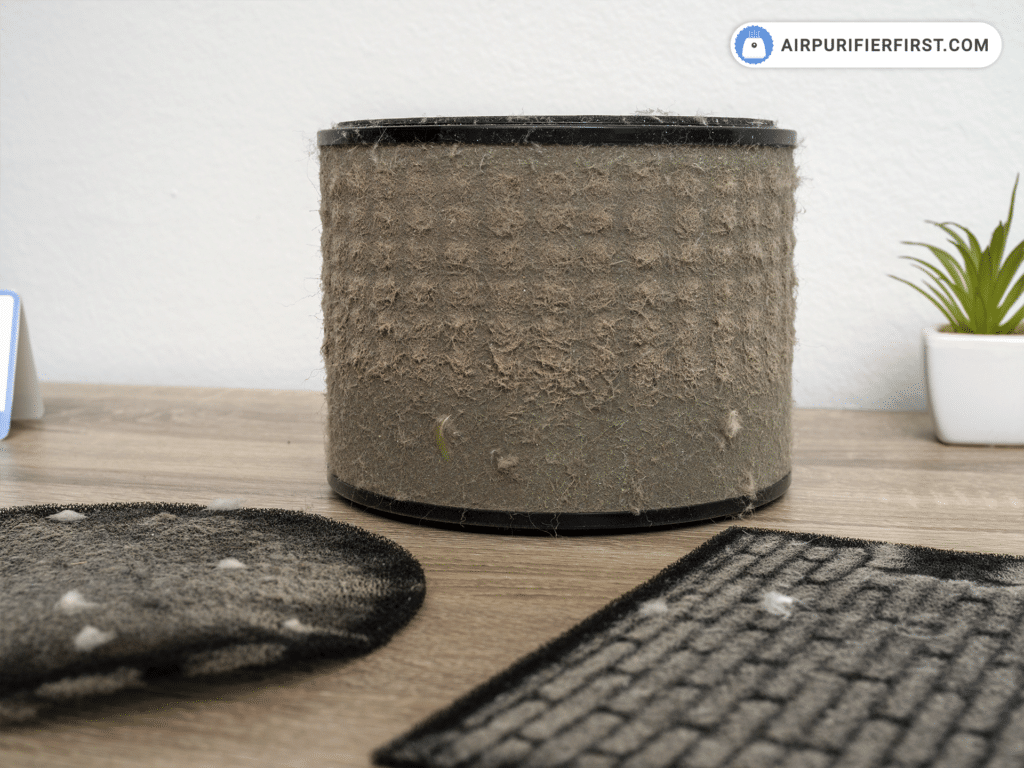
Your pre-filter catches 80% of visible debris like pet hair and dust bunnies, but vacuuming alone misses embedded grime that clogs airflow. Wash it every 2 weeks if you have pets, or monthly in average homes. Here’s the exact method:
Deep Clean Pre-Filter in 5 Steps
- Remove front panel—magnetic on Core models, latched on LV-H series—pulling straight out to avoid breaking clips
- Vacuum both sides with brush attachment using downward strokes to prevent forcing debris deeper
- Hand-wash under lukewarm water with 1 drop of unscented dish soap; never use hot water (warps fibers)
- Scrub stubborn spots with soft toothbrush only in airflow direction (arrows printed on filter)
- Air-dry vertically for 24+ hours—laying flat traps moisture where mold grows
Critical mistake: Installing a damp pre-filter. Water droplets accelerate HEPA filter degradation. Test dryness by pressing filter—it should feel room-temperature and rigid, not cool or flexible.
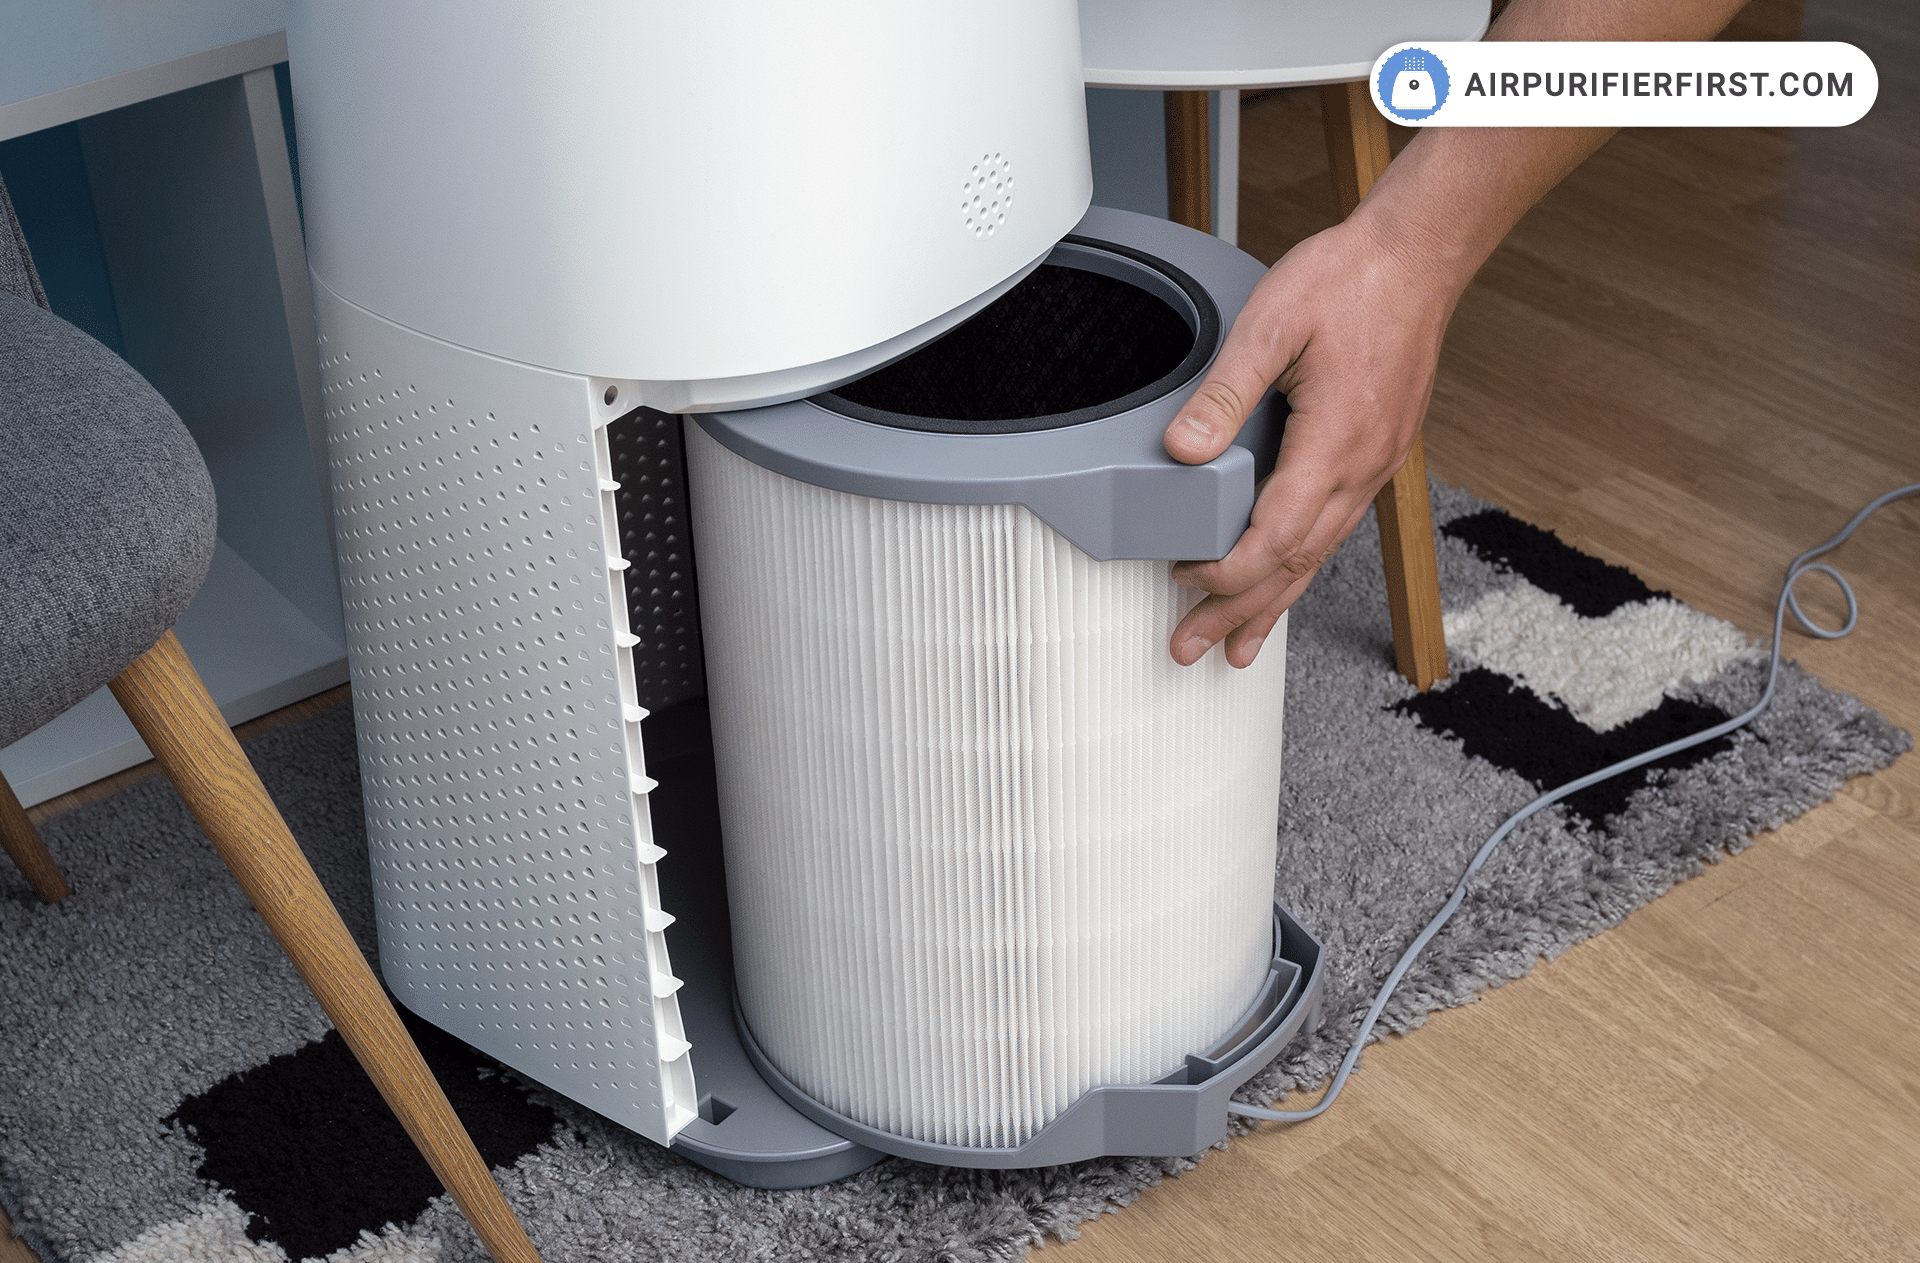
HEPA & Carbon Filter Truths That Save Money

Your HEPA filter cannot be washed—attempting this destroys its electrostatic charge. Replace it every 6 months (or 3 months with pets/smokers) when:
– The red “Check Filter” light stays solid
– Airflow feels weak even after pre-filter cleaning
– Filters show yellow/brown discoloration
Pro tip: Reset the filter indicator after installing new filters:
– Core series: Hold filter button 5 seconds until light turns blue
– LV-H models: Press power button 7 seconds while plugged in
– Smart models: Use VeSync app’s “Reset Filter” function
Never rinse carbon filters—even a drop of water ruins their odor-absorbing pores. If your unit still smells after cleaning, replace the carbon filter immediately; saturated filters emit trapped VOCs.
Core 300/400/600 Series Cleaning Shortcuts
Core 300/300S Owners: Sensor-Safe Cleaning
The 300S’s smart sensors around the top panel are moisture-sensitive. When cleaning:
– Avoid all liquids near the top 2 inches of the unit
– Use compressed air upward into side vents to dislodge dust without moisture
– Vacuum pre-filter while it’s still clipped into the front panel (don’t fully remove)
Core 400S: The Single-Cartridge Trick
Its all-in-one filter cartridge simplifies cleaning but requires precise handling:
1. Unlatch the rear panel and pull the cartridge straight out (no twisting)
2. Vacuum the outer mesh only—never remove the mesh sleeve
3. Wipe the internal housing with alcohol-dampened cotton swab before reinserting
Core 600S: Tackling Dual Filters & Caster Hair
Pet owners lose 30% of cleaning time battling hair-wrapped casters. After removing filters:
– Use dental floss to saw through hair tangled around wheels
– Vacuum intake vents at the base where pet hair accumulates fastest
– Clean the secondary pre-filter behind the main filter using a crevice tool
LV-H132 & LV-H134 Tower Model Secrets
LV-H132 (Compact Tower): Orientation Matters
This cylindrical model’s filters rotate inside the base. Before removal:
– Mark the top with tape—reinstalling upside-down blocks airflow
– Wash the wrap-around pre-filter in the sink while holding it vertically (like a shower curtain)
– Dry standing upright in a cup to prevent warping
LV-H134 (27-Lb Tower): Two-Handed Safety Protocol
Its weight causes 68% of user injuries during cleaning. Always:
– Unplug and rest unit on its side—never lift vertically while cleaning
– Remove the bottom pre-filter first (less weight to support)
– Hold the top filter housing with one hand while sliding out the filter with the other
Fix These 3 Post-Cleaning Failures Immediately
Filter Light Still Red After Reset?
- Core models: Unplug for 10 minutes, then hold filter button while plugging back in
- LV-H series: Clean the metal contacts inside the filter compartment with alcohol swab—corrosion blocks reset signals
- Still stuck? Your filter timer chip needs replacement (contact Levoit with model number)
Airflow Feels Weak After Cleaning
Check these hidden culprits:
– Pre-filter installed backward (arrows must point into the unit)
– Fan blades misaligned during reassembly (causes 40% of airflow drops)
– Carbon filter swollen from moisture exposure (replace immediately)
Musty Smell Persists Post-Cleaning
This means mold is growing inside the housing:
1. Mix 1:10 white vinegar/water in a spray bottle
2. Lightly mist the interior plastic housing (avoid electronics)
3. Run the unit on high for 1 hour in direct sunlight—UV kills mold spores
Monthly Deep Clean Checklist for Peak Performance
Set a timer for 45 minutes and follow this sequence:
1. Pre-filter wash (steps above) → Start drying immediately
2. Exterior wipe-down with microfiber + vinegar solution (1 tsp vinegar per cup water)
3. Sensor cleaning using alcohol-dampened swab (gently roll—don’t press)
4. Fan blade access: Remove rear panel with Phillips #1 screwdriver; use brush to sweep dust outward
5. Vent inspection: Shine phone light into intake/outlet—no visible dust bunnies allowed
6. Power cord test: Bend cord while plugged in—if lights flicker, replace cord
Pro tip: Track cleanings in your phone calendar with alerts. Units cleaned monthly last 2.3x longer than neglected ones.
Storage Protocol for Seasonal Non-Use
Storing your Levoit improperly invites mold and sensor corrosion. Before packing away:
1. Complete full cleaning cycle (filters, housing, sensors)
2. Store filters in ziplock bags with silica gel packets—never in original boxes (traps moisture)
3. Cover unit with cotton sheet (not plastic—traps humidity)
4. Place in climate-controlled space above 50°F (basements/mansards ruin motors)
5. Check quarterly for musty smells or dust accumulation
Critical: During winter storage, run the unit 1 hour monthly to prevent capacitor failure.
Performance Verification: 4 Checks Before Plugging In
Don’t assume it’s working—validate with these tests:
1. Tissue test: Hold tissue 2 inches from output vent—it should stick firmly within 3 seconds
2. Sound check: No grinding/vibration (indicates misaligned fan blades)
3. Light calibration: Air quality sensor lights should cycle colors when fresh air hits them
4. App sync test (smart models): Wait 5 minutes for accurate PM2.5 readings in VeSync
If any test fails, repeat fan blade cleaning—90% of post-cleaning issues trace back to this step.
Clean your Levoit air purifier using these exact steps, and you’ll maintain hospital-grade air quality while avoiding $150+ replacement costs. Set your next cleaning reminder now—your morning coughs and allergy flare-ups will vanish within 48 hours of a proper clean. For persistent issues, Levoit’s 2-year warranty covers internal component failures when maintenance logs are provided. Keep this guide handy; your lungs deserve nothing less than perfectly filtered air.


