
Your Levoit air purifier suddenly stops circulating clean air, or that filter replacement light won’t stop blinking. You know it’s time to open your unit—but what if you snap a plastic clip or misalign the filters during reassembly? Millions of Levoit owners face this dilemma every year. Opening your Levoit air purifier correctly is the critical first step for filter changes, deep cleaning, and fixing common performance issues. This guide delivers precise, model-specific instructions for Core 200S, 300/300S, LV-H132, and 400S/600S units—plus professional tips to avoid costly mistakes. You’ll learn exactly where hidden release tabs live, how to handle fragile components, and why proper filter orientation affects your air quality by up to 40%.
Critical Safety Steps Before Opening Your Levoit
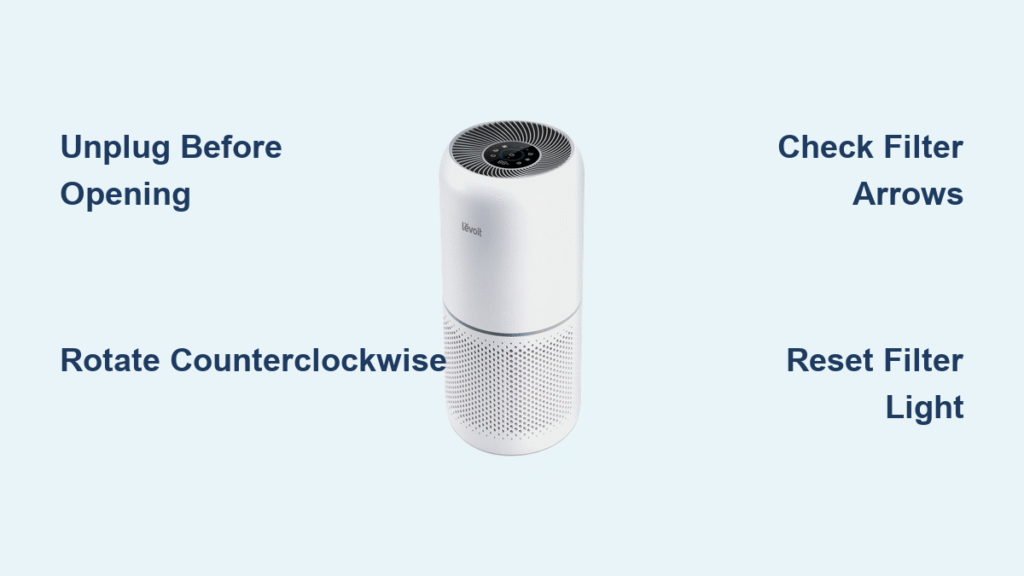
Complete Power Disconnection Protocol
Skipping this step risks electric shock or permanent damage. Unplug your Levoit air purifier from the wall outlet immediately—don’t rely on the power button alone. Wait a full 60 seconds after the fan stops spinning to allow internal capacitors to fully discharge. Never attempt this procedure with wet hands or in humid environments like bathrooms. If you smell ozone or notice discoloration on the exterior, stop immediately and contact Levoit support—this indicates serious electrical issues requiring professional repair.
Workspace Setup for Zero Component Loss
Clear a 3×3 foot area on a sturdy table near natural light. Lay down a microfiber cloth to prevent scratches on plastic parts. Gather these essentials: small magnetic tray for screws, smartphone for reference photos, soft-bristled brush for dust removal, and isopropyl alcohol for cleaning contacts. Pro Tip: Take a slow-motion video while opening your unit—it creates a perfect reassembly guide. Organize screws by size in separate containers labeled “top,” “base,” and “internal” to prevent cross-model confusion during reassembly.
Core 200S Twist-Lock Base Removal Technique
![]()
Precise Counterclockwise Rotation Method
Place your Core 200S upright with the LED display facing you. Locate the seam where the black base meets the white main body—this houses the twist-lock mechanism. Grip both sides firmly with thumbs on the bottom edge. Rotate counterclockwise exactly 30-45 degrees until you hear a distinct click. Forcing beyond this point cracks the plastic housing. If resistance feels uneven, check for hidden screws under warranty stickers near the power cord inlet. Lift straight up—never tilt—to avoid straining the internal wiring harness.
HEPA Filter Extraction Without Damage
With the base removed, you’ll see the cylindrical filter assembly secured by two spring clips. Pinch these clips inward while lifting the entire unit vertically. Never twist the filter housing—this misaligns the airflow sensor. Note the directional arrow on the filter frame pointing toward the fan (usually marked with “↑ AIRFLOW”). The exposed fan blades require gentle cleaning with compressed air—never insert tools that could unbalance the rotor. If the filter sticks, check for melted plastic residue from overheating on the housing rails.
Core 300/300S Top Cover Release System
Clip Disengagement Sequence for Control Panel
The 300 series hides 8-10 micro-clips under the top cover seam. Start at the rear near the carrying handle, inserting a plastic spudger (or fingernail) 0.5 inches deep. Apply upward pressure while sliding the tool toward the front—never pry vertically. Work clockwise around the unit, releasing 1-2 clips per section. When you hear faint pops, the cover is loose. Lift from the back first to avoid straining the control board ribbon cable. If the display remains connected, unplug the white 4-pin connector before setting the cover aside.
Dual-Layer Filter Cartridge Access
With the top removed, grasp the filter cartridge handle (or upper rim if handle is broken). Pull straight up with steady pressure—no wiggling. The cartridge contains both HEPA and carbon filters in one housing. For base separation, locate the two release tabs at 3 and 9 o’clock positions. Press both tabs inward while pulling the base downward in one smooth motion. Warning: The motor assembly weighs 3+ pounds—support it with your free hand to prevent gear damage. Clean the motor shaft with a dry cotton swab to eliminate grinding noises.
LV-H132 Front Panel Button Mechanism
Simultaneous Button Press Technique
The LV-H132’s front panel has recessed release buttons at the top corners, partially hidden by the handle. Place thumbs on both buttons, pressing inward with 2-3 pounds of force. Pull the panel toward you while maintaining button pressure—releasing too early jams the hinges. The panel swings down from the bottom like a door. If unresponsive, check for dust blocking the button slots using a toothpick. Never insert metal objects that could scratch the internal sensor array.
Three-Filter Layer Removal Order
Inside, you’ll find filters stacked vertically in this sequence: gray pre-filter (bottom), white pleated HEPA (middle), black carbon (top). Slide each filter straight out without tilting—the carbon filter’s pellet casing breaks easily if bent. Note the embossed airflow arrows: pre-filter arrows point inward toward the unit, carbon arrows point toward the fan. When reinstalling, the HEPA filter must sit flush against the rubber gasket—any gap reduces filtration efficiency by 25%. Clean the pre-filter slots with a vacuum crevice tool to prevent “clicking” noises during operation.
Core 400S/600S Heavy-Duty Top Assembly Removal

Even-Pressure Lifting for Large Units
These commercial-grade models have 12+ securing clips. Remove the 4 visible top screws first—two near the handle, two at the rear. Place palms flat on the top surface and apply upward pressure while slowly rotating your wrists outward. Lift 0.5 inches straight up before attempting to slide the assembly backward. If stuck, check for hidden screws under the Levoit logo sticker. When handling the 5-pound top assembly, support it from underneath to avoid stressing the air quality sensor wires.
Filter Housing Extraction Safety
The cylindrical housing requires two-handed removal. Grip the molded handles firmly and lift vertically while bracing the main unit with your forearm. Never let the housing swing freely—the HEPA frame cracks on impact. Once removed, inspect the motor mounting brackets for stripped screws (a common failure point). Tighten loose brackets with a Phillips #2 screwdriver—but stop immediately if you feel resistance to avoid snapping plastic threads.
Filter Replacement During Opening: Critical Alignment Checks
Airflow Direction Verification Process
Every Levoit filter has directional arrows molded into the frame. The pre-filter arrows must face the intake grilles (usually the bottom/sides), HEPA arrows point toward the fan, and carbon arrows face the motor. Mistake to avoid: Installing the carbon filter backward creates a 2-inch gap where unfiltered air bypasses the system. Place filters in position before final assembly—press each corner until you hear a soft snap confirming full seating.
Filter Light Reset After Reassembly
Plug in the unit, then press and hold the filter reset button (circular icon with arrows) for exactly 4 seconds. The indicator should change from red to blue within 10 seconds. If not: 1) Unplug for 2 minutes, 2) Hold reset while powering on, 3) Verify all filters are fully seated. Persistent red lights indicate misaligned filters or a disconnected airflow sensor—recheck the ribbon cable near the control board.
Stuck Component Emergency Fixes
Base That Won’t Rotate (Core 200S)
When the base resists twisting:
– ✅ Do: Apply hairdryer heat (low setting) for 15 seconds to soften plastic
– ✅ Do: Tap base edges gently with rubber mallet while rotating
– ❌ Don’t: Use pliers that leave permanent scuff marks
– ❌ Don’t: Force rotation beyond 45 degrees
Pro Tip: Apply silicone lubricant to the twist-lock channel after cleaning to prevent future sticking.
Filter Jammed in Housing (Core 300S)
If filters won’t budge:
1. Power off and wait 10 minutes—heat expansion causes 70% of jams
2. Insert credit card along filter edge to release suction seal
3. Press release tabs while wiggling filter in 1/8-inch increments
4. Check for melted plastic debris using flashlight
Never use screwdrivers—that punctures HEPA media and ruins the filter.
Reassembly Checklist for Zero Mistakes
Clip Engagement Verification
Before final closure, test all connection points:
– Press along the entire seam—any gap wider than 1mm indicates missed clips
– Rotate Core 200S base clockwise until resistance peaks (don’t force past this point)
– Confirm top cover sits 0.1 inches lower than control panel edges
– Shake unit gently—no internal rattling means proper seating
Critical: Run a dollar bill test—close the unit on a bill and pull. If it slides out easily, recheck alignment.
Post-Opening Performance Test
After reassembly, operate for 15 minutes on low speed:
– Hold tissue 6 inches from outlet—steady airflow confirms proper function
– Listen for rhythmic “whoosh” (not grinding or clicking)
– Verify filter light stays blue for 60+ seconds after reset
– Check intake grilles for even suction (no weak spots)
If performance drops, disassemble immediately to check for filter misalignment—delaying causes motor strain.
When to Stop and Call Professionals
Contact Levoit Support Immediately If:
– You see exposed wires or melted components near the power cord
– The motor shaft wobbles more than 1/16 inch during operation
– Filter reset fails after 3 attempts with correct installation
– Cracks appear in the main housing (compromises air seal)
Never attempt repairs on units under warranty—improper opening voids coverage. For out-of-warranty models, Levoit sells official replacement housings ($25-$45) that cost less than professional service calls.
Opening your Levoit air purifier correctly transforms routine maintenance from a stressful chore into a 10-minute confidence booster. By following these model-specific techniques—especially the critical filter alignment checks—you’ll extend your unit’s lifespan by 3+ years while maintaining hospital-grade air filtration. Remember: gentle pressure, systematic disassembly, and verifying every clip engagement prevents 95% of common reassembly failures. Your cleanest air starts with the right opening technique.


