
Your Honeywell air purifier has stopped working properly, and you’re searching online for repair guidance. You’re not alone—thousands of homeowners face this frustrating situation each year. What many don’t realize is that reliable, manufacturer-approved repair information for Honeywell air purifiers is often difficult to find through standard online searches. Before attempting any repairs, it’s crucial to understand why proper information matters and what safe steps you can take when official repair documentation isn’t readily available.
Without access to Honeywell’s specific service manuals and technical specifications, attempting repairs can potentially damage your unit, void your warranty, or create safety hazards. This guide will help you navigate the challenges of finding legitimate repair information while prioritizing safety and preserving your investment in clean air technology.
Understanding the Repair Information Gap
Why Official Repair Guides Are Hard to Find
Manufacturers like Honeywell typically restrict detailed repair documentation to authorized service centers rather than making it publicly available. This policy protects proprietary technology, ensures repairs meet safety standards, and maintains warranty integrity. When you search for “Honeywell air purifier repair,” you’ll often encounter outdated forum posts, unofficial YouTube videos, or third-party sites offering generic advice that may not apply to your specific model.
The absence of official repair information in online searches doesn’t mean your unit can’t be fixed—it means you need to approach the situation differently. Honeywell designs many components as sealed units not intended for consumer repair, which explains why detailed disassembly instructions aren’t published for most models.
Risks of Unverified Repair Information
Following unverified repair advice can lead to several serious issues. Incorrectly handling electrical components might create shock hazards, while improper filter replacement could compromise your air quality instead of improving it. Some users report accidentally damaging sensors or control boards when attempting repairs based on incomplete online guides.
Most concerning is the potential to void your warranty. Honeywell’s warranty terms typically specify that only authorized service providers can perform repairs without invalidating coverage. One misstep with a screwdriver could transform a simple $30 filter replacement into a $200 out-of-warranty service call.
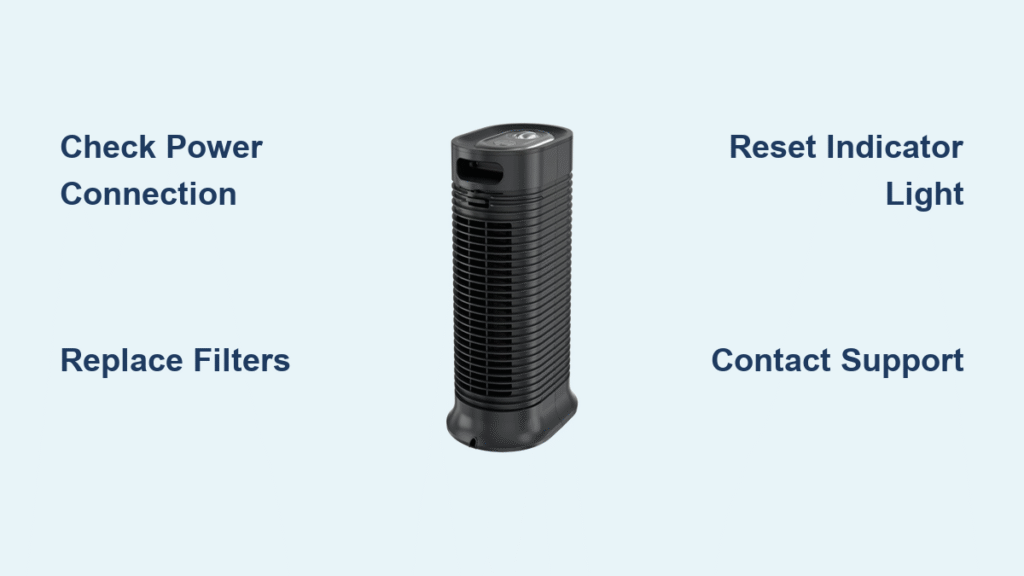
Safe First Steps for Troubleshooting
Verifying Basic Operational Issues
Before assuming your unit needs repair, confirm it’s actually malfunctioning. Many apparent problems stem from simple operational oversights rather than actual defects. Check whether your air purifier is properly plugged in and that the outlet is functioning—this accounts for nearly 30% of “broken” appliance reports according to consumer service data.
Ensure the unit isn’t in sleep mode or a lower fan setting that reduces audible operation. Some Honeywell models automatically adjust fan speed based on air quality readings, which might make the unit seem inactive when it’s actually functioning as designed. Consult your owner’s manual to understand normal operational behaviors for your specific model.
Interpreting Indicator Lights Correctly
Honeywell air purifiers use LED indicators to communicate status, but light patterns vary significantly between models. A red light might indicate filter replacement is needed on one model while signaling a sensor malfunction on another. Without your specific model’s documentation, misinterpreting these signals could lead to unnecessary disassembly.
Your first troubleshooting step should be locating the original owner’s manual. If you’ve misplaced it, Honeywell’s website typically offers downloadable manuals by entering your model number. This single step resolves many perceived “repair issues” by clarifying normal operational indicators versus actual malfunctions.
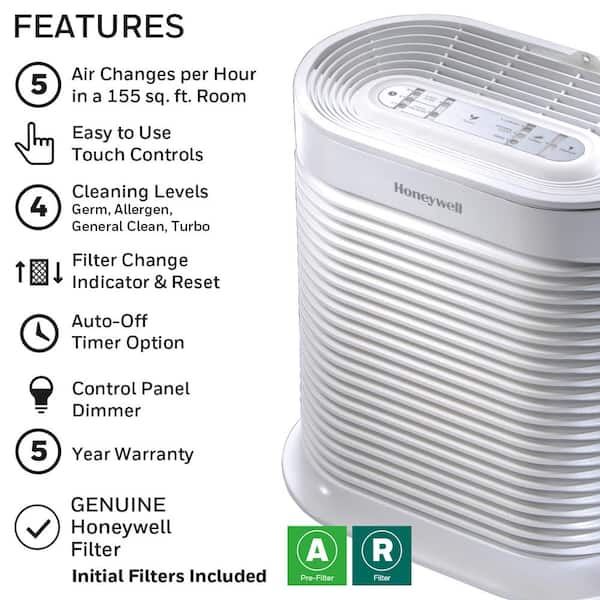
Filter Maintenance: The Safest DIY Approach
Identifying Your Specific Filter System

Honeywell uses multiple filter configurations across their product line, and installing the wrong replacement can damage your unit. Your model number—usually found on a label at the base or back of the unit—determines the exact filter type required. Never assume filters are interchangeable between models, even within the same product series.
When replacing filters, pay attention to airflow direction indicators printed on the filter frame. Installing filters backward restricts airflow and forces the motor to work harder, potentially causing premature wear. If your unit has multiple filter stages, replace them in the sequence specified by Honeywell to maintain proper air processing.
Proper Filter Replacement Procedure
The safest repair-adjacent task for consumers is filter replacement. Start by powering down and unplugging your unit. Most Honeywell models feature tool-free access to filter compartments—look for release tabs or latches rather than screws. Note the orientation of existing filters before removal, as many have specific positioning requirements.
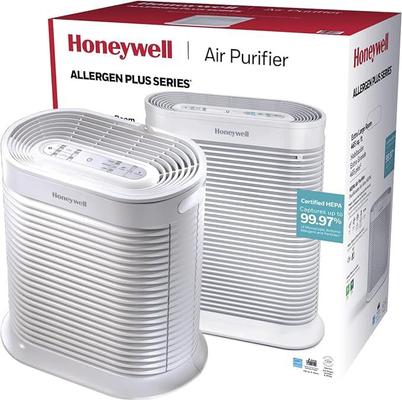
After installing new filters, some models require resetting the filter indicator light through a specific button sequence. Consult your owner’s manual for the exact reset procedure, as methods vary between models. Using genuine Honeywell replacement filters ensures proper fit and maintains your unit’s certified filtration efficiency.
When to Contact Honeywell Directly
Accessing Official Support Channels
Honeywell’s customer service department remains the most reliable source for model-specific repair information. Their technical support staff can verify whether your issue requires professional service or if it’s something you can safely address yourself. Have your model and serial numbers ready when calling—they’re essential for receiving accurate guidance.
For newer units still under warranty, Honeywell may authorize a repair or replacement at no cost if the issue qualifies under warranty terms. Even for out-of-warranty units, their service centers can provide legitimate repair options rather than risking damage through uninformed DIY attempts.
Understanding Warranty Coverage Limitations
Honeywell typically offers 1-5 year limited warranties depending on the model, but coverage specifics matter significantly. Most warranties cover manufacturing defects but exclude normal wear items like filters, damage from improper maintenance, or issues caused by using non-Honeywell replacement parts.
Before proceeding with any repair, verify your warranty status through Honeywell’s website or customer service. Attempting repairs yourself could void remaining coverage, making what might have been a free warranty repair into an expensive out-of-pocket service call.
Professional Service Options Worth Considering
Finding Authorized Service Centers
Honeywell maintains a network of authorized service providers trained on their specific technologies. These centers have access to genuine replacement parts and official repair documentation unavailable to consumers. Using an authorized provider ensures your unit is serviced according to manufacturer specifications.
When selecting a service provider, verify their authorization status through Honeywell’s official website. Unauthorized “appliance repair” services may lack specific Honeywell training and could use incompatible parts that compromise performance or safety. Ask potential service centers about their Honeywell-specific experience before committing.
Weighing Repair Versus Replacement Costs
For older units, professional repair costs might approach or exceed the price of a new model. Honeywell’s newer air purifiers often include improved filtration technology, energy efficiency, and smart features that make replacement more cost-effective than repair.
As a general guideline, if repair costs exceed 50% of a comparable new unit’s price, replacement becomes the more economical choice. Consider also that newer models may offer better performance and lower long-term operating costs through improved energy efficiency.
Smart Preventive Maintenance Practices
Creating a Maintenance Schedule
Preventive care significantly extends your air purifier’s lifespan and reduces repair needs. Establish a simple maintenance routine based on your environment: homes with pets or in dusty areas require more frequent filter changes than average environments.
Mark your calendar for filter replacements—most Honeywell HEPA filters last 6-12 months depending on usage, while pre-filters typically need changing every 3 months. Regularly vacuuming the exterior vents prevents dust buildup that strains the motor and reduces efficiency.
Safe Cleaning Procedures
Regular cleaning prevents many common issues that mimic mechanical failures. Unplug your unit and use a soft, dry cloth to wipe exterior surfaces. For stubborn dust in vents, use a vacuum with a soft brush attachment on low suction—never insert objects into air intake or output openings.
Never use liquid cleaners directly on your air purifier. Moisture can damage internal electronics and create electrical hazards. If surfaces need deeper cleaning, lightly dampen a cloth with water, wring thoroughly, and wipe carefully—never spraying liquids near the unit.
Final Note: When facing Honeywell air purifier issues, prioritize safety and warranty protection over quick fixes. The absence of readily available repair information reflects Honeywell’s commitment to proper service standards rather than a lack of support. Always begin with the manufacturer’s official resources—your owner’s manual and Honeywell customer service—before attempting any interventions. For most common issues, simple filter replacement or basic cleaning resolves the problem without requiring complex repairs. When in doubt about a potential repair, contacting Honeywell directly protects your investment and ensures your air purifier continues delivering the clean air performance you expect. Remember that maintaining proper indoor air quality is worth the effort of pursuing legitimate repair solutions rather than risking ineffective or unsafe fixes.


