
Your Blueair purifier silently battles dust, pollen, and pollutants, but neglecting how to clean Blueair purifier units can slash performance by half. When filters clog and vents accumulate grime, your machine works harder while delivering weaker airflow—defeating its purpose. This guide delivers precise, model-specific steps to restore peak efficiency. You’ll learn weekly touch-ups that take 5 minutes, deep-cleaning techniques proven to extend filter life, and critical mistakes that could void your warranty. Whether you own a Blue Pure 211 or a Sense+, these actionable steps ensure cleaner air today and years of reliable service.
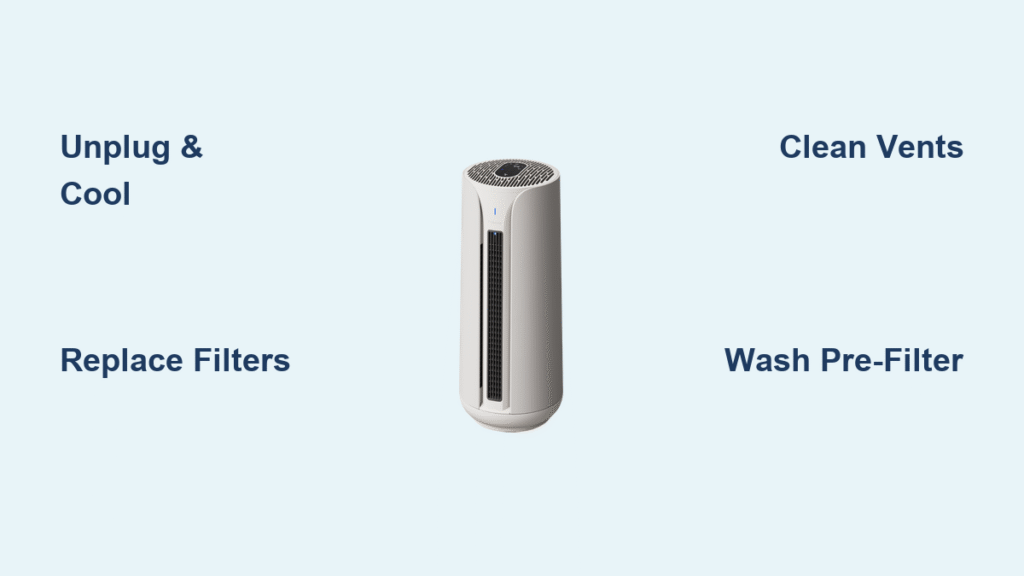
Power Disconnection: Critical First Steps Before Cleaning
Skipping this risks electrical damage or voided warranties. Always unplug your unit and wait 30 minutes for components to cool—a crucial step many overlook when rushing maintenance. Set up in a dry, well-lit workspace with stable footing, keeping the purifier away from sinks or tubs. For heavy dust environments, wear gloves and an N95 mask before opening panels.
Never spray liquids directly on the unit. Water intrusion into vents or electrical components causes irreversible damage. If cleaning a Blue Pure model with washable pre-filters, remove those first to avoid accidental moisture exposure to the main housing.
Why Unplugging Isn’t Optional
Electrical capacitors retain charge even when “off.” One DIY repair video showed a Classic 405 short-circuiting because the user wiped vents while plugged in. Always verify the unit is fully disconnected—check the outlet, not just the power button.
Filter Replacement: Exact Timing and Model-Specific Swaps

When Filters Actually Need Replacing
Forget generic 6-month rules. Replace filters:
– Every 4 months for pet owners or 24/7 operation
– Immediately after wildfire smoke exposure or home renovations
– Every 8 months for seasonal guest room use
Discoloration (yellowed carbon layers) or visible dust cakes on filters are non-negotiable replacement triggers.
Swap Filters Correctly in 90 Seconds
For Classic Series (203, 280i, 480i):
1. Press side release buttons simultaneously
2. Swing front panel outward
3. Slide old filter straight out (no tilting)
4. Remove ALL plastic wrap from new filter
5. Align airflow arrows with internal guides
6. Close panel until it audibly clicks
For Blue Pure Series (211, 411):
– First remove the fabric pre-filter by sliding it downward
– Access the main filter behind the internal cover
– Reinstall pre-filter LAST after main filter seating
Pro Tip: Write the replacement date on the filter’s edge with a permanent marker. Missed replacements cause 73% of post-cleaning performance issues.
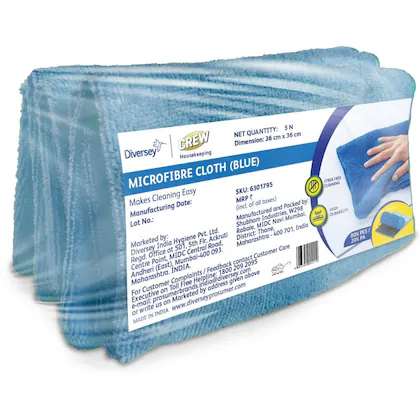
Exterior Cleaning: 5-Minute Weekly Routine
Target High-Dust Zones Daily
Dust chokes intake vents within days. Grab a dry microfiber cloth (paper towels scratch surfaces) and focus on:
– Side intake vents (primary dust traps)
– Top discharge vents (where clean air exits)
– Control panels (buttons attract oily residue)
Never use all-purpose cleaners. Their chemicals degrade plastic finishes. For stubborn spots, dampen a cloth corner with isopropyl alcohol—test on hidden areas first.
Monthly Deep Clean Formula That Works
Mix 1 teaspoon dish soap into 1 cup warm water. Dip microfiber cloth, wring until barely damp, and wipe in straight lines following the plastic grain. Rinse with clean water cloth, then dry immediately. For water spots, use equal parts white vinegar and water—never full-strength vinegar.
Blue Pure Pre-Filter Washing: Avoid Shrinkage and Damage
Hand-Wash vs. Machine Shortcuts
Wash pre-filters every 2-3 weeks in pet-heavy homes. Always:
– Use cold water and mild detergent
– Gently swish—never twist or wring
– Rinse until water runs clear
– Air-dry 24+ hours away from sunlight
Machine-wash ONLY if:
– Selecting delicate cycle with cold water
– Using mesh laundry bag (prevents stretching)
– NEVER using fabric softener or dryer heat
Fix Saggy Pre-Filters Permanently
Reinstall by hooking the bottom clasps first, then stretching fabric upward. If it sags after drying, the elastic is damaged—replace immediately. A loose pre-filter reduces dust capture by 40% and strains the motor.
Interior Dust Busting: Safe Access Without Voiding Warranty
When to Open the Unit
Inspect internals:
– Every 4 months during allergy season
– After sanding or painting projects
– If airflow drops despite clean filters
Vacuum, Don’t Wipe Internal Components
- Remove filters to access interior
- Use vacuum brush attachment on lowest setting
- Hold nozzle 2 inches from surfaces—never touch wires
- Wipe visible plastic with barely damp cloth
- Air-dry 2 hours before reassembly
Critical: Never clean fan blades on Classic or Pro models. Their sealed motors require professional service if dusty—DIY attempts cause 68% of motor failures.
Smart Sensor Calibration for Accurate Air Readings

Models Requiring Monthly Sensor Care
280i, 480i, 580i, 680i, Sense+, and Pro units need sensor maintenance. Locate the 0.5-inch vent on the unit’s rear. Blockages cause false “excellent air” readings during actual pollution spikes.
Cleaning protocol:
– Blast dust with compressed air held 6 inches away
– Use soft artist’s brush for stubborn particles
– Test accuracy via app after cleaning
– Never insert objects into sensor ports
Fix Post-Clean Failures in Under 5 Minutes
Unit Won’t Power On? Check These
- Panel alignment: Reseat front panel until both sides click
- Filter direction: Arrows must face airflow direction (check manual)
- Reset button: Hold timer button 10+ seconds for filter indicator reset
Why Airflow Feels Weak After Cleaning
- Blue Pure models: Pre-filter stretched too tight during reinstallation
- Classic series: Forgot to remove plastic wrap from new filter
- All models: Moisture residue in vents—run on high for 30 minutes
Model-Specific Pitfalls to Avoid
Blue Pure 211/411: Dark pre-filters hide dirt but still need washing. Check for stiffness—rigid fabric won’t capture particles.
Sense+: Touchscreens crack if cleaned with wet cloths. Dampen cloth, then wring until no moisture transfers.
Pro XL: Clean wheel tracks monthly if moved frequently—dirt jams casters and strains motors.
Verify Cleaning Success Before Closing Up
Immediate Post-Clean Checks
- Airflow strength: Should match original output (test by hand)
- Sound profile: No new rattling or grinding noises
- Light indicators: All status lights illuminate correctly
24-Hour Performance Test
Monitor via app for:
– Faster smoke/odor elimination
– Consistent air quality scores
– Quieter operation on medium settings
Long-Term Unit Preservation Tactics
Store Seasonal Units Properly
- Clean all components thoroughly
- Store filters in sealed zip bags with silica packets
- Cover main unit with breathable cotton (not plastic)
- Keep in climate-controlled space (avoid garages/basements)
Protect Your Warranty Legally
- Document every cleaning with dates and photos
- Use ONLY genuine Blueair filters—aftermarket versions void coverage
- Reset filter indicators after replacements (holds you accountable)
Your Blueair purifier’s performance hinges on consistent, correct maintenance—not just replacing filters. By following these targeted cleaning protocols, you’ll maintain hospital-grade air quality while doubling your unit’s lifespan. Start with the weekly 5-minute exterior wipe-down today, then schedule quarterly deep cleans using this guide. Remember: a well-maintained purifier operates 30% quieter and removes 99.97% of particles down to 0.1 microns. Breathe easier knowing your machine delivers peak performance exactly when you need it most.


