
Your Honeywell air purifier silently battles dust, pollen, and pet dander all day—but when was the last time you cleaned its filters? Neglected filters force your unit to work 40% harder, slashing efficiency and circulating dirty air back into your home. Worse, clogged filters can hike energy bills by up to 30% while triggering persistent allergy symptoms. The solution? Most Honeywell filters require just 20 minutes of monthly maintenance using items you already own. This guide delivers exact cleaning protocols for every filter type in your unit, whether you own a basic HPA series or advanced UV-C model. Follow these steps to restore peak performance and breathe cleaner air starting today.
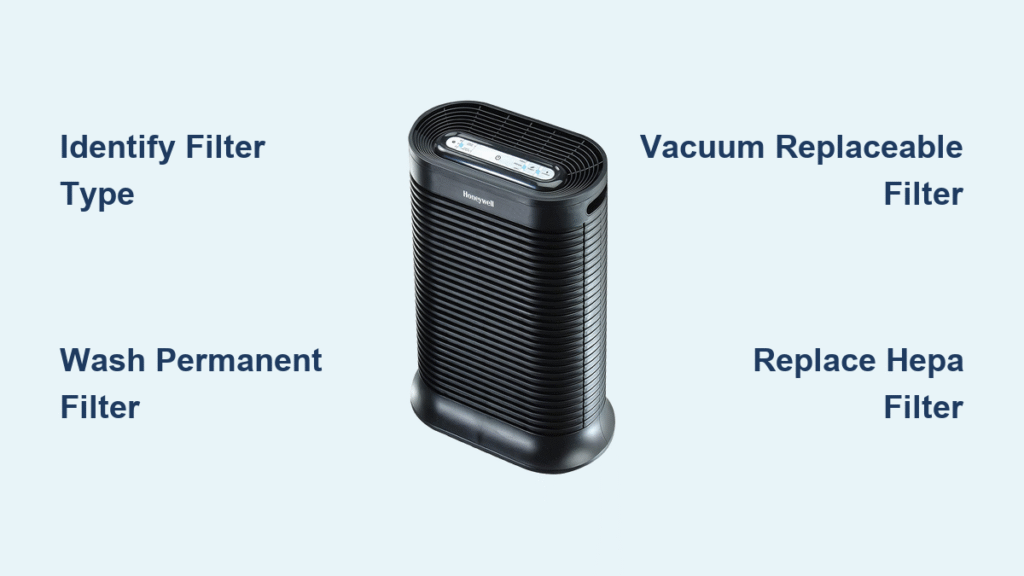
Identify Your Filter Type Before Cleaning
Don’t grab cleaning supplies yet—this critical first step prevents damage. Honeywell purifiers use two distinct pre-filter types requiring opposite care. Permanent/washable pre-filters feel like dense foam or fine mesh (common in HPA and QuietCare models) and tolerate water rinsing. Replaceable pre-filters resemble thin fabric sheets (frequent in HFD series) and must never get wet—they only handle vacuuming. Check your model sticker near the power cord or inside the filter compartment for labels like “Washable” or “Replaceable.” Skipping this risks tearing delicate filters or voiding your warranty. If unsure, consult Honeywell’s online model guide using your unit’s serial number.
Wash Permanent Pre-Filters Properly
Power Down Completely
Unplug your unit and press the power button to discharge residual energy. Wait 5 minutes—this prevents electrical shocks when accessing internal components. Never skip this step, even for “quick” cleanings.
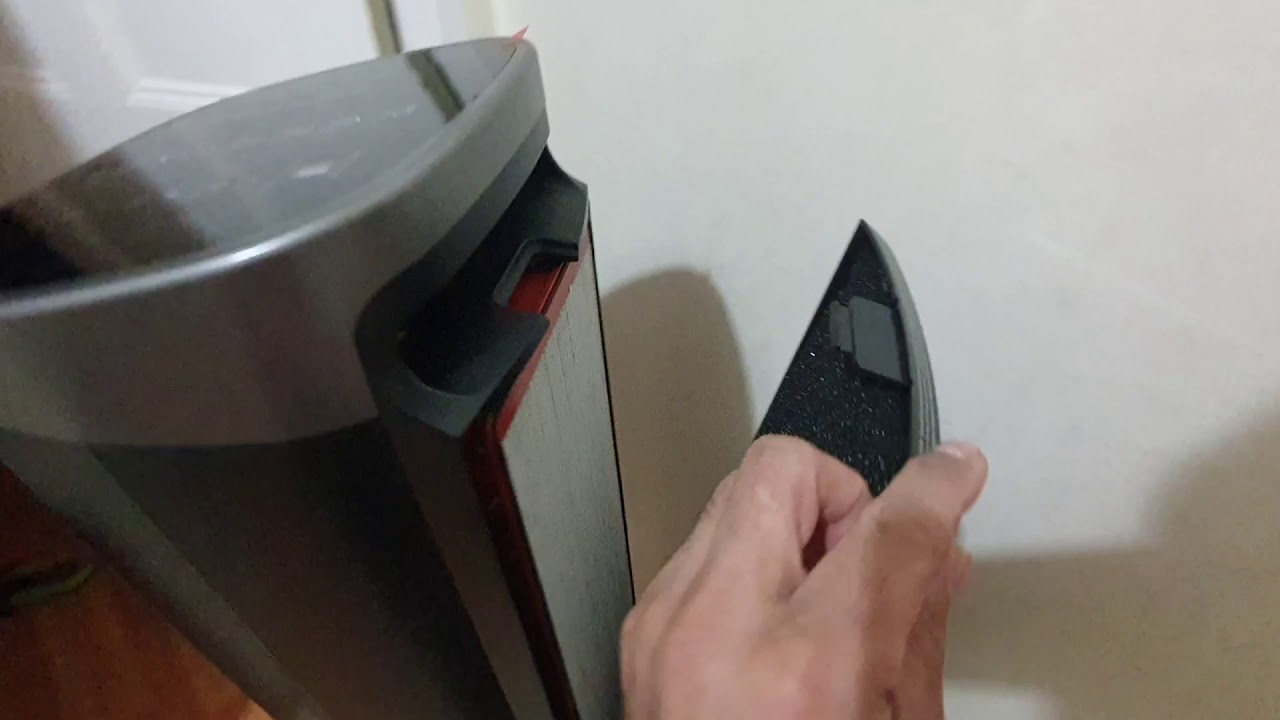
Remove Filter Safely
Press the side or bottom release tabs while gently pulling the front grill forward. Slide out the pre-filter while noting directional arrows printed on its frame. These arrows indicate airflow direction—reinstalling backward cripples performance.
Deep Clean Without Damage
Hold the filter under lukewarm water (never hot!) until runoff clears. For stubborn grime, apply one drop of dish soap and use a soft toothbrush in circular motions—avoid scrubbing hard. Rinse thoroughly until water runs completely clear, then gently squeeze out excess moisture. Critical: Never twist or wring the filter, as this warps the mesh. Stand it upright on a towel in a well-ventilated area for 48 hours minimum. Running the unit with damp filters breeds mold inside your purifier.
Reinstall for Maximum Airflow
Slide the filter back following the directional arrows, ensuring it sits flush in its tracks. Snap the front grill until you hear both tabs click. Plug in the unit—you’ll immediately feel stronger airflow through the output vents.
Vacuum Replaceable Pre-Filters Correctly
Quick Dust Removal Protocol
Remove the filter and attach a soft brush vacuum nozzle. Vacuum both sides using slow, consistent strokes—never press hard. Focus extra passes on visibly dusty areas like the top third where debris accumulates. Warning: If you spot holes, tears, or loose fibers, replace the filter immediately. Damaged filters leak pollutants back into your air. Limit vacuuming to 3-4 cycles total before replacement; over-vacuuming shreds the delicate fibers.
Replace HEPA Filters—Never Clean Them

Why Water Ruins HEPA Performance
HEPA filters trap microscopic particles using fragile glass fibers packed in precise pleats. Water dissolves the binding agents holding these fibers together, creating gaps that let 30% more pollutants escape. Vacuuming similarly damages the structure by pulling fibers apart. Never attempt to wash or vacuum a HEPA filter—this permanently destroys its 99.97% capture efficiency. Replacement is the only safe option every 12-18 months.
Urgent Replacement Warning Signs
Visual red flags include gray/black discoloration spreading across the filter face or dust visibly embedded deep in the pleats. Performance alerts involve reduced airflow despite a clean pre-filter, the unit running constantly without reaching target air quality, or persistent “check filter” indicator lights. If you smell lingering odors after carbon filter changes, your HEPA filter is likely saturated and failing.
Safe HEPA Replacement Steps

Prepare Your Workspace
Unplug the unit and wait 5 minutes. Lay down newspaper—old HEPA filters release fine dust when handled. Have a sealed plastic bag ready for disposal.
Access and Install
Remove the front grill and locate the HEPA compartment (a large rectangular section). Release retaining clips on both sides and slide the old filter straight out—tilting spills dust into the unit. Insert the new filter with arrows pointing toward the fan motor (usually the rear). Push until fully seated against the back wall, then secure the clips. Pro tip: Write the install date on the filter frame with a marker.
Reset Filter Indicators
Find the reset button near the filter slot (or use model-specific steps below). Hold for 3-5 seconds until the light flashes, then turns off. Run the purifier for 5 minutes to confirm proper airflow.
Maintain Carbon Filters and UV-C Systems
Carbon Filter Replacement Timeline
Activated carbon filters absorb odors and VOCs but saturate within 3-6 months. They cannot be cleaned or regenerated. Replace quarterly if you have pets, cook often, or live near traffic. Signs include persistent cooking smells, visible dark spots on the filter surface, or reduced odor elimination. Always replace carbon filters after deep-cleaning the unit interior—old carbon absorbs cleaning residue and re-releases it.
UV-C Light Cleaning Protocol
Critical safety first: Unplug the unit and wait 10 minutes for UV-C bulbs to cool. Never look directly at the bulb—even brief exposure risks eye damage. Remove the top or rear panel with a Phillips screwdriver, then wipe the bulb with a dry microfiber cloth. Clean reflective surfaces around it to maintain UV intensity. Replace bulbs showing black ends or cracks—they lose 50% effectiveness when damaged. Reinstall the protective cover securely; UV-C must operate fully enclosed.
Reset Filter Lights by Model
HPA Series Reset
Press and hold the “Check Filter” button for 3 seconds until the light flashes 3 times. Release immediately—the indicator should turn off. If not, unplug for 1 minute and retry.
HFD Series Reset
Use a paperclip to press the tiny reset button near the filter compartment. Hold for 5 seconds until rapid blinking starts, then release. The light must stay off after power cycling.
QuietCare Models
Simultaneously press the “+” and “-” buttons for 5 seconds. The filter light resets automatically—no flashing required. Verify by checking the display after restarting.
Troubleshoot Common Post-Cleaning Issues
Filter Light Stays On
Double-check that filters are fully seated—gaps as small as 2mm trigger false alerts. Inspect for stray debris blocking the sensor window near the filter slot. If using third-party filters, switch to genuine Honeywell parts; incompatible models won’t reset indicators.
Weak Airflow After Maintenance
90% of cases stem from reversed pre-filter installation. Remove and reinstall it following directional arrows. Also check that the front grill clicks completely into place—misaligned panels obstruct airflow channels.
Lingering Odors Post-Cleaning
Replace carbon filters older than 6 months immediately. Then deep-clean the unit’s interior: vacuum the fan housing and wipe internal surfaces with a vinegar-dampened cloth to neutralize odors.
Monthly Maintenance Schedule That Works
Weekly (5 minutes): Wipe exterior surfaces with a damp cloth and visually inspect pre-filters for heavy dust.
Monthly (15 minutes): Clean washable pre-filters or vacuum replaceable ones. Check carbon filter saturation.
Quarterly (30 minutes): Perform full unit deep cleaning—vacuum internal compartments, clean sensors, and service UV-C systems.
Annually (60 minutes): Replace HEPA filters regardless of appearance. Test all functions and inspect power cords for damage.
Safety Guidelines You Must Follow
Electrical safety is non-negotiable: Always unplug before maintenance. Never operate the purifier without all filters installed—this damages the fan motor and circulates unfiltered air. Replace frayed power cords immediately.
Filter handling precautions: Wear an N95 mask when removing dirty filters to avoid inhaling trapped particles. Seal used filters in plastic bags before disposal. Wash hands thoroughly after handling—filters harbor mold spores and allergens.
Environmental responsibility: Recycle HEPA filters through programs like Honeywell’s Take-Back Initiative where available. Choose washable pre-filters to reduce waste, and buy carbon filter multi-packs to minimize packaging. Never burn used filters—they release toxic fumes.
Clean filters transform your Honeywell purifier from an energy-guzzling liability into a silent air-cleaning powerhouse. By dedicating just 15 minutes monthly to this process, you’ll extend your unit’s lifespan by years while ensuring hospital-grade air quality. Grab your soft brush and towel today—your lungs will feel the difference by tomorrow morning.


