
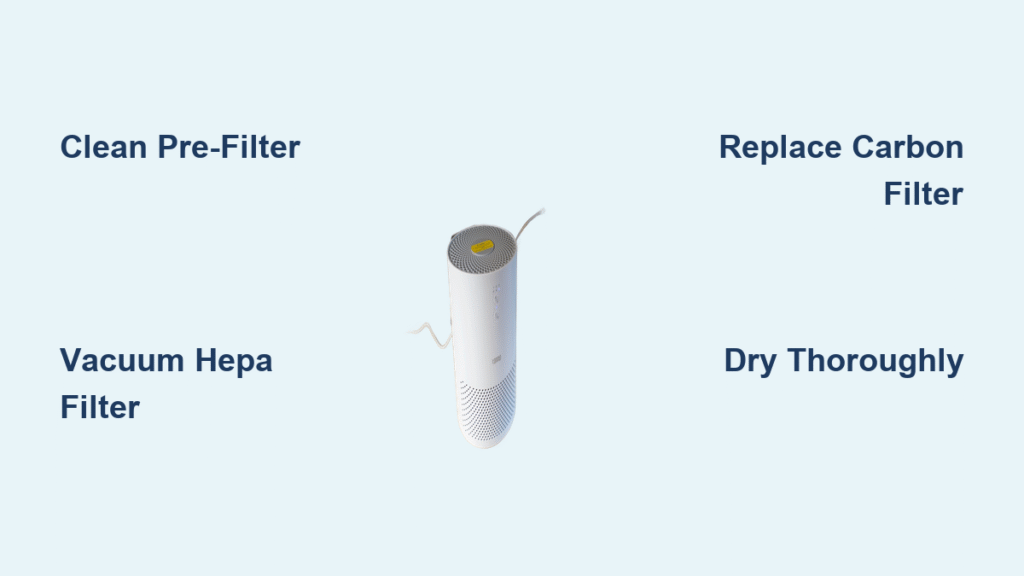
Your Toppin air purifier silently battles dust, allergens, and odors 24/7, but when the airflow weakens and your allergy symptoms flare up, the culprit is often a neglected filter system. A clogged Toppin air purifier filter can slash cleaning efficiency by 75%, forcing the unit to work harder while delivering stale, particle-filled air. The solution? Just 30 minutes of hands-on maintenance using household items you already own. This step-by-step guide reveals exactly how to clean toppin air purifier filter components for peak performance—no technical skills required. You’ll discover model-specific tricks, critical drying timelines, and clear indicators showing when replacement is truly needed.
Toppin Filter Types and Their Critical Roles

Pre-Filter: Frontline Defense Against Visible Debris
Locate your Toppin’s pre-filter immediately behind the front panel—it’s the first mesh or nylon screen your eyes hit when opening the unit. This washable component traps hair, dust bunnies, and pet fur before they penetrate deeper. For Comfy Air C2 models, slide the panel upward using bottom latches; Touch 360 owners simply release the magnetic attachment. Never skip pre-filter cleaning—a single layer of gunk here forces all other filters to work overtime, accelerating HEPA degradation by up to 60%.
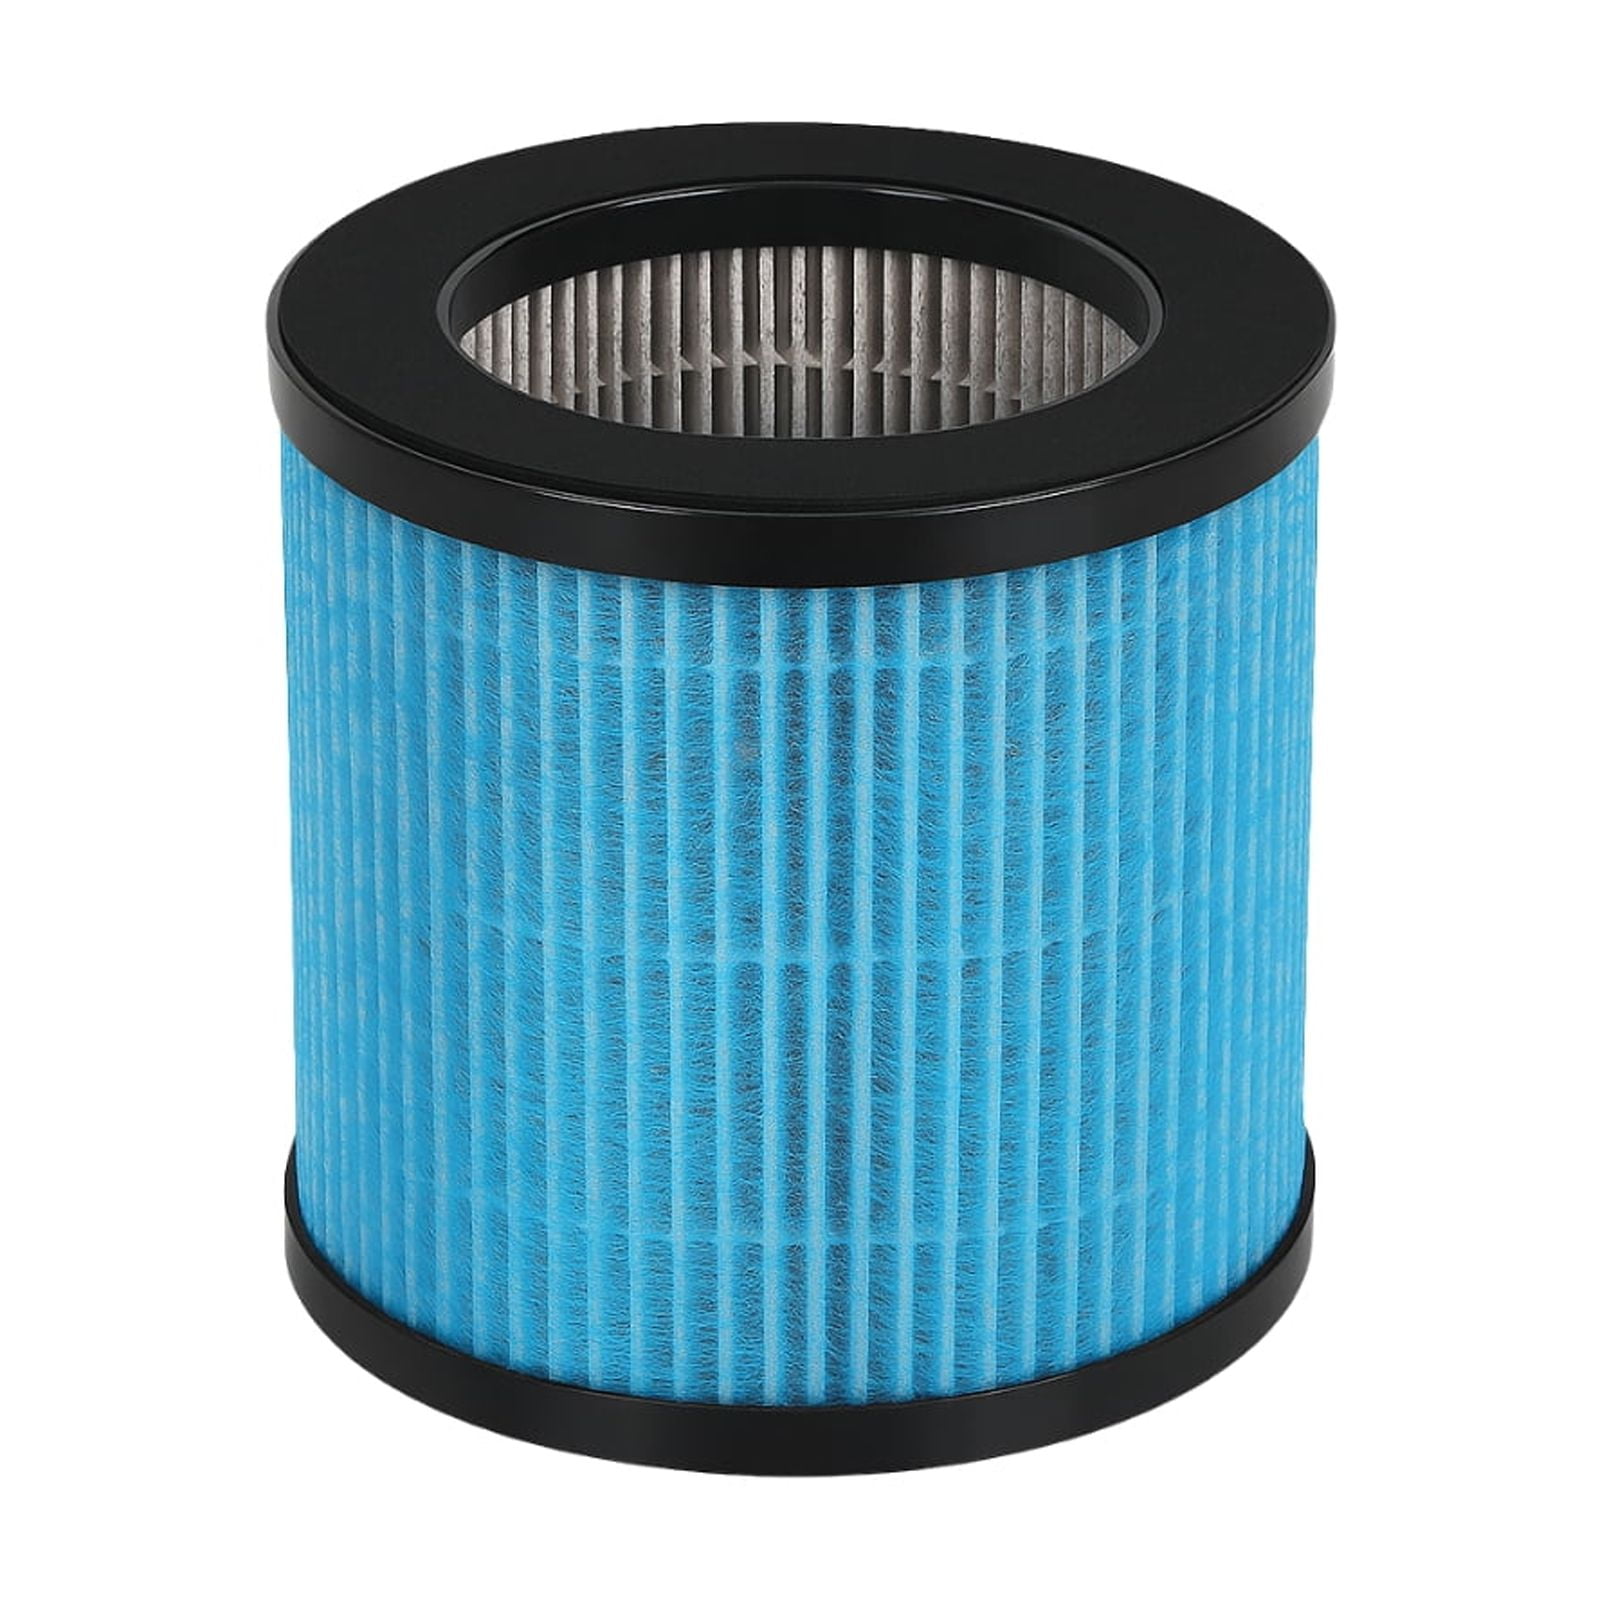
HEPA Filter: Microscopic Particle Eliminator
Your H12 or H13 HEPA filter (marked with airflow arrows) captures 99.95-99.97% of particles as small as 0.3 microns—think pollen, mold spores, and fine dust. Crucially, this filter must never contact water. Unlike the pre-filter, it requires only gentle vacuum maintenance. Check for gray/black discoloration after cleaning; if stains persist despite vacuuming, replacement is unavoidable. Pet owners should note: HEPA filters in animal households typically need replacement every 3-4 months versus 6-12 months for standard use.
Carbon Filter: Odor and VOC Neutralizer
Hidden behind the HEPA layer, the activated carbon filter (honeycomb in Comfy Air C2, pellet-based in Touch 360) absorbs cooking smells, smoke, and chemical vapors. While light vacuuming extends its life slightly, carbon filters are fundamentally sacrificial—they lose absorption capacity permanently over time. If your kitchen still smells like last night’s fish after 30 minutes of operation, replacement is overdue. Track usage: standard homes need new carbon filters every 6 months, but pet households require swaps every 2 months.
Pre-Filter Cleaning: Avoiding Critical Moisture Mistakes
Safe Removal Without Damage
Unplug your Toppin and power it down completely before touching any components. For Comfy Air C2 models, release bottom latches and slide the pre-filter upward; Touch 360 units detach magnetically with a firm pull. Take a photo of the filter’s orientation—misalignment during reinstallation causes air leaks that trigger filter lights. Never yank filters forcefully; if resistance occurs, check for hidden clips near the housing edges.
Water-Only Washing Protocol
Rinse the pre-filter under lukewarm tap water (max 104°F/40°C) while gently rubbing both sides with your fingers. Skip the dish soap—residue attracts more dust and requires extra rinsing. Continue until runoff water runs completely clear, typically 2-3 minutes. Avoid high-pressure sprayers or scrubbing brushes; nylon mesh tears easily under aggressive cleaning. If grease buildup persists (common in kitchen units), soak for 5 minutes in a vinegar-water solution (1:3 ratio) before final rinsing.
Mandatory Drying Timeline for Mold Prevention
Place the filter horizontally on a clean towel in a well-ventilated room away from direct sunlight. Rotate it every 4 hours to ensure even drying. Never reinstall after 12 hours—even invisible moisture breeds mold inside the housing. The 24-48 hour drying window is non-negotiable; test by pressing the center—no coolness or dampness should remain. Rushing this step causes filter lights to stay illuminated and damages the HEPA filter behind it.
HEPA Filter Revival: Vacuuming Without Destruction
Precision Vacuum Technique
Attach your vacuum’s soft brush nozzle and set suction to low. Hold the HEPA filter securely while vacuuming only in the direction of the airflow arrows marked on its frame. Focus exclusively on the intake side (where dust accumulates), moving the nozzle slowly across the surface. Apply zero pressure—pressing the brush against fibers creates permanent channels that bypass filtration. This 3-5 minute process should occur monthly; heavy users need bi-weekly sessions.
When Cleaning Fails: Replacement Red Flags
Replace your HEPA filter immediately if:
– Vacuuming no longer restores the filter’s original white/off-white color
– Airflow remains weak despite a clean pre-filter
– You detect a musty odor during operation
Pet dander households hit replacement thresholds 2-3 times faster than standard users. Never attempt water washing—this destroys the electrostatic charge essential for particle capture.
Post-Vacuum Installation Verification
After reinserting the HEPA filter, run your Toppin on high for 10 minutes. Listen for whistling sounds indicating air leaks around the frame. Check the rubber gasket seal—any gap larger than 1mm compromises 100% of filtration efficiency. If the unit vibrates excessively, remove and reseat the filter; misalignment strains the motor and increases energy use by 20%.
Carbon Filter Replacement: Timing and Technique
The Irreversible Lifespan Reality
Unlike washable pre-filters, carbon filters cannot be truly “cleaned”—light vacuuming only removes surface dust. Replacement becomes mandatory when odors return within 15 minutes of operation. For Comfy Air C2 models, look for darkened honeycomb channels; in Touch 360 units, pellets lose their granular texture. Set calendar alerts: 2 months for pet homes, 3 months for smokers, 6 months for standard use.
Leak-Proof Installation Method
Seal the old carbon filter in a plastic bag immediately after removal—it continues absorbing odors even when discarded. Insert the new filter following the airflow arrows precisely; Comfy Air C2 requires the honeycomb side facing inward, while Touch 360 needs pellets oriented toward the fan. Press firmly until you hear a click—loose installation creates air gaps that render the filter useless. Never force the filter; resistance indicates incorrect orientation.
Troubleshooting Post-Cleaning Failures
Filter Light Won’t Reset? Fix This First
Hold the reset button for 5 full seconds after confirming all filters are bone-dry. If the light persists, unplug the unit for 30 seconds to reboot the sensor system. Inspect the pre-filter seating—a 2mm gap at the top corner is the most common culprit for false alerts. For Touch 360 models, wipe the magnetic contact points with a dry microfiber cloth; dust here interrupts sensor communication.
Weak Airflow After Cleaning: Three Checks
- Pre-filter moisture: Re-dry for 12+ hours if any dampness remains
- HEPA alignment: Verify no wrinkles or bulges in the filter frame
- Front panel closure: Listen for the definitive “click” when securing the cover
Pro tip: Hold a tissue 2 inches from the intake—if it doesn’t stick firmly, recheck all components.
Persistent Odors: Mold vs. Filter Failure
If smells linger after carbon replacement, inspect the internal housing for black spots (mold), especially near the HEPA frame. Clean affected areas with a vinegar-dampened cotton swab, then run the unit on high for 2 hours. Never use bleach—residues create toxic fumes when heated. For recurring issues, replace both HEPA and carbon filters simultaneously; cross-contamination often occurs.
Advanced Maintenance Schedule by Usage
Standard Homes (8-12 Hours Daily)
- Pre-filter: Clean every 18 days
- HEPA: Vacuum monthly, replace annually
- Carbon: Replace every 5 months
Performance tip: Clean pre-filters on Sundays for consistent timing
24/7 Operation (Allergy Sufferers)
- Pre-filter: Clean weekly (Wednesdays)
- HEPA: Vacuum bi-weekly, replace every 5 months
- Carbon: Replace every 2.5 months
Energy note: Clean filters cut electricity costs by 22% versus neglected units
Pet Households (High Dander Load)
- Pre-filter: Clean every 3rd day
- HEPA: Vacuum weekly, replace every 3.5 months
- Carbon: Replace every 7 weeks
Upgrade tip: Touch 360 owners should choose antimicrobial H13 HEPA filters
Safety-Critical Best Practices
Electrical Safety Non-Negotiables
Always unplug before filter access—Toppin units retain capacitor charge for 5 minutes after disconnection. Dry your hands thoroughly; moisture conducts electricity through filter housings. During cleaning, inspect the power cord for fraying near the plug—if found, discontinue use immediately. Never operate the unit without filters—this damages motors and voids warranties.
Eco-Conscious Filter Disposal
Seal used filters in double plastic bags before trash disposal to prevent dust redistribution. Genuine Toppin filters qualify for recycling programs—check their website for drop-off locations. Never burn filters; carbon components release toxic fumes when incinerated. For pet owners: wear an N95 mask during disposal to avoid dander inhalation.
Clean Toppin air purifier filters transform your unit from an energy-draining ornament into a clinical-grade air cleaner. By dedicating 30 minutes monthly to this routine, you’ll extend filter life by 50%, slash electricity costs, and finally breathe air that’s genuinely cleaner than outdoors. Start today—your lungs will notice the difference within one cleaning cycle.


