
That stale, dusty smell when your air purifier kicks on? It’s screaming that your filters need attention. Dirty filters don’t just circulate grime—they force your unit to work 40% harder, spike energy bills, and can even release trapped mold spores into your air. The fix? Most washable filters can be restored in under 30 minutes using household items. This guide cuts through the confusion to show exactly which filters you can clean (and which must be replaced), with foolproof steps to maximize your purifier’s lifespan and performance.
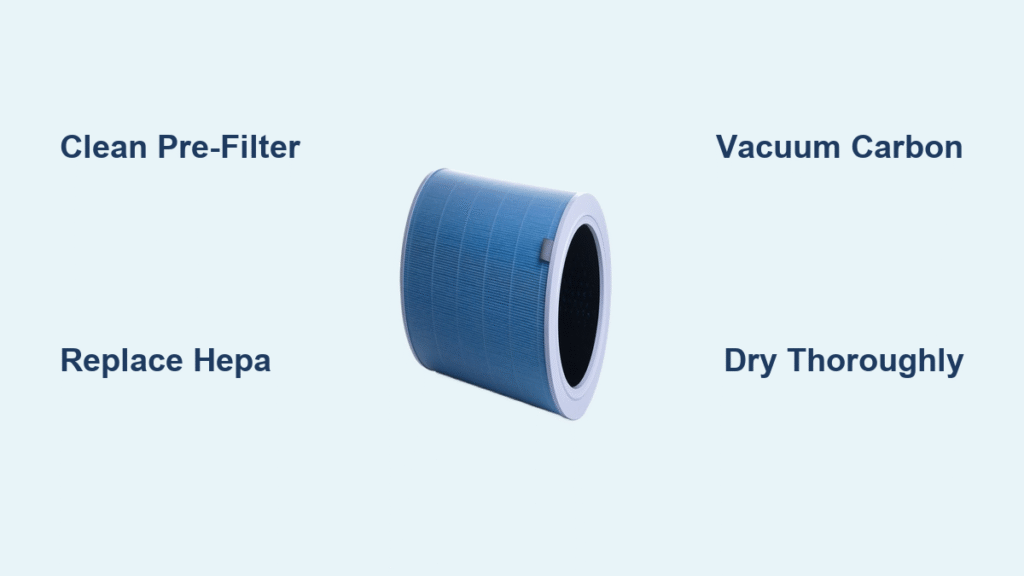
Spot Your Filter Type Before Cleaning
Pre-Filter Washable Verification
Pre-filters trap visible debris like pet hair and dust bunnies before they clog expensive HEPA filters. These mesh or foam shields sit behind your unit’s front grill and are designed for regular cleaning. Confirm yours is washable by checking for a “washable” label or performing the tap test: flick water on the surface. If it beads and rolls off, it’s waterproof and safe for washing. Paper-like materials? Stick to vacuum-only cleaning to avoid damage.
HEPA Filter Replacement Reality
True HEPA filters capture 99.97% of microscopic particles but cannot be cleaned. Washing destroys their electrostatic charge and delicate fiber structure, turning them into expensive paperweights. If “HEPA” appears on your filter, budget for replacement every 6-12 months. Some units use “HEPA-type” filters—these tolerate light vacuuming but lose effectiveness with each cleaning. Never submerge any filter labeled “HEPA.”
Carbon Filter Surface Cleaning Limits
Activated carbon filters neutralize odors and chemicals through tiny pores that saturate over time. While the carbon itself can’t be revived, many include a thin mesh pre-layer that benefits from vacuuming. Replace carbon filters immediately when cooking smells linger, pet odors return within hours, or visible discoloration appears—typically every 3-6 months in standard homes.
Critical Safety Steps Before Touching Filters
Unplug and Cool Down
Disconnect power and wait 10 minutes if the unit was running. This prevents electrical shorts and protects moisture-sensitive internal components during cleaning.
Document Filter Orientation
Snap a photo of the filter compartment before removal. Installing filters backward reduces efficiency by up to 40%. Note any tears or mold spots that mean replacement—not cleaning—is needed.
Gather These 5 Essential Tools
– Vacuum with brush attachment
– Soft toothbrush (never stiff bristles)
– Mild dish soap (no antibacterial formulas)
– Two microfiber towels
– Rubber gloves for heavy buildup
Pre-Filter Deep Cleaning Without Damage
Remove Filters Correctly
Most pre-filters slide straight out, but some hide behind snap-off panels. Never yank—this tears mesh or breaks plastic frames. Note directional arrows indicating airflow direction; reinstall facing the same way.
Vacuum First, Wash Later
Use your vacuum’s brush attachment on low suction to remove 80% of debris. Hold the filter over a trash can and work top-to-bottom, focusing on corners where dust accumulates. Skipping this step turns your sink into a muddy swamp.
Gentle Hand-Washing Technique
Fill your sink with lukewarm water and three drops max of mild dish soap. Submerge the filter and swish gently for 2-3 minutes. Use your soft brush on stubborn spots, moving with the filter’s grain—not against it. Never twist or wring; this stretches mesh permanently.
Rinse Until Water Runs Clear
Soap residue creates a sticky film that attracts more dirt. Squeeze excess water without twisting, then lay flat on a towel. Air-dry for 12-24 hours in a ventilated area—never use heat. Hair dryers warp frames and shrink mesh.
Electrostatic Filter Cleaning Protocol

Soak and Swish Method
For reusable electrostatic filters (common in Coway and Winix models), mix 1 teaspoon mild detergent per quart of warm water. Soak for 5-10 minutes, then brush from the clean side toward the dirty side to push debris out—not deeper in. Aggressive scrubbing destroys the static charge.
Rinse Direction Is Critical
Hold the filter at a 45-degree angle under running water, maintaining your brushing direction. Stop when water runs clear and the filter feels lighter. Stand it on edge with a fan blowing nearby—complete drying takes 8-12 hours. Never skip drying; trapped moisture breeds mold.
Carbon Filter Maintenance That Works
Vacuum Only the Mesh Layer
While carbon pellets can’t be cleaned, the surrounding mesh collects surface dust. Use your vacuum’s upholstery attachment on lowest suction with light pressure. One pass is enough—excessive vacuuming damages the mesh.
Immediate Replacement Triggers
Swap carbon filters when:
– Odors return within 2 hours of cleaning
– Filter appears dark gray or black
– Your unit’s “filter change” light activates
– You have pets or smokers in the household
Fix These 3 Post-Cleaning Failures
Weak Airflow After Reassembly
If output feels weaker, check:
– Gaps from misaligned filters (remove and reinstall)
– Hidden moisture (dry another 6 hours)
– Soap residue (rewash with water only)
– Tears from rough handling (replace immediately)
Musty Smells Persisting
This means mold growth or saturated carbon. Replace carbon filters first. For washable filters, ensure 100% dryness and wipe the entire unit interior with a 1:10 bleach-water solution. Run a dehumidifier if humidity exceeds 50%.
Black Mold Spots Visible
Discard affected filters immediately. Clean the housing with bleach solution, dry for 24 hours, and install new filters. In humid climates, run your purifier daily to prevent recurrence.
Maintenance Schedules That Prevent Damage
Pre-Filter Cleaning Timelines
- Bedrooms (light use): Every 3 weeks
- Living rooms (moderate use): Every 2 weeks
- Pet households: Weekly
- Visible dust buildup: Clean immediately
Permanent Filter Calendar
- Standard homes: Clean every 3 weeks
- Allergy sufferers: Clean bi-weekly
- Performance drop: Clean when airflow decreases
Verify Success With These 2 Tests
Airflow Pressure Check
Run your unit on high for 60 seconds. Hold your hand 6 inches from the output—airflow should feel strong and consistent. Weak output means recheck installation or drying.
Tissue Efficiency Test
Place a white tissue 6 inches from the vent while running. After 5 minutes, minimal dust on the tissue confirms restored filtration. Noticeable freshness within 2 hours is another green light.
Long-Term Filter Care Strategies
Quarterly Deep Clean Checklist
Every 3 months:
1. Vacuum internal compartments and fan blades
2. Wipe exterior with damp microfiber cloth
3. Clean intake/exhaust vents with soft brush
4. Test all settings and indicator lights
Smart Storage for Seasonal Units
Before storing:
– Clean and dry filters completely
– Store in original packaging or sealed bags
– Keep in temperature-controlled spaces
– Label with last cleaning date
Bottom line: Wash pre-filters and electrostatic filters monthly, but never waste time cleaning true HEPA or carbon filters—replace them on schedule. Set phone reminders for “pre-filter clean” every 2 weeks and “carbon replace” every 90 days. Clean filters cut energy costs by 15% and extend your purifier’s life by 3+ years. Your clean air starts with filters that actually work—not ones pretending to.


