
Your Clorox air purifier battles dust, pet dander, and odors daily—but when filters clog, performance plummets fast. A dirty filter not only reduces air quality but strains your unit’s motor, leading to costly repairs or premature failure. The good news? Most Clorox models feature washable pre-filters and straightforward maintenance that takes under 30 minutes.
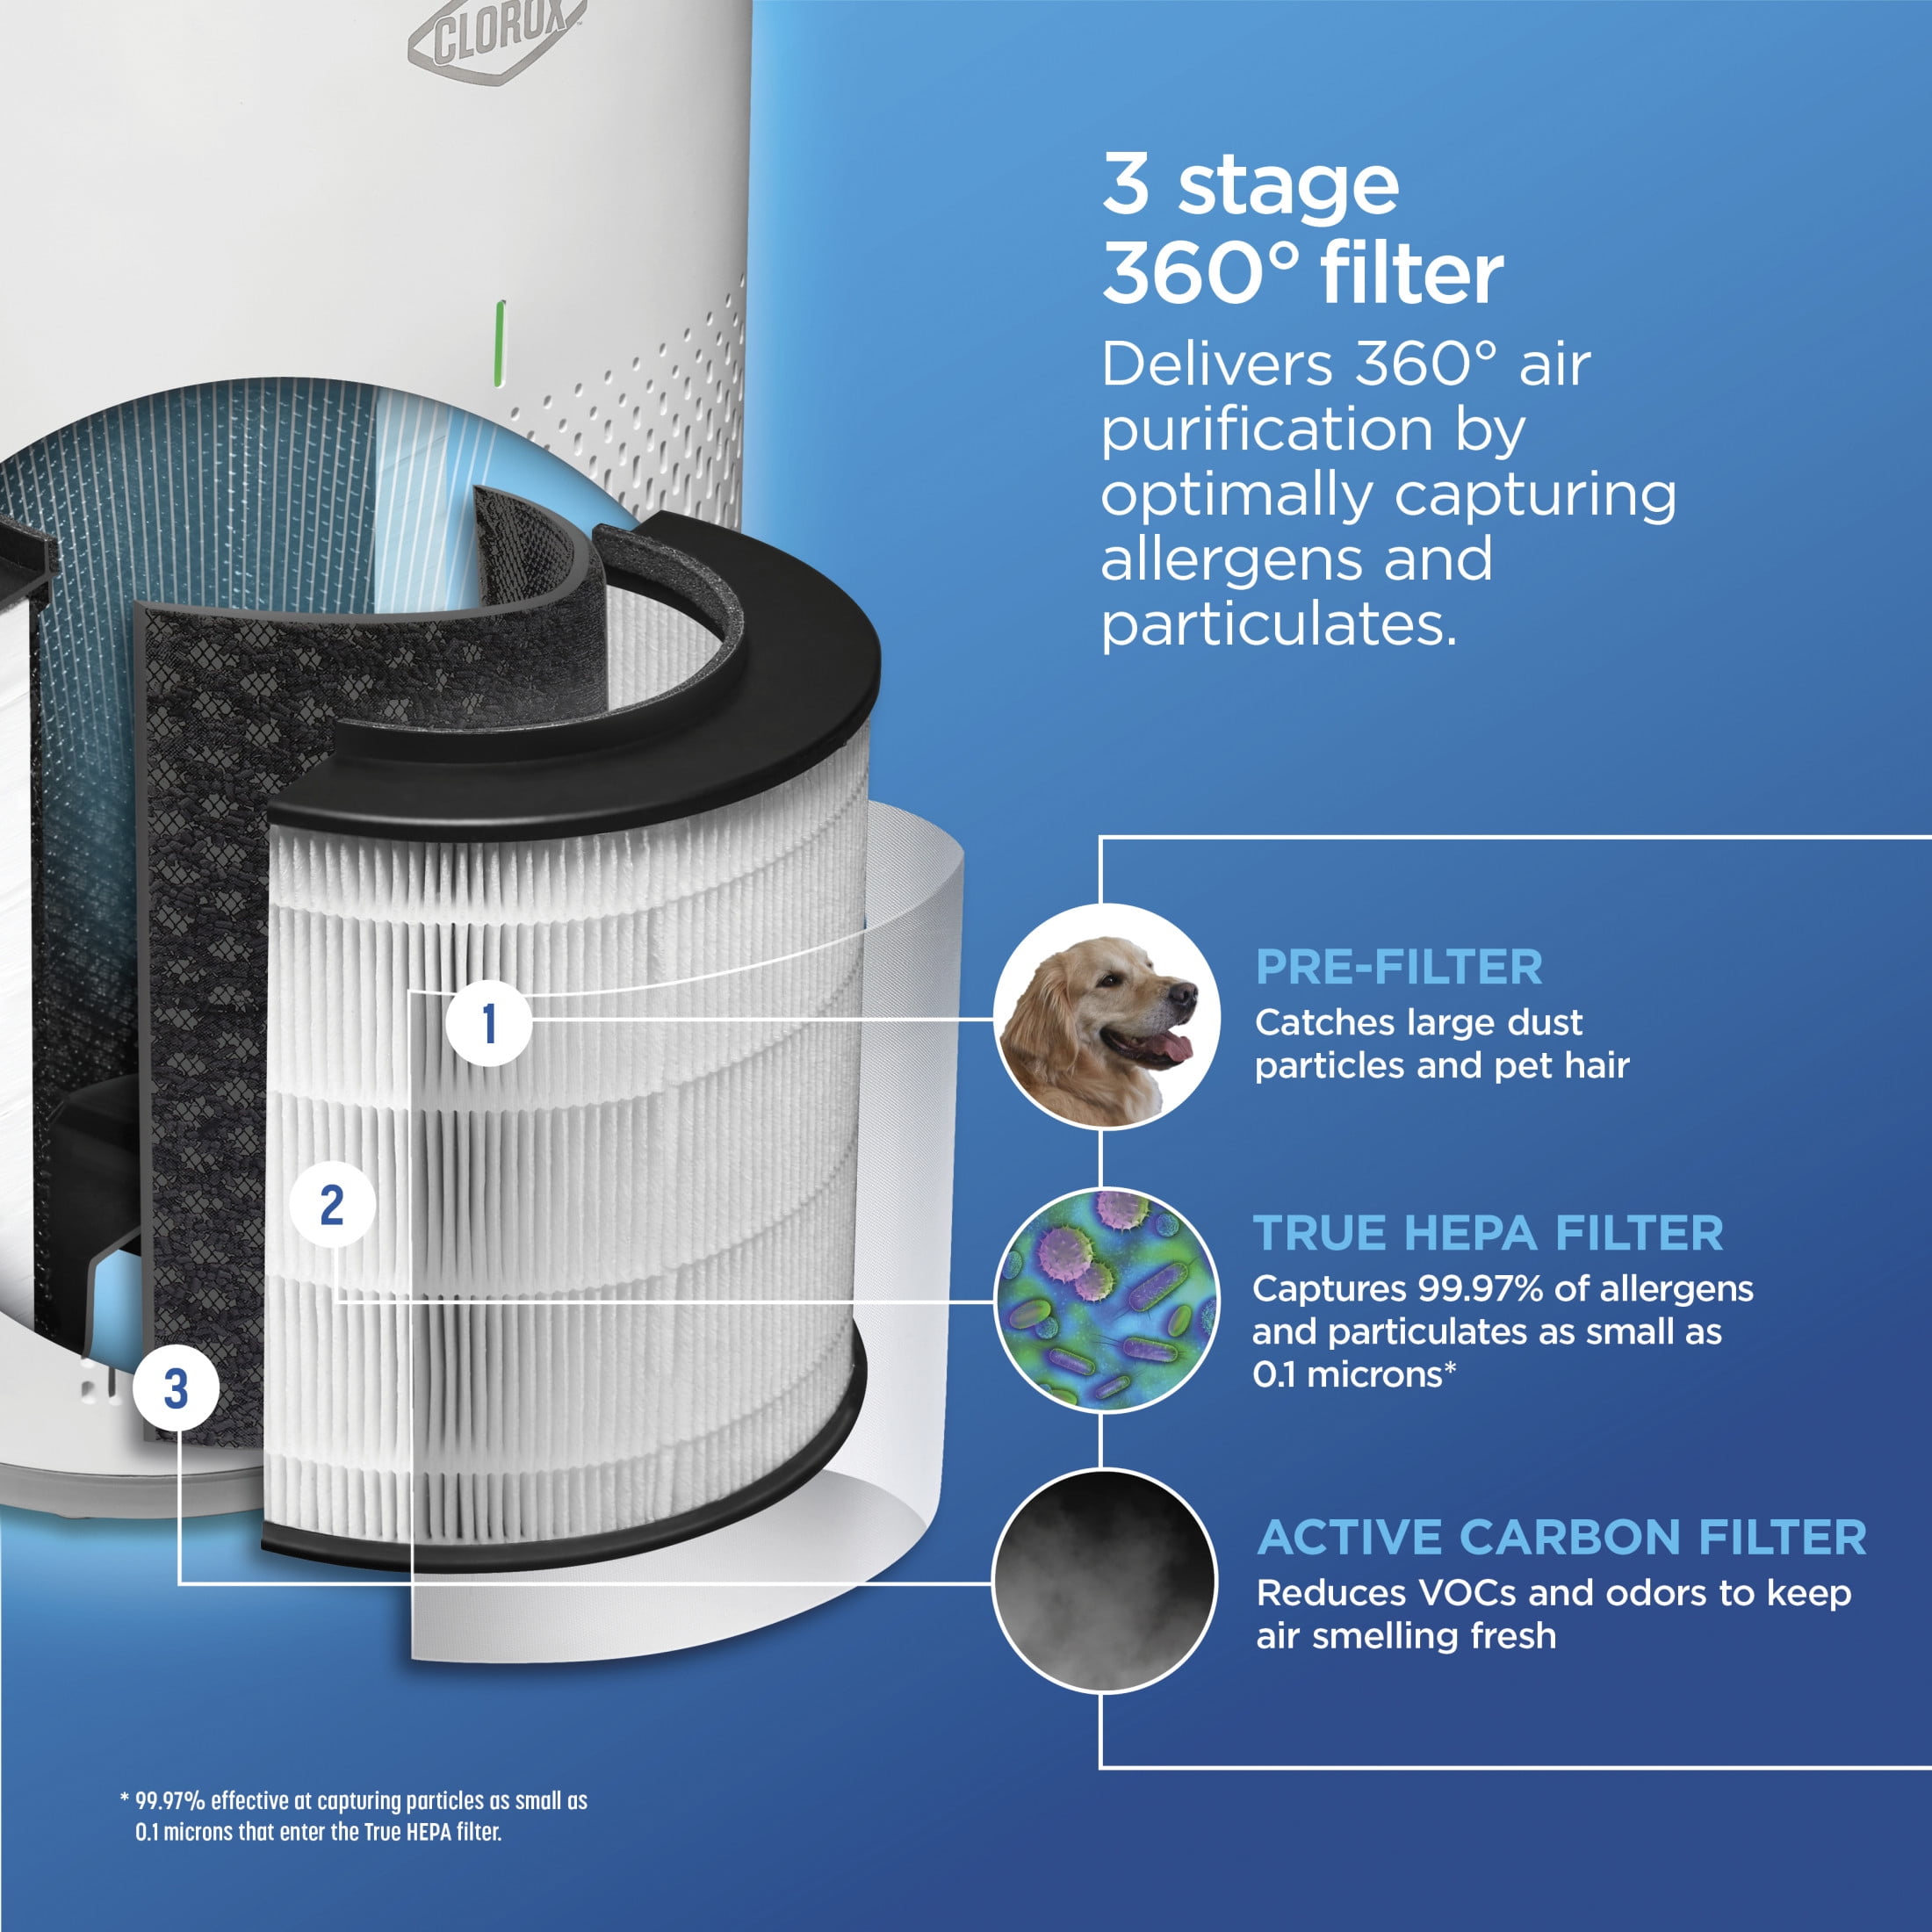
This guide walks you through the exact steps for cleaning every filter type across Clorox’s tabletop, medium room, and large room models. You’ll learn which filters can be washed, which need replacement, and the warning signs that indicate it’s time for maintenance. Proper how to clean Clorox air purifier filter techniques ensure your device continues capturing 99.97% of particles as small as 0.3 microns.
Quick Filter Type Identification
Before grabbing your cleaning supplies, determine your model’s filter system. Each Clorox series uses different configurations:
Tabletop Models (11010): Single replaceable HEPA-type filter with carbon layer
Medium Room (11020): Washable pre-filter + replaceable HEPA + carbon filters
Large Room (11030): Three-stage system with individual filter compartments
Check your model number on the back panel, then proceed with the specific cleaning instructions for your system. This identification step prevents unnecessary filter replacements and ensures you use the correct cleaning method.
Essential Pre-Cleaning Steps
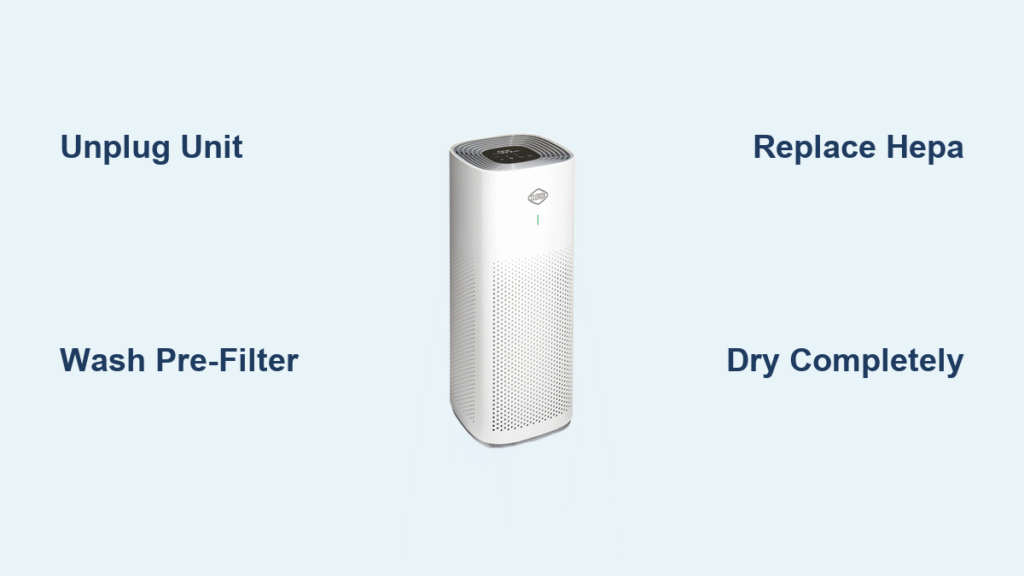
Power Down Safely
Unplug your unit completely—never attempt filter maintenance while powered. Place the purifier on a protected surface like an old towel or newspaper to catch debris. This safety step prevents electrical hazards and contains mess during cleaning.
Gather Your Materials
- Vacuum with brush attachment
- Mild dish soap (Dawn or similar)
- Two clean towels
- Compressed air can (optional)
- Dust mask (recommended for heavily soiled filters)
Open Filter Compartments
Tabletop models: Remove rear panel by sliding upward
Medium room: Press side tabs and pull front panel forward
Large room: Press side latches and swing open side panel
Take a photo of filter orientation before removal—this prevents reinstallation headaches later. Proper compartment access ensures you can clean all filter types without damaging your unit.
Washable Pre-Filter Cleaning Process

Remove and Initial Cleaning
Gently pull the pre-filter frame straight out, noting the mesh side faces the incoming air. Never force removal—if stuck, check for additional release tabs. The pre-filter captures larger particles to extend your main filter’s life.
Dry Debris Removal
Use your vacuum’s brush attachment on low suction, working in the direction of airflow arrows. Focus on corners where pet hair accumulates. For stubborn debris, use compressed air at a 45-degree angle. This dry cleaning step removes 80% of debris before washing.
Washing Method
Rinse the pre-filter under lukewarm water until the runoff appears mostly clear. Apply a pea-sized amount of dish soap and gently massage through the mesh—no scrubbing needed. Rinse thoroughly until water runs completely clear. Never use hot water or harsh chemicals as they can damage the filter media.
Proper Drying Technique
Squeeze excess water gently without twisting the frame. Pat dry with a towel, then air-dry for 24-48 hours. The filter must be bone-dry before reinstallation to prevent mold growth. Installing damp filters is the #1 cause of musty odors in Clorox purifiers.
Non-Washable HEPA Filter Care
When to Replace vs. Clean
Hold your HEPA filter up to a bright light. If you can’t see light passing through evenly, replacement is necessary. HEPA filters typically last 6-12 months depending on usage and air quality. Unlike pre-filters, HEPA filters cannot be washed without damaging their delicate fibers.
Temporary Surface Cleaning (Extension Only)
For lightly soiled filters between replacements:
1. Vacuum the intake side using low suction and brush attachment
2. Work in straight lines following airflow direction
3. Use compressed air from the clean side to dislodge embedded particles
4. Limitation: This extends life by 2-4 weeks maximum
Replacement Indicators
Replace immediately if you notice:
– Visible tears or gaps in filter media
– Persistent odors despite carbon filter replacement
– Significant airflow reduction
– Gray/black discoloration throughout
Activated Carbon Filter Guidelines
Understand Carbon Limitations
Carbon filters cannot be washed or effectively regenerated. Once saturated with odors and VOCs, replacement is the only option. Expect 3-6 month lifespans in normal conditions. No amount of washing will restore carbon’s odor-absorbing capacity.
Temporary Odor Reduction
While not a fix, sunlight exposure can reduce some odors:
1. Place carbon filter in direct sunlight for 2-3 hours
2. Position in well-ventilated area for 24-48 hours
3. Effectiveness: May reduce odors by 20-30% temporarily
Replacement Timing
Replace carbon filters when:
– Persistent cooking or pet odors remain
– Filter appears visibly darker or heavier
– It’s been 3+ months since last replacement
– Your unit’s filter indicator activates (model-specific)
Model-Specific Deep Cleaning
Medium Room (11020) Procedure
- Disassembly Order: Pre-filter → HEPA → Carbon
- Interior Cleaning: Vacuum the empty compartment thoroughly
- Filter Check: Replace HEPA and carbon if due, clean pre-filter
- Reassembly: Ensure each filter clicks fully into place
Large Room (11030) Deep Clean
- Complete Removal: Take out all three filter types
- Fan Blade Access: Use compressed air to clean visible fan blades
- Compartment Wipe: Damp cloth on interior walls, dry completely
- Color-Coded System: Match filter colors to compartment labels
Tabletop (11010) Maintenance
Since this model uses combined filters, replacement is typically more practical than cleaning. Clean the exterior vents monthly and replace the entire filter cartridge every 6-12 months.
Performance Troubleshooting After Cleaning

Common Post-Cleaning Issues
Initial dust release: Normal for 1-2 hours after deep cleaning
New filter odor: Temporary scent from manufacturing, fades within 48 hours
Increased noise: Usually indicates improper filter seating
Quick Fixes
- Recheck all filter alignments using your earlier photo
- Ensure filters click fully into tracks
- Verify panel closures aren’t obstructed by filter edges
- Run unit on high for 30 minutes to clear residual dust
Filter Replacement Shopping Guide
Exact Part Numbers
- 11010: Filter Set 11010RF ($25-35)
- 11020: Pre-filter 11020PF ($8-12), HEPA 11020HF ($25-35), Carbon 11020CF ($15-20)
- 11030: Complete Set 11030FS ($45-65)
Best Retail Sources
Amazon: Subscribe & Save options available, check reviews for counterfeit warnings
Home Depot/Lowe’s: Often stock locally, price match available
Clorox Direct: Guaranteed authentic, occasional bundle deals
Maintenance Schedule That Works
Weekly Tasks
- Wipe exterior vents with microfiber cloth
- Quick visual pre-filter check
- Empty surrounding area of dust sources
Bi-weekly Routine
- Pre-filter vacuum or wash
- Check filter indicator lights (if equipped)
Quarterly Deep Clean
- Complete disassembly and interior vacuuming
- Replace HEPA/carbon filters as needed
- Document filter replacement dates
Safety and Disposal Best Practices
Filter Disposal Method
Seal used HEPA filters in plastic bags before trash disposal to prevent allergen release. Check local recycling programs for carbon filters—some municipalities accept them. Never burn used filters as they contain synthetic materials.
Health Considerations
Always wear a dust mask when handling heavily soiled filters, especially if you’re sensitive to allergens. Clean filters outdoors when possible to prevent indoor contamination. This how to clean Clorox air purifier filter process should never compromise your breathing health.
Mold Prevention
Never reinstall damp filters. If you detect musty odors after cleaning, the filter isn’t dry enough. Complete drying prevents mold growth that could spread through your home. Moldy filters are more dangerous than dirty ones—they release spores directly into your air.
Extend Filter Life Between Cleanings
Environment Control
Position your purifier away from high-dust areas like litter boxes or workshop zones. Run ceiling fans to reduce settling dust that clogs filters faster. This simple adjustment can extend filter life by 30%.
Usage Optimization
Lower fan speeds extend filter life significantly. Use auto mode when available, and increase speed only during high-pollution events like cooking or wildfire smoke. Running on high constantly cuts filter life in half.
Pre-Filter Priority
Clean your washable pre-filter every 2-4 weeks—this single step can double your HEPA filter lifespan by catching larger particles first. Think of it as a protective shield for your more expensive filters.
Clean filters mean cleaner air and a longer-lasting Clorox purifier. Mark your calendar for the next pre-filter cleaning in two weeks, and set annual reminders for HEPA replacements. Your lungs (and wallet) will thank you for the consistent maintenance routine. Following this how to clean Clorox air purifier filter guide ensures optimal performance while extending your unit’s lifespan—providing you with the cleanest possible air in your home.


