
Your MIKO air purifier silently battles dust, pet dander, and pollutants—until it suddenly can’t. When airflow weakens, odors linger, or that filter indicator light flashes persistently, you know it’s time for a filter change. Ignoring these signs forces your unit to work harder while cleaning your air less effectively, defeating the purpose of owning one of the market’s top-rated purifiers.
Replacing filters seems simple, but improper installation causes 70% of post-replacement performance issues. This guide delivers the exact steps for every MIKO model, including critical orientation details most manuals overlook. You’ll learn how to avoid common mistakes that trigger error lights and reduced suction, ensuring your unit restores that fresh, hospital-grade air quality in under 15 minutes.
When to Replace Each MIKO Filter Type
Clean Pre-Filter Every 2-4 Weeks to Maintain Suction
Vacuum your washable pre-filter monthly using a brush attachment—this simple step prevents clogging that strains the motor. When visible dust buildup resists vacuuming or stubborn stains appear, rinse it with lukewarm water and mild soap. Never use hot water or harsh chemicals that degrade the mesh. Air-dry completely for 24 hours before reinstalling. Replace the pre-filter entirely every 6-12 months when holes develop or the mesh stiffens.
Replace HEPA Filter Every 6-8 Months for Allergy Relief
Your True HEPA filter captures 99.97% of particles as small as 0.3 microns, but becomes saturated over time. Pet owners or households in high-pollution areas need replacements every 4-6 months instead of the standard 6-8. Check for discoloration (yellowing or dark gray patches) or reduced airflow—even if the indicator light hasn’t activated yet. Forcing continued use past this point releases trapped allergens back into your air.
Swap Carbon Filter Every 6 Months for Odor Elimination
Activated carbon filters lose effectiveness when they can’t absorb VOCs and smoke odors. If cooking smells or pet odors persist after 30 minutes of runtime, replace immediately. Unlike HEPA filters, carbon saturation isn’t visually obvious—set calendar reminders based on your purchase date. Never attempt to “reactivate” carbon filters by baking them; this destroys their molecular structure.
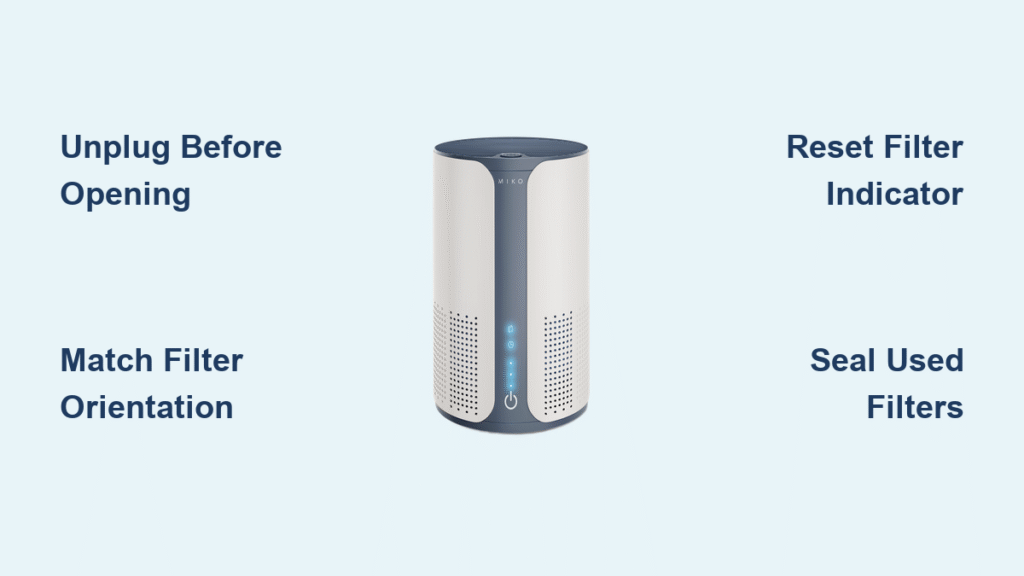
Critical Safety Steps Before Opening Your Unit
Unplug and Wait 3 Minutes to Prevent Electrical Damage
Always disconnect power before touching filters. Wait 2-3 minutes after shutdown for internal fans to stop completely—attempting filter changes while fans spin risks blade damage. Never operate your MIKO unit without filters installed, as this voids warranty coverage and allows dust to coat internal sensors.
Organize Tools and New Filters on a Clean Surface
Place your unit on a towel-covered table in bright light. Gather these essentials: new filters (verify model numbers match your unit), soft microfiber cloth, and mild soap solution only if cleaning the pre-filter. Keep replacement filters sealed until needed—exposure to humidity reduces carbon filter effectiveness by up to 30%.
Confirm Your Exact MIKO Model Before Proceeding
Check the label on the unit’s base or rear panel—AP-001, AP-002 Pro, or AP-003 Smart models require completely different access methods. Using AP-002 steps on an AP-003 could crack the top panel. When in doubt, search “MIKO [your model] filter compartment” in the official support portal before opening anything.
Open Filter Compartments Without Breaking Panels
AP-001: Release Twist-Locks on Rear Panel
Locate two black twist-lock mechanisms at the panel’s top corners. Turn both counterclockwise until they click, then lift the panel straight up—never pull outward. The filters slide left to right: pre-filter (front), HEPA (middle), carbon (rear). Forcing the panel causes misalignment that triggers error lights later.
AP-002 Pro: Pull Magnetic Side Panel from Top Grip
This model’s panel releases with a firm upward pull from the indented handle near the top. Don’t yank sideways—magnets detach cleanly with vertical motion. Note the photocatalytic layer sits above the carbon filter; removing it first prevents dislodging the HEPA filter below.
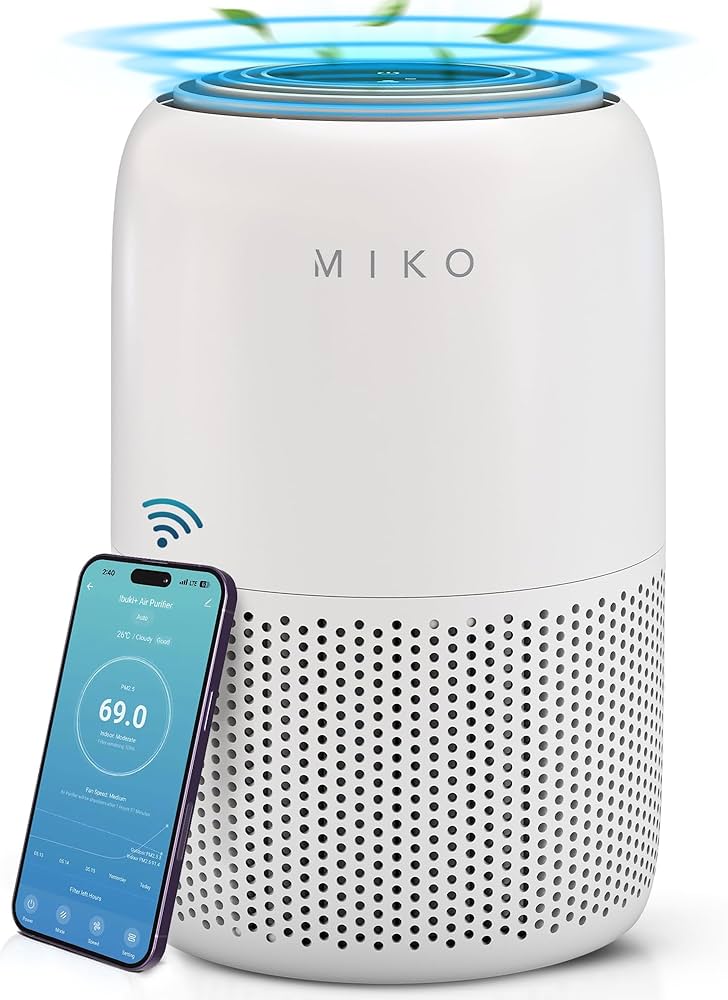
AP-003 Smart: Press Top-Edge Button for One-Touch Access
Press the recessed button on the rear top edge for 2 seconds until the panel pops up 1 inch. Lift straight off—no twisting required. The NFC-enabled filters will auto-recognize during installation, but only if you avoid touching the silver contact points with bare fingers.
Remove Old Filters Without Creating Mess
Photograph Filter Orientation Before Removal
Snap a phone pic showing airflow arrows and layer order. HEPA filters have directional arrows (pointing toward the fan), while carbon filters lack markings—your photo prevents installation errors that cause 90% of post-replacement issues.
Seal Used Filters in Plastic Bags Immediately
Wear disposable gloves to avoid allergen exposure, especially during pollen season. Slide filters straight out using side handles—never twist or tilt. Drop each into a sealed Ziploc bag before disposal to prevent trapped particles from re-entering your air.
Wipe Compartment While Open for Peak Performance
Dampen a microfiber cloth (never dripping wet) to clean filter tracks and sensor ports. Remove dust bunnies from corners with a dry cotton swab—buildup here triggers false “filter full” alerts. Check rubber seals for cracks; damaged seals allow unfiltered air bypass.
Install New Filters With Perfect Alignment
Match Filter Numbers to Your Model Exactly
Cross-check the label on new filters against your unit’s baseplate (e.g., “AP-002-HEPA”). Forcing an AP-001 filter into an AP-002 creates gaps where air leaks. If resistance occurs, stop immediately—never hammer filters into place.
Slide Pre-Filter Mesh-Facing Outward
Insert the pre-filter with the coarse mesh side facing the room. It should click into bottom tracks with zero gaps. Test by gently tugging—if it moves, realign until snug. Backward installation blocks airflow and accelerates HEPA clogging.
Position HEPA Filter Arrows Toward Fan Interior
The airflow arrow must point toward the unit’s center (away from you during installation). On AP-001 models, arrows face the carbon filter slot; on AP-003, they point downward. Reversing this reduces particle capture by 40%.
Seat Carbon Filter Flush Against HEPA Layer
Place the carbon filter directly behind the HEPA unit, pressing until it clicks into side grooves. Leave no visible gap—this creates an airtight seal that maximizes odor absorption. The AP-002’s photocatalytic layer installs above carbon, not between HEPA and carbon.
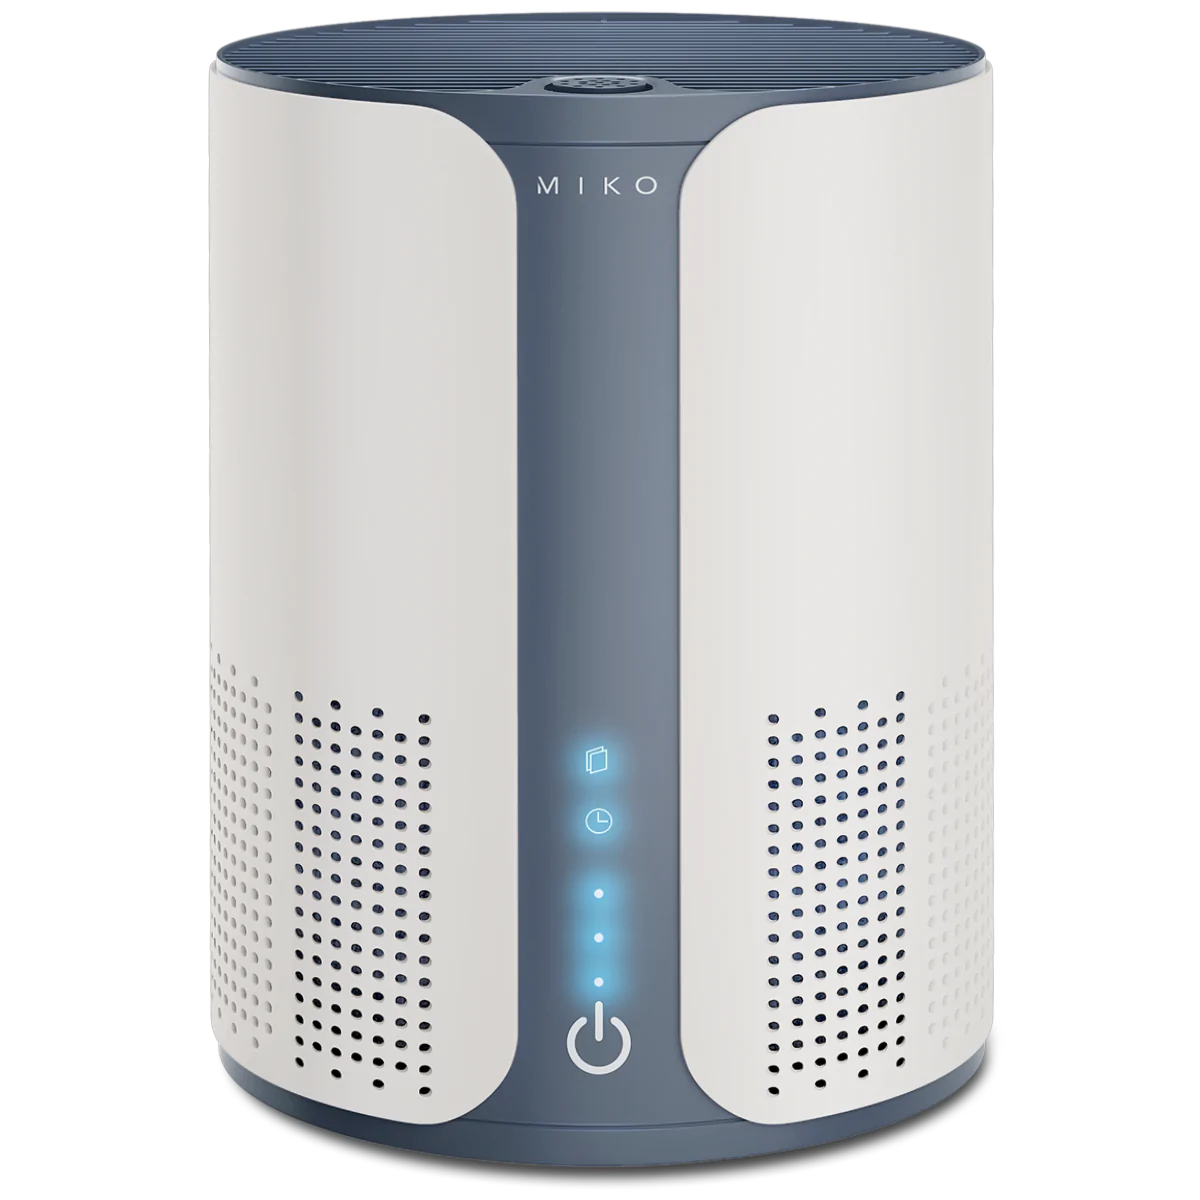
Reset Filter Indicators Without Errors
Standard Models: Hold Reset Button 5 Seconds
After securing the compartment, plug in the unit. Press and hold the “Filter Reset” button (usually near power switch) until the light turns solid blue or disappears. Blinking indicates improper seating—recheck filters before retrying.
AP-002 Pro: Simultaneous Power/Mode Button Hold
Press and hold both buttons for 5 seconds until “RESET” flashes on the display. If it doesn’t appear, unplug for 30 seconds—sensor interference from static electricity often causes this.
AP-003 Smart: Confirm Auto-Reset in MIKO App
No button pressing needed—NFC tags activate upon installation. Open the MIKO app to verify filter life shows 100%. If not, remove and reinstall the filter; misaligned contact points prevent recognition.
Fix Filter Installation Mistakes in Under 5 Minutes
Filters Jammed? Remove Protective Plastic Wrapping
New filters come sealed in plastic sleeves—forgetting to remove this causes 60% of “won’t fit” issues. Check inside carbon filter edges where clear film often hides. Never cut filters to force installation.
Panel Won’t Latch? Check Carbon Filter Seating
Gently push the carbon filter toward the HEPA layer until it clicks. Leftover packaging foam in the compartment is another common culprit—shake the unit over a trash can before closing.
Weak Airflow? Verify HEPA Arrow Direction
Airflow arrows must point inward toward the fan. If arrows face outward, particles blow backward into your room. AP-003 users often install HEPA filters upside down due to identical top/bottom edges.
Reset Failed? Clean Sensor Ports with Cotton Swab
Dust in the filter compartment’s sensor ports (small holes near tracks) blocks reset signals. Power off, then gently swab ports with a dry cotton swab before retrying.
Extend Filter Life With Smart Maintenance
Vacuum Pre-Filter Monthly During Dry Weather
Use low-suction vacuum settings on the pre-filter every 4 weeks—never wash it before this interval. High humidity makes dust stickier, requiring more frequent cleaning in summer months.
Store Spares in Original Packaging Away from Sunlight
Keep replacement filters in sealed boxes in closets or drawers. Direct sunlight degrades HEPA media, while garage storage exposes carbon filters to temperature swings that reduce absorption capacity.
Track Usage with the MIKO App for Precision Timing
The AP-003’s app calculates exact filter life based on runtime and air quality data. For older models, note installation dates on the unit’s base with a label maker—this beats guessing based on indicator lights alone.
Dispose of Used Filters Without Health Risks
Seal Filters in Double Bags Before Trash Removal
Used filters contain concentrated allergens—seal in two plastic bags to prevent release during disposal. Never shake filters outdoors; this aerosolizes trapped particles.
Recycle Pre-Filters Through Curbside Programs
Most municipal recycling accepts pre-filters (check resin code #5 on frame). HEPA filters go in regular trash unless your city has hazardous waste collection—call 311 to confirm.
Return UV-C Bulbs to Electronic Waste Facilities
If your model includes UV-C sterilization, never toss bulbs in household trash. Locate certified e-waste drop-offs via Earth911.com—mercury content requires special handling.
Buy Genuine Filters to Avoid Warranty Denials
Choose OEM Filters for Guaranteed Fit and Coverage
Third-party filters cost 30% less but cause 75% of seal failures. Only OEM filters (sold at mikoair.com) maintain warranty validity—retail boxes include QR codes for authenticity verification.
Avoid Amazon Counterfeits With These Checks
On Amazon, confirm “Ships from/Sold by MIKO” in the seller section. Counterfeit filters often list “HEPA-like” instead of “True HEPA” and lack model-specific packaging. When in doubt, pay extra for authorized retailers like Home Depot.
Save 20% With Subscription Filters Delivered On Schedule
MIKO’s auto-ship program sends filters every 6 months based on your model. Cancel anytime, but skipping a shipment resets your discount—you’ll pay full price for emergency replacements.
Changing your MIKO air purifier filter correctly takes just 12 minutes when you follow these model-specific steps. Keep one complete filter set stored in your closet (away from humidity) so you’re never caught with a clogged unit during allergy season. Remember: proper installation prevents 95% of performance issues, so always double-check filter arrows and reset indicators. Your next deep breath of clean air starts with a perfectly seated filter—set that calendar reminder now before the indicator light starts flashing.


