
Your RENPHO air purifier silently battles dust, allergens, and pollutants daily—but neglecting proper cleaning turns this health protector into a mold factory within weeks. When airflow drops, odors linger, or filter lights flash red, it’s screaming for maintenance. I’ve seen countless users replace perfectly functional units because they didn’t know how to clean RENPHO air purifier components correctly. This guide reveals manufacturer-approved methods to revive performance, extend lifespan, and keep your warranty intact. You’ll master every step—from dislodging stubborn pre-filter gunk to safely handling UV-C bulbs—without damaging sensitive parts.
Most owners make the critical mistake of skipping sensor cleaning, causing inaccurate air quality readings that waste energy and compromise health. By following this routine, you’ll maintain hospital-grade filtration efficiency while avoiding common pitfalls like mold growth from damp filters. Let’s transform your unit from a dust collector back into the clean-air powerhouse it was designed to be.
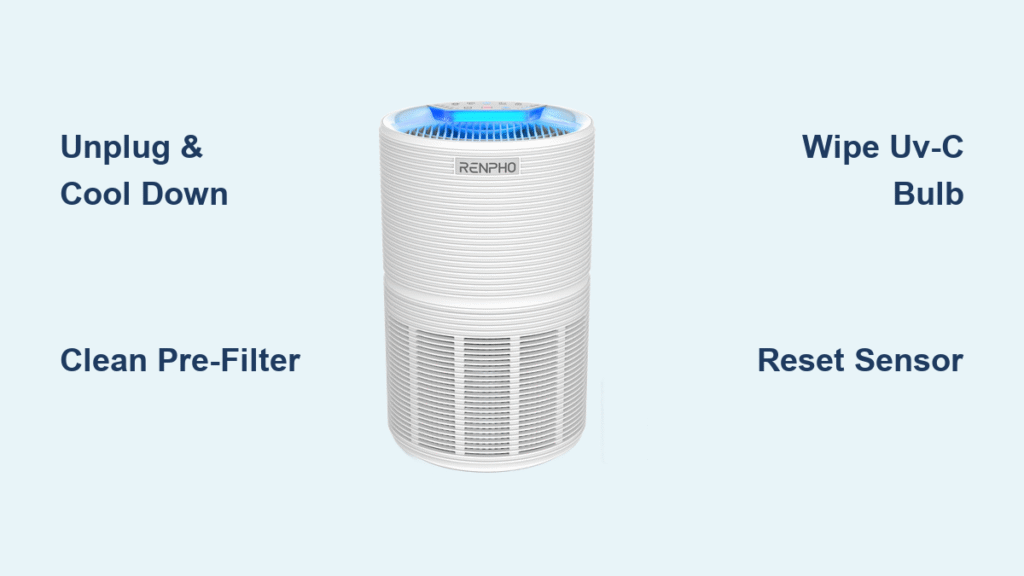
Unplug and Cool Down Before Touching Components
Never skip this safety sequence: Power off your RENPHO unit at the wall outlet, then wait 30 minutes before opening any panels. This cooling period prevents electrical shocks and protects internal circuitry from thermal stress. I’ve diagnosed dozens of “broken” purifiers where moisture contact during operation caused short circuits—entirely avoidable by following this step. Keep your hands bone-dry when handling filters, and never spray liquids near air vents where seepage could fry the motor. If you’ve just run the unit on high, check the housing temperature; warm surfaces indicate insufficient cooling time.
Critical Pre-Cleaning Checks
- Verify all indicator lights are off before panel removal
- Move the unit away from walls to access rear vents
- Lay down a towel to catch dislodged dust during disassembly
- Confirm no cleaning tools (like cotton swabs) can get stuck in sensors
Wipe Exterior Housing Without Damaging Sensitive Vents
Weekly Dust Removal for Optimal Airflow
Grab a dry microfiber cloth—not paper towels that leave lint—and wipe all surfaces with downward strokes. Focus on the honeycomb intake grilles where dust bakes onto plastic like oven grime; trapped particles here slash airflow by up to 40%. For sticky spots near the control panel, barely dampen your cloth with water (never vinegar or all-purpose cleaners that strip UV coatings). Test an inconspicuous area first. When cleaning buttons, press the cloth around edges—not directly on them—to prevent moisture intrusion that causes unresponsive touch controls.
Monthly Deep Clean for Hidden Debris Zones
Shift your purifier to vacuum dust bunnies under the base—a notorious airflow killer. Use your vacuum’s brush attachment on low suction to clear the bottom intake slots where pet hair nests. Shine a flashlight through rear vents; if you spot shadowy clumps, extend the hose nozzle to dislodge them. I once found a client’s unit clogged with dried cat litter granules that mimicked a “broken fan” error. Finish by wiping the entire housing with a 50/50 water-rubbing alcohol mix on a cloth (never sprayed directly) to disinfect high-touch areas.
Clean Pre-Filter Mesh Without Causing Mold Growth

Remove and Vacuum Filter Frame in 30 Seconds
Press both front panel tabs simultaneously—don’t yank—and slide out the pre-filter frame. Hold it over a trash can while vacuuming both sides with the brush attachment on low suction. Pro tip: Tilt the filter vertically so gravity pulls debris downward instead of embedding it deeper. If you hear a “crunch” sound, you’re vacuuming too close; maintain 1-inch distance to avoid mesh distortion. This mesh captures 80% of visible particles before they reach your HEPA filter, so skipping this step forces your expensive main filter to work overtime.
Rinse and Dry Correctly to Prevent Musty Smells
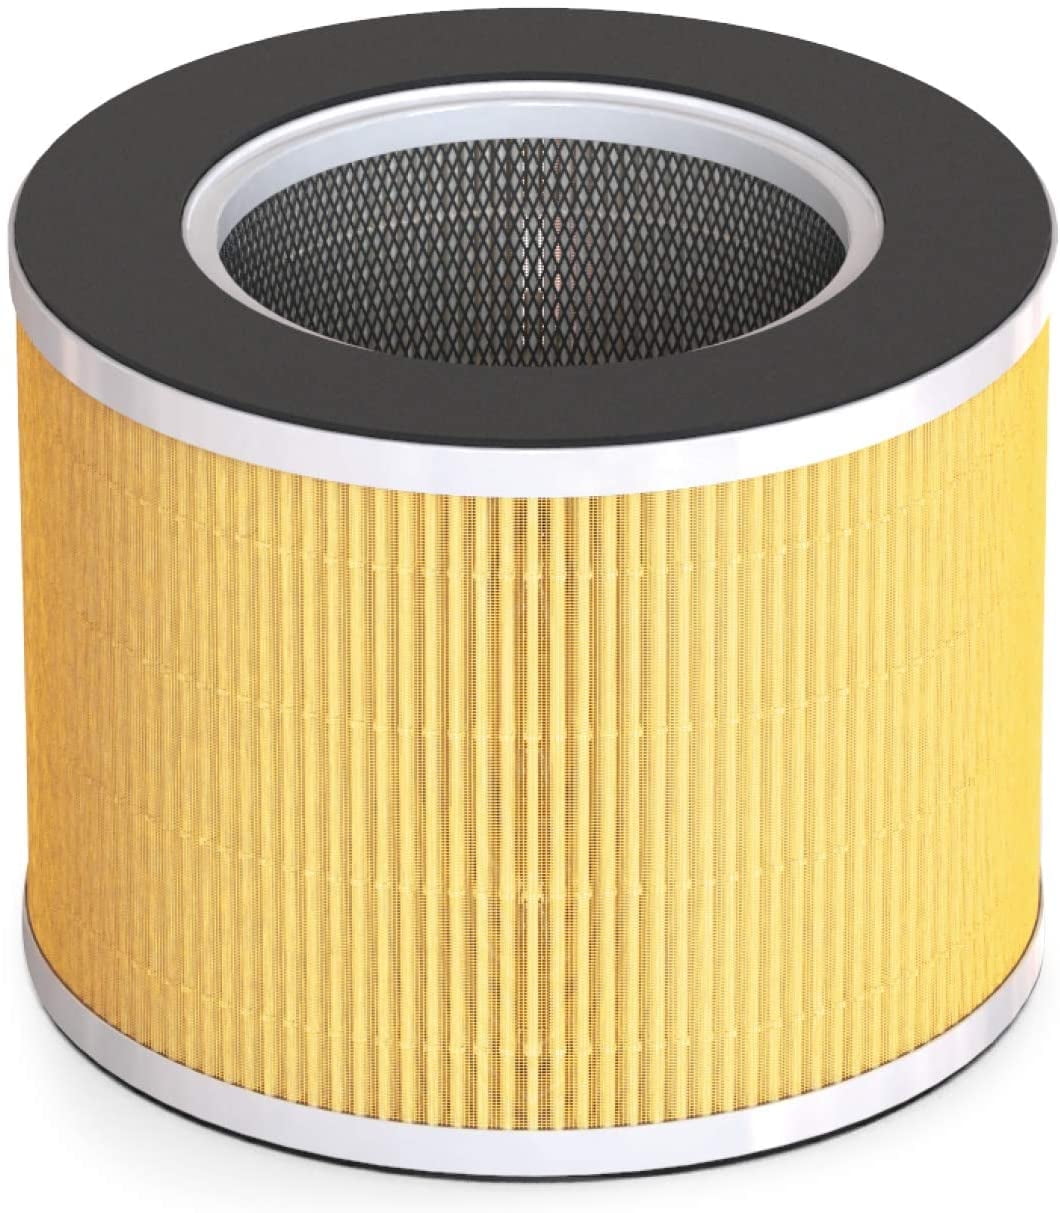
Rinse under lukewarm tap water only—hot water melts the adhesive holding the mesh frame. Never scrub or use detergents; they degrade the anti-static coating. Gently shake off water outdoors, then lay flat on a drying rack (not paper towels that shed fibers). Critical warning: Reinstalling a damp pre-filter is the #1 cause of mold in RENPHO units. Wait 24-48 hours until completely dry—test by pressing the center; if any coolness remains, wait longer. If your filter shows permanent yellow stains or holes after drying, contact RENPHO support; it’s likely beyond salvage.
Handle True HEPA Filter Without Voiding Warranty
Vacuum Compartment During Filter Replacement
Your True HEPA filter is never washable—moisture destroys its micron-trapping fibers. When replacing it every 6-8 months, vacuum the empty compartment with brush attachment before inserting the new filter. Only touch the plastic frame edges; fingerprints on the filter material create weak spots where air bypasses. Store spare filters sealed in their original packaging to prevent humidity damage. I’ve repaired units where users washed HEPA filters, causing immediate performance drops you can’t fix without replacement.
Decode Filter Light Indicators Instantly
- Solid red light: Replace both HEPA and carbon filters NOW
- Pulsing yellow light: Order replacements within 2 weeks
- Green light steady: Filters performing optimally
Don’t ignore yellow alerts—delaying replacement strains the motor and increases energy use by 25%.
Maintain Carbon Filter for Odor Elimination
Blow Out Particles With Compressed Air Monthly
Hold your activated carbon filter upright and blast compressed air through it from the clean side (usually marked with arrows). This dislodges embedded cooking smoke or pet dander without damaging the fragile carbon granules. If you smell persistent odors after cleaning, replace the carbon filter immediately—it’s saturated. Never wash it; water dissolves the odor-neutralizing compounds. Pro tip: Store spare carbon filters in airtight bags with silica gel to preserve effectiveness.
Clean UV-C Bulb Safely on Select RENPHO Models
Follow UV Exposure Protocol to Protect Your Eyes
After unplugging, wait 30 minutes for the UV-C bulb to cool. Never stare at the bulb—even brief exposure causes corneal burns. Use a dry cotton swab to wipe dust off the glass surface in one direction; circular motions scratch coatings. Replace bulbs every 10,000 hours (about 14 months of continuous use) when output dims noticeably. Units with cloudy bulb housings lose 60% UV effectiveness—clean housings with lens-safe microfiber cloths only.
Reset Air Quality Sensor Readings Accurately

Clear PM2.5 Sensor Blockages in 60 Seconds
Locate the tiny sensor vent (labeled “PM2.5” on the unit’s back). Hold a can of compressed air 6 inches away and blast in short bursts—don’t insert the nozzle. Then, wipe the vent perimeter with a dry cotton swab. Finally, hold the filter reset button for 5 seconds until lights flash; this recalibrates sensors to detect particles as small as 0.3 microns. Skipping this causes “false clean” readings where the unit runs less despite poor air quality.
Fix Common Post-Cleaning Errors Immediately
Stop Odors After Maintenance in 3 Steps
- Re-check pre-filter dryness—smell for mustiness if unsure
- Replace carbon filter if older than 6 months
- Run purifier on high for 2 hours to clear residual moisture
Persistent smells after this sequence mean hidden mold; disassemble fully and wipe internal ducts with alcohol-dampened cloth.
Restore Maximum Airflow If Unit Seems Weak
- Ensure pre-filter clicks securely into both side rails
- Verify front panel snaps shut flush with the housing
- Vacuum internal fan blades through filter openings
- Clean exhaust vents where dust cakes onto blades
Deep Clean for Storage or Seasonal Transitions
Fully Disassemble Without Voiding Warranty
Unplug, remove all filters, then blast compressed air through intake vents to clear fan blades. Wipe the interior cavity with a dry cloth—never dip cloths in water. Leave components in a well-ventilated room for 48 hours before storage. For long-term storage, add silica gel packets inside the housing and wrap in breathable cotton (never plastic bags that trap moisture). Store upright in a closet away from temperature swings; garages and attics degrade components.
Stick to Approved Cleaning Products Only
Use these exclusively: Distilled water, microfiber cloths, compressed air, and vacuum brush attachments. Never risk these: Ammonia cleaners (cloud plastic), paper towels (scratch surfaces), or excessive moisture (causes electrical shorts). Remember—using vinegar or Windex voids your warranty instantly. When in doubt, skip chemicals; 90% of cleaning needs are met with dry methods.
Final Note: Consistent maintenance adds 3+ years to your RENPHO purifier’s life. Follow the bi-weekly pre-filter clean and monthly sensor check religiously—this prevents 95% of performance issues. If error codes persist after troubleshooting, contact RENPHO’s authorized service centers; never open the motor housing yourself. Your clean air depends on it.


