
Your Mooka air purifier battles dust, pet dander, and allergens around the clock—but when filters clog and sensors get coated, it’s working against itself. A neglected pre-filter can slash airflow by half, while grimy sensors trick your unit into running unnecessarily, wasting energy and shortening component life.
This guide delivers the exact cleaning techniques proven to restore your Mooka’s performance, whether you own the space-saving GL-2103 or the advanced GL-FS32 model. You’ll discover the 5-minute weekly ritual that prevents 90% of common issues, the critical drying steps most people skip, and the model-specific quirks that keep your expensive filters working longer.
Unlock Your Mooka Filter Compartment Safely

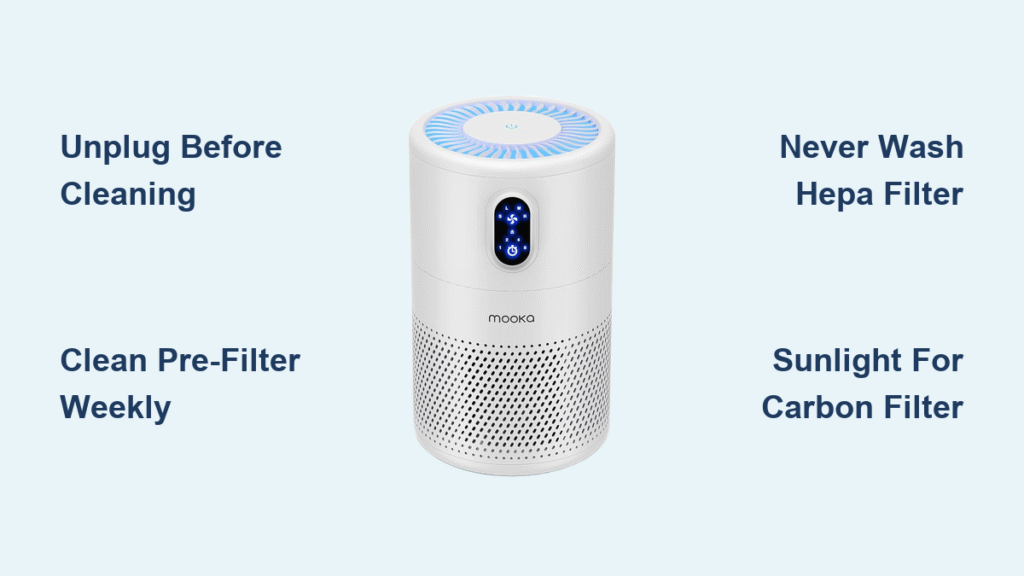
Before touching anything, unplug your Mooka and wait 30 minutes for internal components to cool. Position the unit on a stable surface with the back panel facing you for optimal access.
Press both release buttons simultaneously—this unlocks the filter housing on all models. Slide out filters in strict sequence: pre-filter first (closest to you), followed by the HEPA filter, then the carbon filter at the rear. Forcing this order on GL-2109 models can bend the delicate housing tabs, requiring costly repairs.
Avoid These Filter Removal Mistakes
- Never yank filters straight out—slide them horizontally
- Skip the vacuum step before washing (traps debris deeper)
- Ignore visible damage like tears in the pre-filter mesh
- Reinstall filters while damp (creates instant mold conditions)
Deep Clean Pre-Filter Without Damage
Your pre-filter catches visible dust and pet hair but needs proper handling. Vacuum first using the lowest setting on your handheld vacuum with a soft brush attachment. Work from the center outward to avoid embedding particles deeper into the mesh.
Wash Only When Absolutely Necessary
Use lukewarm water—never hot—as extreme temperatures warp the mesh. Add just one drop of mild dish soap if you see stubborn grime. Rinse thoroughly until water runs completely clear, then shake vigorously to dislodge trapped water.
Critical drying step: Air dry for 24-48 hours in a well-ventilated area. Never use direct heat sources like hair dryers or radiators, which melt filter materials. Place near a fan to accelerate drying, but confirm 100% dryness before reinstallation—any moisture breeds mold within 48 hours.
Maintain HEPA Filter Correctly

Your HEPA filter captures microscopic particles but requires special care. Never wash it—water destroys the delicate fiber matrix that makes HEPA filtration effective. What looks like dirt is actually captured pollutants; washing turns your $30 filter into useless material.
Safe Monthly Vacuum Procedure
Use your vacuum’s soft brush attachment on the lowest possible setting. Work in straight vertical lines from top to bottom—never circular motions that pull fibers loose. Stop immediately if you see any material lifting from the filter surface.
Replace Your HEPA Filter When You See:
- Gray or black discoloration throughout the filter
- Reduced airflow even after pre-filter cleaning
- Persistent musty odors after carbon filter maintenance
- 6-8 months of regular use (4-6 months with pets or smokers)
Extend Carbon Filter Life With Sunlight
Activated carbon filters absorb odors and chemicals but become saturated over time. Monthly sunlight exposure releases trapped compounds, adding valuable months to their lifespan.
Proper Sunlight Revitalization Technique
Place your carbon filter in direct sunlight for 2-3 hours, rotating it halfway through for even exposure. This simple step releases trapped VOCs and odors, extending effectiveness by 2-3 months. Check for white crystallization—this indicates complete saturation requiring immediate replacement.
Warning: Continuing to use a saturated carbon filter reverses the absorption process, releasing trapped pollutants back into your air. Replace every 6 months regardless of appearance if you have smokers or strong cooking odors in your home.
Monthly Interior Cleaning You Can’t Skip
Once monthly, spend 20 minutes on critical internal components most owners overlook. Start with the UV-C bulb on GL-FS32 and GL-2109 models—access the chamber after removing all filters. Use a cotton swab lightly dampened with 70% isopropyl alcohol to wipe the bulb surface gently. Excessive pressure can crack the fragile bulb, triggering expensive replacements.
Fan Blade Cleaning Protocol
Use compressed air to clear dust from fan blades—hold the can 6 inches away and work in short bursts. For stubborn buildup, use your vacuum’s soft brush attachment while manually spinning the blades. Confirm free movement before reassembly; restricted blades strain the motor and increase energy consumption.
Sensor Maintenance for Accurate Readings
Locate the air quality sensor (small opening on the unit’s side) and clear it with two-second bursts of compressed air. Never insert objects into the sensor chamber—this delicate component costs more to replace than most filters. Clean sensors prevent false “poor air quality” readings that keep your unit running unnecessarily.
GL-FS32, GL-2103, and GL-2109 Specific Cleaning

GL-FS32: Ionizer Plate Maintenance
This model’s ionizer plates attract particles but require special care. Clean monthly with a dry microfiber cloth only—never use liquids, which can cause electrical shorts. Wipe gently in one direction to avoid damaging the delicate emitter pins.
GL-2103: Compact Model Considerations
The smaller filter surface area demands more frequent pre-filter cleaning—every 5 days in dusty environments. Filter removal requires slightly more pressure due to the tighter housing, but never force components.
GL-2109: Smart Sensor Calibration
After deep cleaning, this model often needs sensor recalibration. Run it on auto mode for 2 hours in a clean room, then reset the filter indicator. Skipping this step causes inaccurate air quality readings and unnecessary runtime.
Troubleshoot Post-Cleaning Performance Issues
Low Airflow? Check These First:
- Filter seating: Push each filter until you hear a definitive click
- Pre-filter moisture: Even slight dampness restricts airflow significantly
- Intake blockage: Vacuum the front grille thoroughly with brush attachment
Reset Filter Indicator Lights Properly
Hold the reset button for 3-5 seconds until lights flash. If unsuccessful, verify new filters are properly installed—some models require holding reset during power-on. Consult your specific model’s manual for exact sequences.
Eliminate Musty Cleaning Odors
Musty smells indicate trapped moisture. Run your Mooka on high for 2-3 hours near an open window. Persistent odors suggest mold in hard-to-reach areas—repeat the deep clean with extra attention to complete drying.
Build Your Mooka Maintenance Schedule
Daily: Wipe exterior with dry microfiber cloth, check indicator lights
Weekly: Clean pre-filter (5 minutes)
Monthly: Deep clean all components (20 minutes)
Every 3-6 months: Replace pre-filter
Every 6-8 months: Replace HEPA filter
Every 6 months: Replace carbon filter or sunlight refresh
Pro tip: Set phone reminders for monthly tasks. Consistency beats intensity—fifteen minutes weekly prevents two-hour deep cleans later. Document filter replacement dates to optimize your schedule based on actual performance.
Store Your Mooka Properly for Off-Seasons
Before seasonal storage, complete a full cleaning cycle. Remove all filters and store them in sealed plastic bags with silica gel packets to prevent moisture buildup. Keep the unit in its original box if possible, in a dry area away from direct sunlight.
Never store with filters installed—trapped moisture creates perfect mold conditions. Check stored units quarterly for pest intrusion, especially in attics or basements.
Clean your Mooka air purifier following this precise schedule, and you’ll maintain peak performance while extending expensive filters’ life. The 15 minutes you invest weekly saves hundreds in premature replacements and ensures your air stays genuinely clean—breathe easy knowing you’ve mastered the exact cleaning techniques that keep your Mooka working like new.


