
Your Rainbow air purifier works tirelessly to remove dust, allergens, and unpleasant odors from your home’s air. When you notice reduced airflow, musty smells, or visible grime on components, it’s time for a thorough cleaning session. This practical guide gives you the exact procedures needed to restore your Rainbow air purifier to peak performance—whether you own a RainMate, E2 Black, or SE series model. Proper maintenance prevents mold growth, extends the life of your filters, and ensures you’re breathing the cleanest possible air in your home.
Most Rainbow owners don’t realize that regular cleaning can double their unit’s effective lifespan while improving air quality by up to 40%. When water basins develop slime buildup or filters become clogged, your purifier works harder but delivers less clean air. By following these specific cleaning techniques, you’ll avoid common pitfalls that lead to costly repairs or premature replacement. Let’s dive into the precise methods that will keep your Rainbow air purifier running efficiently for years to come.
Gather Rainbow-Specific Cleaning Supplies Before Starting
Assemble these essential items before disassembling your unit to avoid mid-cleaning interruptions. Your Rainbow air purifier requires gentle cleaning agents that won’t damage its precision components. Skip the harsh chemicals—Rainbow’s manufacturer specifically warns against using bleach, ammonia, or abrasive cleaners that can degrade rubber seals and leave toxic residues in your purified air.
You’ll need mild dish soap (unscented works best to avoid fragrance interference), several microfiber cloths, a soft-bristled brush or old toothbrush, warm water in a large basin, and white vinegar for sanitizing. A can of compressed air helps clear stubborn dust from vents, while cotton swabs reach tight spaces around the impeller shaft. Consider adding optional tools like a vacuum with brush attachment for pre-cleaning dust removal and a small mirror to inspect hard-to-see areas. Always wear gloves if you have sensitive skin, as prolonged water exposure can cause irritation during the cleaning process.
Execute Critical Power Down Safety Procedures
Never attempt cleaning your Rainbow air purifier while it’s connected to power—this creates serious electrical hazards and voids your warranty. Begin by unplugging the unit from the wall outlet, then press the power button to discharge any residual electricity. Wait at least 15 minutes to ensure the motor has cooled completely before handling internal components. Place your Rainbow on a stable, well-lit surface protected by towels to catch any accidental spills.
Position your unit horizontally with the handle facing upward—this critical step prevents water from seeping into the motor housing during cleaning. Many Rainbow owners make the mistake of cleaning while the unit is upright, leading to water damage that requires professional repair. Before proceeding, double-check that no indicator lights are illuminated, confirming the unit is fully powered down. This safety protocol protects both you and your investment, ensuring your cleaning session doesn’t result in costly damage.
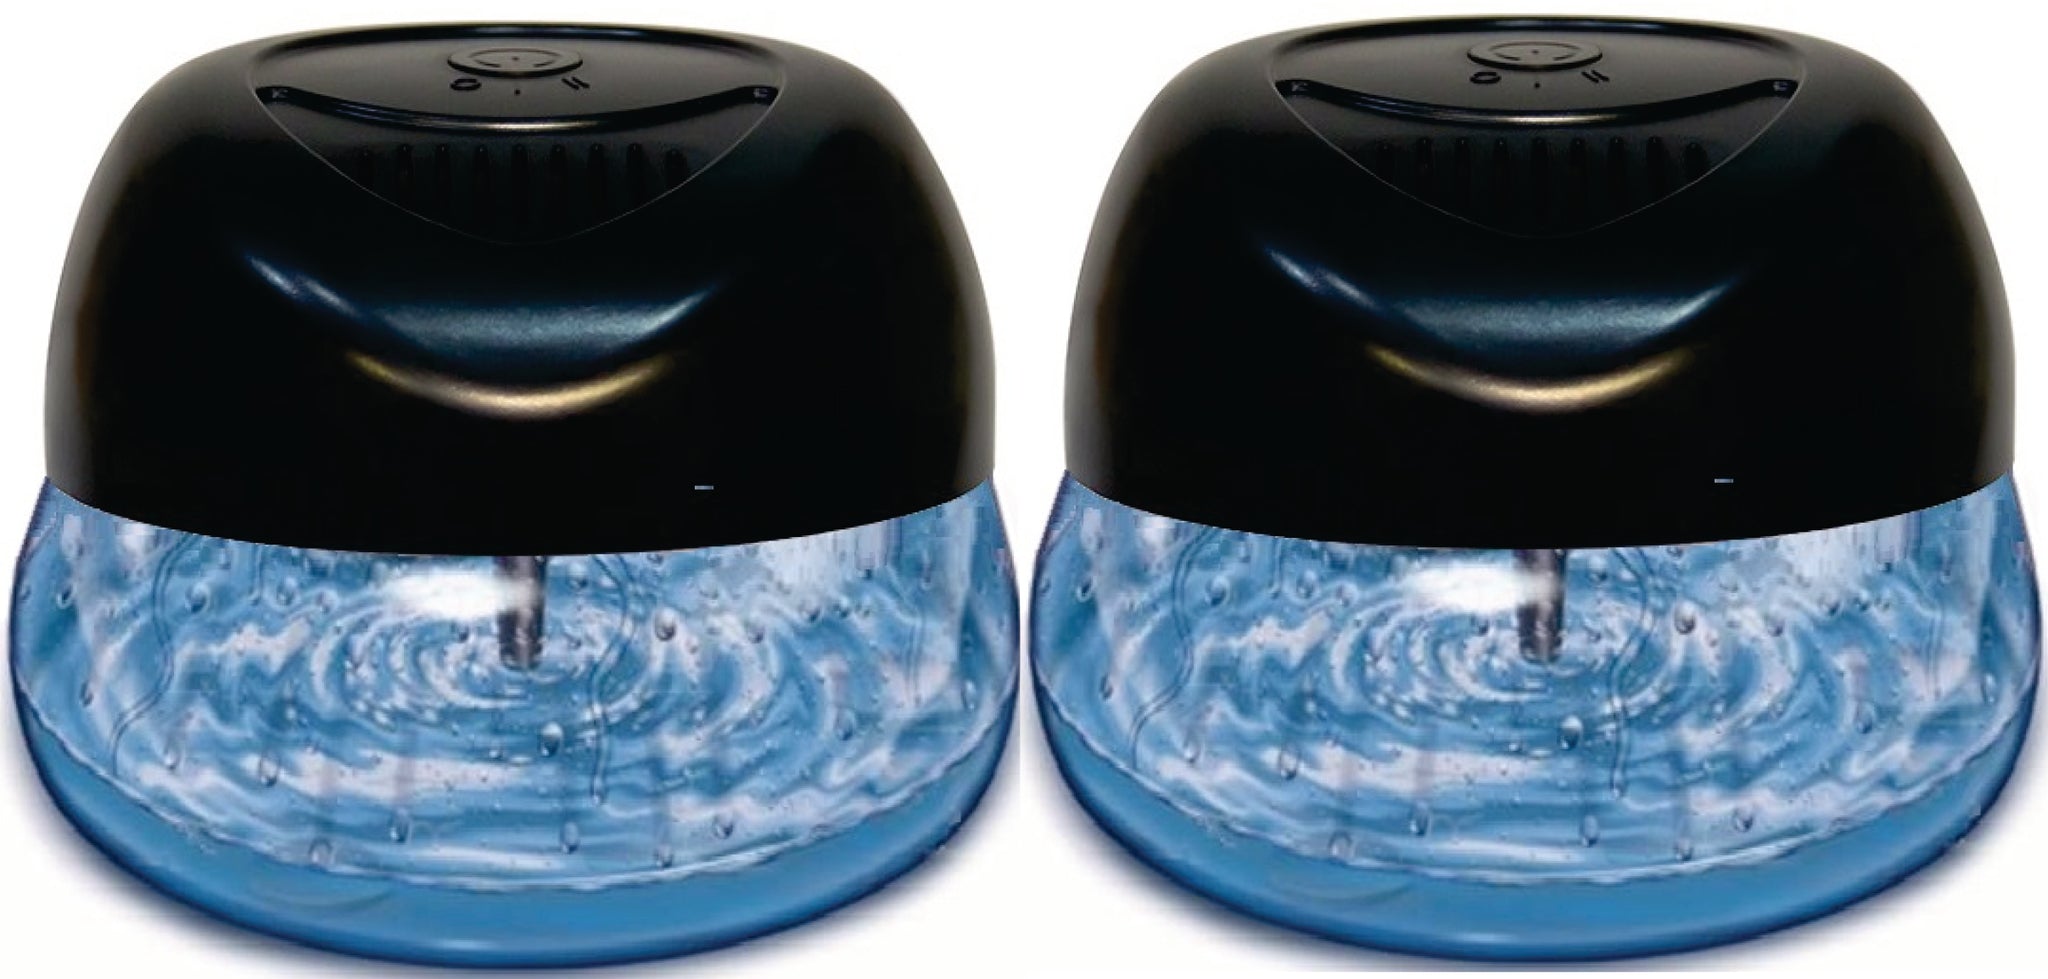
Remove and Empty the Water Collection Basin Properly
Your Rainbow’s water basin traps airborne particles as part of its unique air purification system, requiring frequent attention. To remove it safely, firmly grasp both basin handles, tilt the unit backward to release the latches, then lift straight up while supporting the bottom. Carry the basin to your sink using both hands to prevent spills—this water contains concentrated contaminants your unit has removed from your home’s air.
Empty the water slowly to avoid splashing, then rinse the basin 2-3 times with warm water. Inspect for film or slime buildup, especially in corners where bacteria thrive. Set the basin aside for deep cleaning while you address other components. Rainbow recommends emptying this basin after every use to prevent bacterial growth and mineral deposits that affect performance. If you notice persistent odors or visible mold, your unit likely needs more frequent cleaning than you’ve been providing.
Deep Clean the Water Basin to Eliminate Odors
Hidden grime in your Rainbow’s water basin directly impacts air quality and creates unpleasant smells. Fill the basin with 2 gallons of warm water and add 2 tablespoons of mild dish soap. Submerge completely and let it soak for 15 minutes, agitating the water periodically to loosen stubborn debris. After soaking, use your soft brush to scrub interior walls, paying special attention to corners and seams where biofilm accumulates.
For particularly stubborn buildup, create a sanitizing solution of one part white vinegar to four parts water for a final rinse—this natural disinfectant eliminates 99% of bacteria without harsh chemicals. Rinse thoroughly until water runs completely clear, as soap residue can affect your Rainbow’s performance. Proper basin cleaning every two weeks prevents the musty odors many owners mistakenly attribute to the unit itself rather than neglected maintenance.
Clean the Separator and Impeller Without Damage
These precision components separate air from water and require careful handling. Twist the separator counterclockwise to release it, then lift straight up without tilting to avoid damaging the motor shaft. Place it on a soft towel to prevent scratches during cleaning. Rinse under warm running water while using cotton swabs to clean blade crevices where hair and fibers accumulate.
Inspect for hair or string wrapped around the shaft—this common issue reduces efficiency and creates noise. Check for bent blades, cracks in housing, or wobbling during rotation, which indicate replacement is needed. Allow all components to air dry completely for at least 30 minutes before reassembly; moisture trapped in these areas causes electrical issues and mold growth. Many Rainbow owners damage their units by forcing components during removal—always use gentle, twisting motions rather than pulling straight up.
Maintain Your Multi-Stage Filter System Correctly
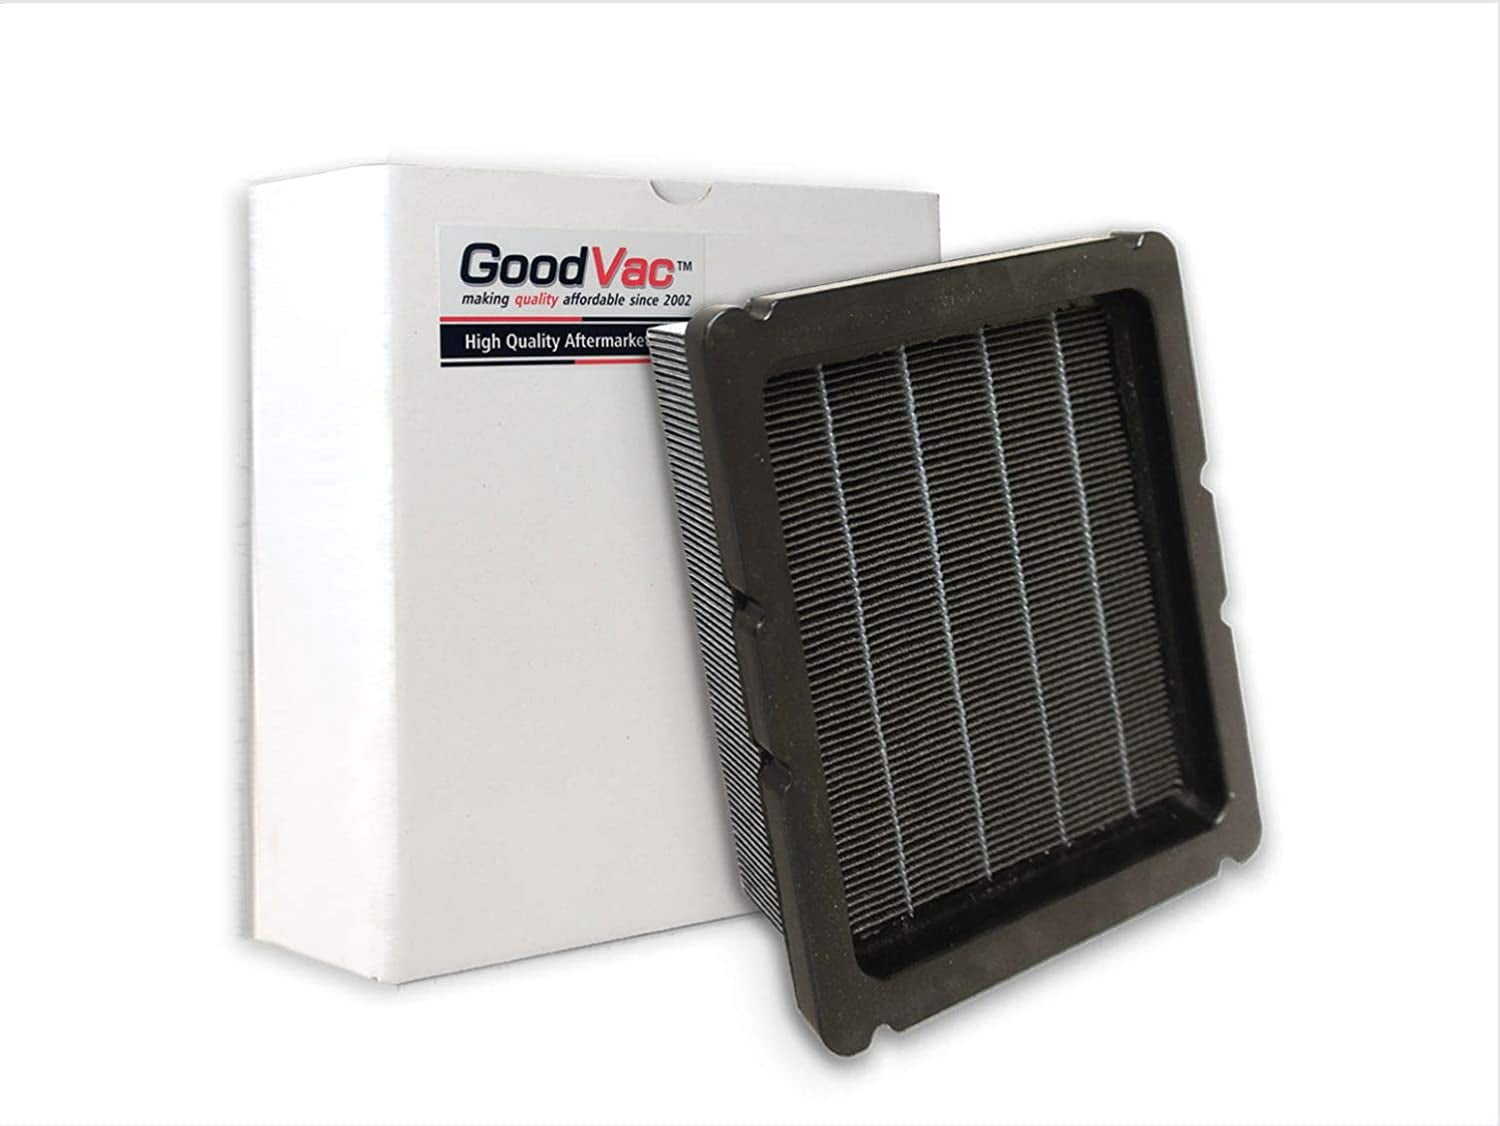
Rainbow’s advanced filtration captures particles other systems miss, but only when properly maintained. For the HEPA filter, locate the housing at the unit’s rear, press release tabs simultaneously, and slide the filter out gently. Tap it against a trash can edge to dislodge loose particles, then vacuum both sides using a brush attachment—never wash HEPA filters as this destroys their electrostatic charge.
Remove the foam filter from its plastic frame and hand wash in warm, soapy water. Squeeze gently to remove water—never twist or wring, as this damages the foam structure. Allow 24 hours of complete air drying before reinstalling. Follow Rainbow’s recommended replacement schedule: HEPA filters every 12-18 months, foam filters every 6 months, and pre-motor filters checked monthly. Neglecting filter maintenance forces your motor to work harder, significantly shortening your unit’s lifespan.
Clean Motor Housing Surfaces Without Risk
Keep exterior surfaces dust-free for optimal airflow and appearance. Dampen a microfiber cloth with water only—never spray directly onto the unit. Wipe in straight lines rather than circles to avoid pushing dust into vents. Focus on air intake areas where dust accumulation restricts airflow. Immediately dry with a second cloth to prevent moisture damage.
For vent cleaning, use compressed air at a 45-degree angle, blowing from inside toward outside in short bursts. Avoid electrical connections, power cord entry points, and control buttons where moisture could cause damage. Many Rainbow owners unknowingly reduce performance by 20% through neglected exterior cleaning—dust buildup on vents significantly impacts efficiency. Perform this quick surface cleaning after every deep maintenance session.
Reassemble Your Rainbow Unit to Prevent Leaks
Proper reassembly ensures peak performance and prevents frustrating leaks. Place the cleaned separator onto the motor shaft and twist clockwise until snug—never overtighten, as this damages threads. Position the water basin underneath and lower it until latches click securely into place. Fill with fresh water to the marked fill line, never exceeding it.
Conduct a leak test by filling the basin three-quarters full, gently rocking it to check seal integrity, and inspecting for moisture. If leaks appear, re-seat components and test again. For the first run after cleaning, operate your Rainbow for 5 minutes without fragrances to verify proper function. Listen for unusual noises, check air output strength, and only add approved fragrances once you’re satisfied with performance. Improper reassembly causes 70% of post-cleaning issues reported to Rainbow service centers.
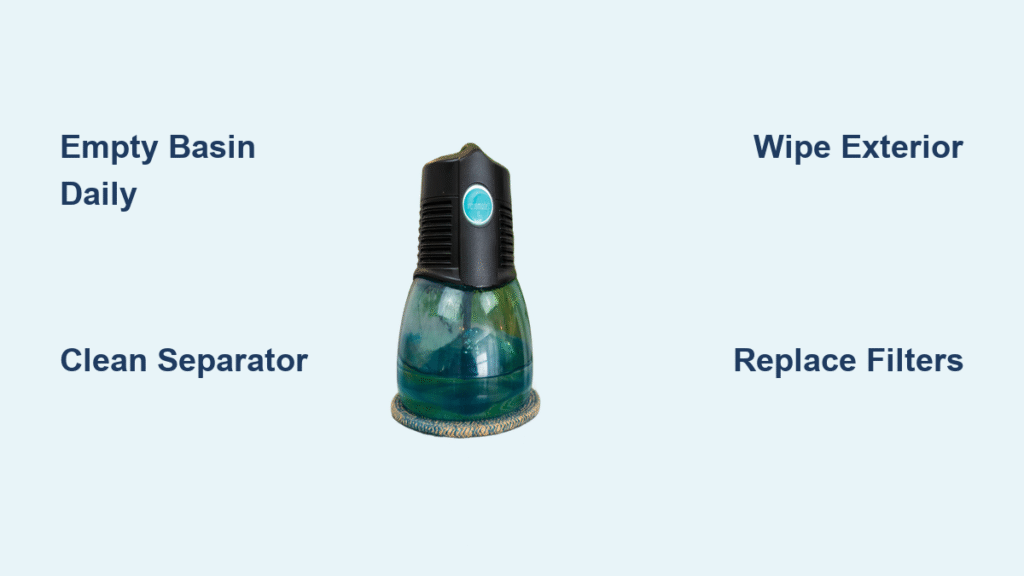
Implement a Maintenance Schedule That Works
Consistent care prevents major problems and extends your Rainbow’s life significantly. Empty and rinse the water basin daily, wipe exterior surfaces with a damp cloth weekly, and check water levels before each use. Monthly, perform a deep basin sanitizing soak, clean the separator and impeller, replace water with fresh supply, and test all functions.
Seasonally, replace all filters, conduct a complete unit deep clean, check for worn parts, and update your maintenance log. Rainbow owners who follow this schedule report 40% fewer performance issues and enjoy cleaner air throughout their homes. Set calendar reminders for each maintenance tier—your future self will thank you when your unit continues delivering exceptional performance years beyond typical lifespan expectations.
Troubleshoot Common Issues Before They Worsen
Recognize problems early to prevent permanent damage to your Rainbow air purifier. Reduced airflow often stems from incorrect water levels, clogged separator blades, or filters needing replacement—check these before assuming major issues. Strange odors typically indicate basin buildup; deep clean with vinegar and replace water immediately. Noise problems usually mean the separator isn’t seated properly or debris has accumulated in the impeller.
Watch for warning signs requiring professional service: burning smells, loud grinding noises, or electrical issues. Never attempt internal electrical repairs yourself—this voids warranties and creates safety hazards. Many Rainbow owners unnecessarily replace units that could have been saved with timely troubleshooting of simple maintenance issues. Keep your original receipt and service documentation for warranty claims.
Extend Your Rainbow Air Purifier Lifespan Effectively
Maximize your investment with these proven strategies. Use distilled water if you live in a hard water area to prevent mineral buildup. Store your unit in a dry location when not in use for extended periods. Never overfill the basin past the maximum line—this common mistake causes leaks and electrical damage. Clean immediately after major dust events like renovations or deep cleaning.
Position your Rainbow at least six inches from walls for proper airflow, clean the pre-filter weekly during high pollen seasons, and replace water every 2-3 days. Monitor for efficiency drops by noting how quickly rooms feel fresh. Schedule annual maintenance with certified Rainbow technicians to catch developing issues early. Owners who follow these practices routinely enjoy 10+ years of reliable service from their units—far exceeding the typical 5-7 year lifespan of neglected purifiers.
A properly maintained Rainbow air purifier transforms your home environment, eliminating allergens and odors while delivering noticeably fresher air. By implementing this systematic cleaning approach—daily quick cleans, weekly maintenance, and seasonal deep cleans—you’ll protect your investment and breathe easier knowing your air purification system operates at peak efficiency. Mark your calendar for your next cleaning session today and experience the dramatic difference a well-maintained Rainbow delivers to your home’s air quality.


