
That musty smell creeping through your basement. Windows fogging up after a shower. Your Honeywell dehumidifier sits silent when it should be humming, leaving damp air to invite mold and ruin your comfort. When your unit refuses to start, leaks water, or flashes confusing error codes, you need immediate solutions—not generic advice. This guide delivers proven Honeywell dehumidifier repair steps tested on thousands of units. You’ll diagnose power failures in 60 seconds, decode error messages like E3 or E5, and fix 90% of problems without calling a technician. Let’s get your air dry and your home protected.
Why Your Honeywell Dehumidifier Won’t Turn On
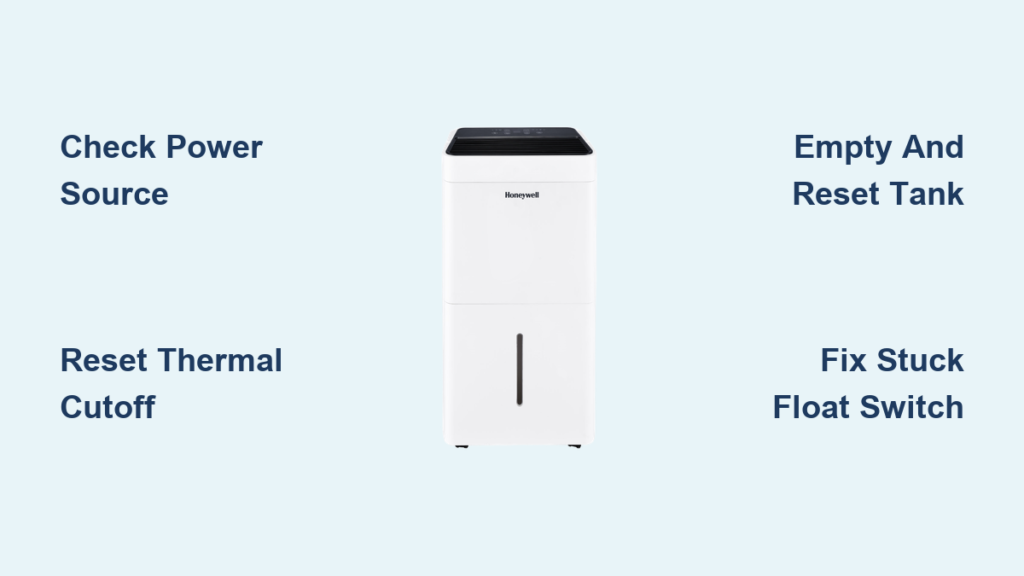
Verify Power at the Source First
Don’t assume the outlet works. Plug a lamp or phone charger into the same socket—if it doesn’t power on, you’ve found your problem. Extension cords cause voltage drops that trip internal safety switches and void your warranty. Honeywell units require direct wall connection only.
Critical Safety Step: Locate the reset button on the dehumidifier’s plug. Press it firmly until it clicks, then wait exactly three minutes. This resets the thermal cutoff switch. Attempting to restart sooner prevents the safety system from engaging properly. If the unit still won’t power on, move to your electrical panel.
Check Your Circuit Breaker Immediately
During humid summer months, tripped breakers commonly disable dehumidifiers. Go to your electrical panel and look for switches shifted to the middle position. Flip the breaker fully OFF, then back ON. Test your Honeywell unit right away.
Warning: If the breaker trips again within minutes, unplug the dehumidifier immediately. This signals serious compressor issues requiring professional repair—continuing to reset the breaker risks fire.
Fixing Water Tank Errors That Stop Operation
Empty and Reset the Tank Correctly
A full tank shuts down your Honeywell automatically, but even an empty tank can cause failure if misaligned. Remove the tank completely. Tilt it to drain every last drop—residual water tricks the float sensor. Check for hairline cracks along the rim that prevent proper seating.
Pro Tip: Before reinserting, press the foam float down until it clicks. It should spring back up smoothly. Slide the tank into the unit until you hear a solid click. If no click occurs, the float is jammed—proceed to the next step.
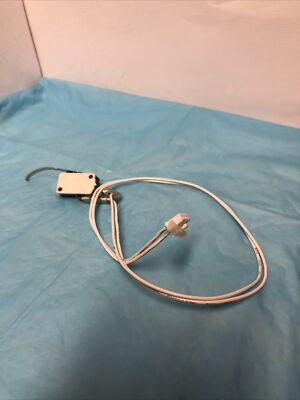
Free a Stuck Float Switch in 60 Seconds
Your dehumidifier thinks the tank is full if the foam float sticks in the “up” position. Remove the tank and locate the white plastic float inside the unit’s base. Gently lift and lower it 10 times to dislodge debris. The float must move freely and snap down when released.
Visual Check: With the tank removed, press the float sensor arm down. You should hear a quiet click—this confirms the switch is functional. No click? The sensor needs replacement by Honeywell support.
Decoding Honeywell Error Messages

E3 Error: Temperature Protection Triggered
This code flashes when room temperature exceeds 89.6°F (32°C), risking compressor damage. Power off the unit immediately. Move it to a cooler room for at least two hours—do not restart until the space drops below 86°F. Operating above this threshold permanently damages refrigerant lines.
Prevention Tip: Install your dehumidifier in conditioned spaces only. Basements without AC often exceed safe temperatures in summer, triggering E3 errors daily.
E5 Error: Pump Drainage Failure (Pump Models Only)
Exclusive to TP50PWKNN or TP70PWKN models, E5 means water isn’t draining properly. Remove the Direct Drain Cap completely—leaving it partially attached blocks flow. Verify the transparent washer sits inside the drain tube cap. Disconnect the 16-foot pump tube and inspect for kinks; never exceed this length.
Quick Fix: Soak the pump filter screen in white vinegar for 24 hours inside a sealed plastic bag. Vinegar dissolves mineral buildup clogging the pump. Reassemble and test.
Why Your Dehumidifier Runs But Doesn’t Remove Moisture
Check Compressor Activation First
Your unit hums but the tank stays empty? The compressor isn’t engaging. Set the humidity level 10% below your room’s current reading (e.g., 45% in 55% humidity). Wait 15 minutes—if the air exiting the unit doesn’t feel noticeably warmer, the compressor has failed.
Critical Test: Place your hand over the air outlet after 30 minutes of operation. Warm airflow confirms the compressor is working. No warmth? Contact Honeywell support; this indicates refrigerant leaks or control board failure.
Eliminate Airflow Blockages Instantly
Honeywell units require 17 inches of clearance on all sides. Move furniture, curtains, or stored items blocking the intake vents (usually at the rear). A clogged air filter reduces moisture removal by 40%. Remove the filter and hold it to the light—if you can’t see through it, rinse under warm water immediately.
Warning: Never operate without the filter. Dust coats the evaporator coils, causing irreversible damage within days. Set phone reminders to clean filters every two weeks.
Stopping Water Leaks Under Your Unit
Identify the Leak Source in 5 Minutes
Water pooling isn’t always from the tank. Remove the tank and inspect the unit’s base for hairline cracks—shine a flashlight across the surface. Test without the splash guard for two hours; if leaks stop, replace the guard immediately.
Emergency Fix: Place the unit on a plastic tray while diagnosing. For pump models (TP70PWKN), disconnect the pump tube and check connections for drips. Tighten loose fittings by hand—over-tightening cracks plastic housings.
Troubleshooting Unusual Honeywell Dehumidifier Noises
Grinding or Screeching Sounds Require Action
Normal operation includes fan noise and periodic compressor hums. Grinding indicates internal damage from rough handling—contact your retailer for replacement within warranty. Squealing often means the blower wheel hit a wall during transport.
Critical Step: If your unit arrived upside down, let it sit upright for one full hour before use. This stabilizes the refrigerant oil, preventing compressor damage that causes loud knocking sounds.
Filter Cleaning That Actually Works
Deep Clean Filters Without Damage
Rinse filters under lukewarm water—never hot, which warps the mesh. For stubborn mold, soak in a vinegar-water solution (1:1 ratio) for 15 minutes. Gently scrub with a soft toothbrush, then rinse until water runs clear. Air-dry completely for 4 hours before reinstalling.
Mistake to Avoid: Installing a damp filter breeds mold inside the unit. Place filters in direct sunlight for 30 minutes to speed drying. Never use compressed air—it tears the filter material.
Pump Model Repairs Only Owners Know
Fix TP70PWKN Pump Failures Yourself
Pump models stop draining when the filter screen clogs. Remove the water tank to access the pump housing. Use a soft brush to dislodge debris from the screen—no tools required. For mineral buildup, submerge the entire pump in white vinegar for 24 hours.
Key Insight: TP70PWKN units don’t auto-restart after power outages. After electricity returns, press the Auto Drain Pump button to resume operation—this prevents leaks if the tube dislodged during the outage.
When to Call Honeywell Support Immediately
Five Signs You Need Professional Help
Don’t waste hours troubleshooting these critical failures:
– E1/E2 codes: Temperature sensor failure requires board replacement
– Persistent E3: After two cooling attempts, refrigerant issues exist
– Oil leaks: Visible around compressor housing
– Burning smells: Indicates electrical fire risk
– No power after outlet/breaker checks
Contact Honeywell Now: Call 1-877-271-8620 during business hours (Mon-Sun, 8AM-7PM CST). Have your model number ready (e.g., TP70AWKN)—it’s on the rear panel. Register your unit at honeywellaircomfort.com to extend warranty coverage.
Most Honeywell dehumidifier repair issues resolve with these targeted fixes. Empty the tank before full, clean filters biweekly, and maintain 17-inch clearance to prevent 80% of failures. When E3 or E5 codes flash, follow the exact reset sequences outlined here—rushing causes permanent damage. Bookmark this guide for instant access during breakdowns. For persistent problems, Honeywell’s support team has your unit’s repair history on file—always provide your model and serial number. Proper care ensures 5+ years of dry, healthy air in your home.


