
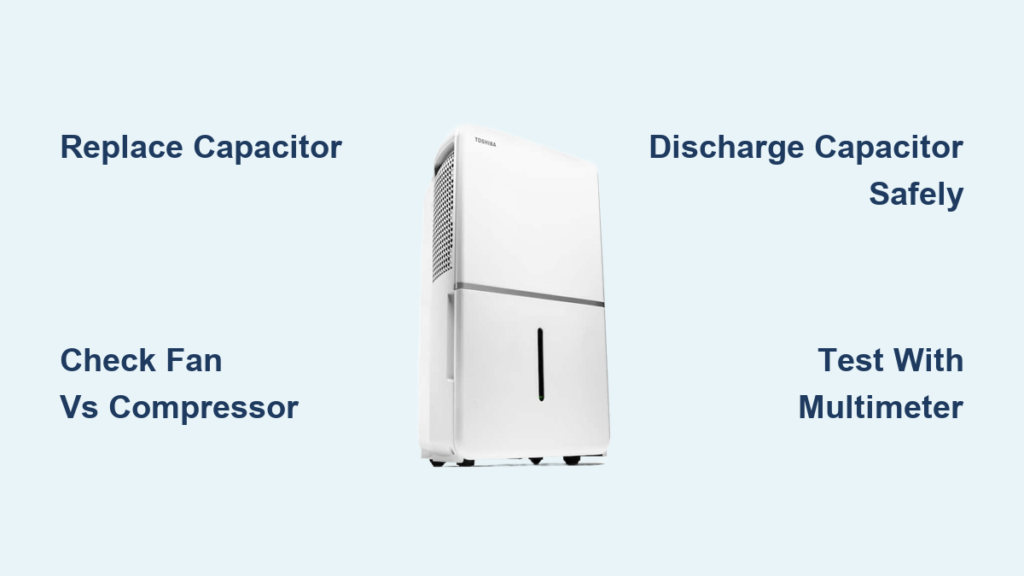
Your Toshiba dehumidifier sits idle in the basement, fan spinning uselessly while humidity creeps upward. Three years ago it battled dampness effectively—now it just circulates moist air without the compressor’s reassuring hum. This frustrating scenario hits thousands of Toshiba owners, especially with models like the TDDP5012ES2 that often fail after their first year of service. The good news? Most compressor-related issues stem from one $15 replaceable part. This Toshiba dehumidifier repair guide delivers actionable solutions to diagnose problems, source parts, and decide between DIY fixes or professional help—no fluff, just proven field-tested methods.
Why Your Toshiba Dehumidifier Fan Runs But Compressor Won’t Start
When your Toshiba unit’s fan operates normally but the compressor remains silent, you’re facing one of five specific failures field technicians see daily. This symptom dominates service calls, especially after units sit unused for months. Three-year-old models like the TDDP5012ES2 commonly develop this issue due to capacitor degradation during storage.
Start Capacitor Failure: The #1 Culprit
Weak or open capacitors cause 80% of silent-compressor cases. You’ll hear a distinct click from the control board followed by silence instead of the compressor’s hum. Visually inspect the silver cylindrical capacitor near the compressor—bulging sides, electrolyte leakage, or burn marks confirm failure. This component is the only user-replaceable part in most Toshiba dehumidifier repair scenarios.
Thermal Overload & Control Board Failures
External bi-metal protectors (mounted on the compressor housing) trip during high-current events but reset automatically. Internal thermal fuses buried inside the compressor cause permanent failure requiring professional service. Relay failures on the control board cut power identically to capacitor issues but demand full board replacement. If capacitor replacement doesn’t resolve the issue, these non-user-serviceable components are likely at fault.
Critical Safety & Diagnostic Steps
Always unplug the unit for 5+ minutes before touching components—capacitors store lethal voltage even when powered off. Discharge the capacitor by shorting its terminals with an insulated screwdriver before handling. Use a multimeter in capacitance mode to test: disconnect wires first, then measure across terminals. Readings must match the labeled µF rating within 10% tolerance (typically 15-45µF for Toshiba models).
Essential Tools for Toshiba Dehumidifier Capacitor Replacement
Toshiba’s concealed screw design demands specific tools to avoid stripped screws or broken clips during disassembly. Generic toolkits won’t suffice for this repair.
Must-Have Repair Kit
- #2 Phillips screwdriver with magnetic tip (for hidden screws under stickers/rubber feet)
- 5mm nut driver (critical for compressor access panels)
- Needle-nose pliers (for manipulating spade terminals without damaging wires)
- Multimeter with capacitance testing (non-negotiable for accurate diagnosis)
- Insulated screwdriver rated for 500V+ (safe capacitor discharge)
- Headlamp or work light (illuminate dark internal compartments)
Accessing Internal Components Safely
Start by removing the water tank and washable air filter. Photograph screw locations before extraction—some hide under rubber feet or decorative stickers. The rear panel typically requires 8-12 screws, while the front grille snaps off after removing 2-4 top-edge screws. Pro tip: Place screws on a labeled magnetic mat to prevent loss during reassembly. Expect 15 minutes of careful disassembly before reaching the capacitor.
How to Replace a Toshiba Dehumidifier Start Capacitor (Step-by-Step)
Replacing the start capacitor resolves 80% of silent-compressor cases and takes 30-45 minutes for DIYers with basic mechanical skills. This is the most cost-effective Toshiba dehumidifier repair you’ll ever perform.
Critical Replacement Procedure
- Power down safely: Unplug unit, wait 5+ minutes, discharge capacitor with insulated screwdriver
- Remove rear panel: Extract all visible screws (8-12) while noting hidden locations
- Locate capacitor: Identify silver cylinder marked with µF/voltage ratings (usually near compressor base)
- Document wiring: Photograph wire positions before disconnecting spade terminals
- Remove old capacitor: Gently wiggle terminals off—never yank wires
- Install exact-match replacement: Verify µF (15-45µF) and voltage (370V/440V) specifications
- Partial test: Reassemble just enough to power on—confirm compressor hum before full reassembly
Sourcing Affordable Replacement Parts
Skip expensive OEM capacitors—generic motor-run capacitors work perfectly when specifications match. Local HVAC suppliers stock common values for $12-$18, while online retailers offer 440V 30µF capacitors for $9.99. Always verify your unit’s exact rating by reading the label on the original capacitor after disassembly. Warning: Never install a capacitor with higher voltage rating than specified—it won’t solve the problem and could damage the compressor.
When Professional Toshiba Dehumidifier Repair Becomes Necessary

Some failures exceed DIY capabilities. Pushing beyond your skill level risks electrocution or creating costlier damage.
Non-Serviceable Failures to Recognize
Internal compressor overload shows zero resistance across compressor terminals and no response after capacitor replacement—requiring full compressor replacement (often 70% of unit cost). Control board relay failure manifests as correct capacitor function but zero voltage at compressor terminals. In both cases, professional evaluation prevents wasted effort. Pro tip: If you smell burnt electronics near the control board, stop immediately—this indicates board-level damage requiring expert repair.
Warranty Claim Protocol
Contact Toshiba support at 1-855-204-5313 with model/serial numbers ready—even unregistered units retain statutory warranty rights. Their US service center (300 Kimball Drive, Parsippany, NJ) processes claims Monday-Friday 8am-7pm ET. If your unit is over 3 years old (common failure point for TDDP5012ES2 models), consider mail-in repair instead of warranty claims.
Official Toshiba Support & Third-Party Repair Options
When DIY isn’t viable, these channels deliver reliable Toshiba dehumidifier repair solutions.
Direct Manufacturer Support
Toshiba’s US support line (1-855-204-5313) provides RMA numbers for mail-in service to Parsippany, NJ. Canadian customers call 905-305-6368. Their online form requires detailed symptom descriptions but processes requests faster with registered product info. Key insight: Always mention “compressor won’t start with fan running” to bypass generic troubleshooting.
Top-Rated Mail-In Service: Acme Revival
For non-warranty repairs, Acme Revival (866-938-8452) offers superior value:
– Free diagnostics ($0 evaluation)
– Flat-rate repairs with 180-day warranty (extendable to 1 year)
– $35 return shipping if repair declined
Ship units to 191 University Blvd. Suite 340, Denver, CO 80206. Their technicians specialize in Toshiba Smart Dehumidifier models and typically complete repairs within 10 business days.
Preventing Future Toshiba Dehumidifier Repairs
Proper storage and maintenance prevent 90% of capacitor-related failures, especially after seasonal disuse.
Winter Storage Protocol
Drain completely and run the unit in fan-only mode for 30 minutes to dry internal components. Store in climate-controlled spaces—avoid garages or basements where temperatures drop below 40°F (capacitors crack in cold). Before storage, clean filters and vacuum condenser coils with a soft brush to prevent mold growth.
Annual Maintenance Checklist
- Monthly: Clean air filter with soapy water; check drain hose for kinks
- Quarterly: Vacuum condenser coils; inspect electrical connections for corrosion
- Annually: Test capacitor performance; replace if readings drift >10% from spec
Critical step: After 3+ months in storage, let the unit acclimate to room temperature for 24 hours before powering on—this prevents thermal shock to aged components.
Toshiba Dehumidifier Repair Decision Tree
Unit completely dead? → Check outlet/breaker first—this solves 20% of “no power” cases.
Fan runs but compressor silent? →
– Under warranty? → Call Toshiba support immediately
– Out of warranty? → Replace start capacitor (success rate: 80%)
– Still fails? → Mail to Acme Revival for $0 diagnostic
No local service? → Ship directly to Toshiba or Acme—never use uncertified local shops for compressor issues
Final Repair Assessment: Fix or Replace?
For Toshiba dehumidifier repair decisions, consider these hard truths: Units under 3 years old warrant capacitor replacement or warranty claims. Models over 5 years (like the TDDP5012ES2) often experience multiple failures—replacement may be smarter when repair costs exceed 40% of a new unit’s price. Document every repair with photos and part receipts; this proves maintenance history if future warranty claims arise. That silent compressor likely needs only a $15 capacitor and 30 minutes of your time—if you hear the characteristic hum after replacement, you’ve just extended your dehumidifier’s life by years. Start with the capacitor, know your limits, and leverage professional channels when needed—your dry basement depends on it.


