
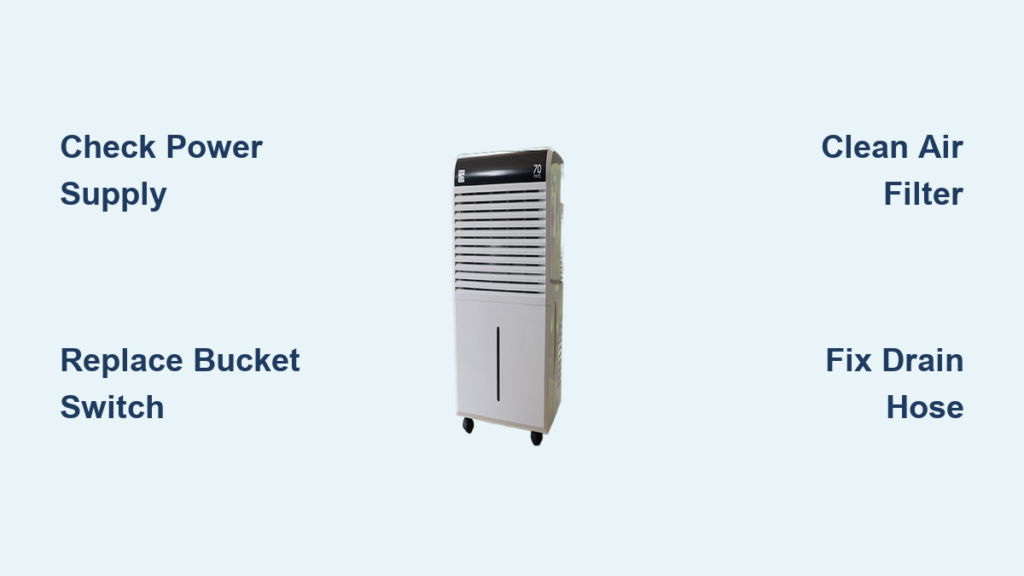
Your Kenmore dehumidifier sits silent in the basement corner while moisture collects on windows and walls. Before you spend $200+ on a replacement, know that 80% of Kenmore dehumidifier repair issues can be fixed with basic tools and under $30 in parts. Whether your unit won’t power on, the fan has stopped spinning, or it’s leaking water despite running constantly, this guide delivers precise solutions that restore functionality in less time than it takes to order a new unit.
Why Your Kenmore Dehumidifier Won’t Start (And How to Fix It)
Confirm Power Supply Before Opening the Unit
Before dismantling your dehumidifier, eliminate simple power issues that cause 40% of “dead unit” scenarios. Plug a working lamp into the same outlet—no light means a tripped breaker or blown fuse. Reset the breaker at your electrical panel or replace fuses in older homes. If the outlet works but your dehumidifier remains silent, check for an internal reset button (often red) near the power cord entry point. Press firmly until you hear a distinct click, then wait 30 seconds before attempting to restart.
Replace Faulty Bucket Switch in 15 Minutes
When your Kenmore dehumidifier won’t turn on despite power verification, the bucket float switch fails 35% of the time. This $15 part prevents operation when the bucket is full but often sticks in the “full” position. Unplug the unit and locate the switch—a small white or black housing with two wires at the rear of the bucket cavity. Disconnect the wiring harness by squeezing the release tab, remove the mounting screws, and install the replacement in identical orientation. Before reassembling, test by manually pressing the switch plunger while the unit is plugged in—you should hear the compressor engage. Popular replacement part numbers include 5304487155 and 5304447158 for most Kenmore models from 2010 onward.
Reset or Replace Stuck Humidistat Controls
If your dehumidifier powers on but won’t cycle off, the humidity control dial has likely drifted out of calibration. Access the humidistat behind the front grille (secured by 2-4 screws) and rotate the dial through its full range while listening for distinct clicks. Set it to the driest setting (30%) for testing—if the compressor doesn’t engage, replacement is necessary. Take photos of wire connections before disconnecting the old unit, then install the new $25 part exactly as configured. Models like the Kenmore 580.52650 and 106.57400790 use standard humidistat 5303306494, available from most appliance parts retailers.
Diagnose and Fix Fan Motor Failures

Four Critical Fan Motor Checks
When your Kenmore dehumidifier runs but produces no airflow, perform these checks in sequence:
Listen for humming sounds – Indicates power reaches the motor but it can’t start due to capacitor failure or seized bearings.
Inspect the blower wheel – Remove the front grille (typically 4 Phillips screws) and check for hair, lint, or debris wrapped around the plastic fan blades. Clean with tweezers or low-pressure compressed air.
Test motor continuity – With the unit unplugged, set your multimeter to ohms and check resistance between motor terminals. Readings between 5-50 ohms indicate a functional motor; infinite resistance means replacement is needed ($40-$80).
Examine the capacitor – Locate the silver cylinder near the motor and check for bulging, leaking, or burnt marks. Replace with an identical microfarad (μF) rating—most Kenmore units use 30μF, 370V capacitors.
Prevent Ice Buildup on Evaporator Coils

Immediate Actions for Frozen Coils
Ice forming on your Kenmore dehumidifier’s coils indicates improper operation that wastes energy and reduces effectiveness. Never chip ice off coils—this damages delicate fins. Instead:
Verify room temperature – Most Kenmore models require minimum 65°F ambient temperature. Relocate the unit or use a space heater in colder basements.
Clean air filters immediately – A clogged filter restricts airflow causing freezing. Wash the filter with mild detergent every two weeks during heavy use and ensure it’s completely dry before reinstalling.
Check for refrigerant issues – Frost starting at the small copper tube indicates low refrigerant charge. Warning: This requires EPA-certified service—attempting refrigerant work yourself violates federal regulations and could cost more than a new unit.
Stop Water Leaks at the Source
Drain System Troubleshooting Sequence
Water pooling around your Kenmore dehumidifier usually stems from one simple issue. Start with the drain hose:
- Disconnect the hose from both the unit and drain point
- Flush with warm water and 1 cup white vinegar to remove mold/algae
- Verify continuous downward slope—any upward loops trap water
- Secure connections with hose clamps to prevent dislodging
- Test operation for 30 minutes with bucket removed
For basement installations where gravity drainage isn’t possible, install a condensate pump ($25-$40) that automatically lifts water to a sink or window drain. Models like the Kenmore 580.54501400 often share pump compatibility with Frigidaire units.
When Your Kenmore Runs But Collects No Water
Critical Sensor Testing Procedure
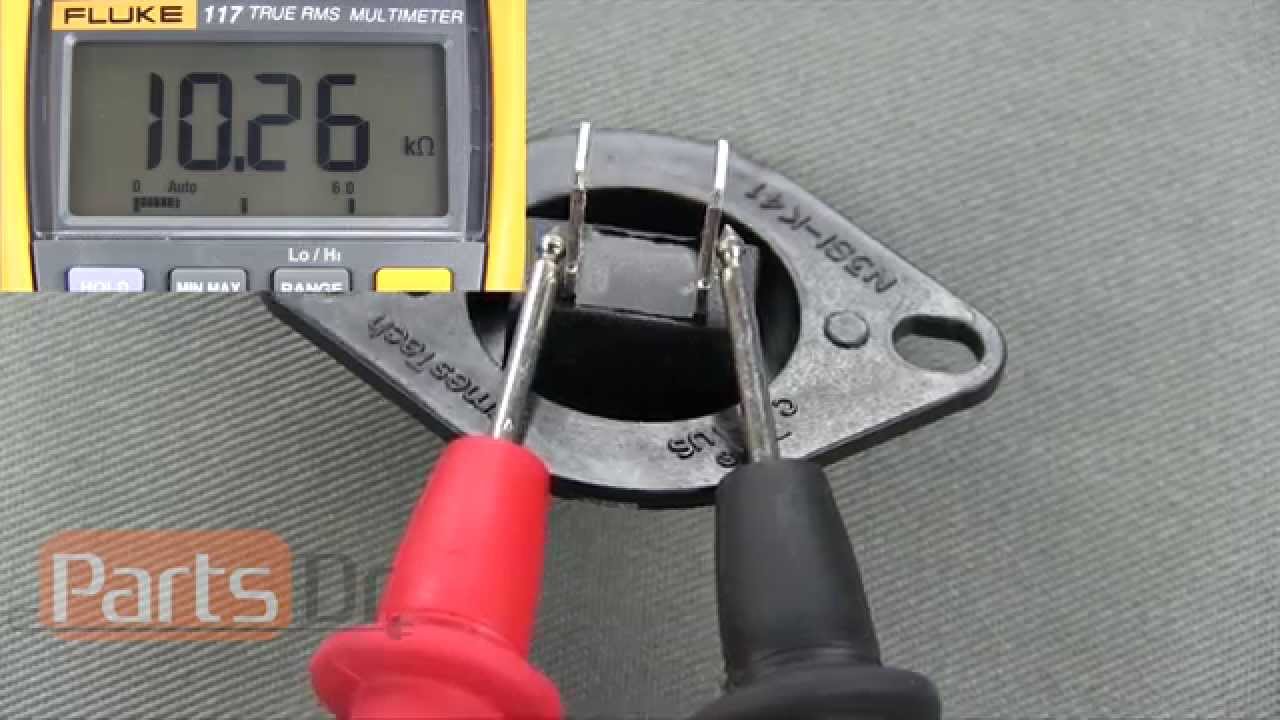
If your dehumidifier runs continuously yet the bucket remains empty, your unit isn’t removing moisture effectively. Begin with the thermistor—the small white sensor clipped to the evaporator coil:
- Unplug the unit and locate the sensor near the coil assembly
- Measure resistance with a multimeter at room temperature
- Compare readings to the manufacturer’s chart on the component
- Replace if values drift more than 10% from specifications
Pro tip: If the compressor runs but the coils stay warm (less than 15°F temperature difference between intake and output), the refrigerant system has failed. New Energy Star units cost only $200-$300 and use 15% less electricity than decade-old models.
Repair vs Replace Decision Framework
Cost-Benefit Analysis for Common Failures
| Problem | Part Cost | DIY Time | Smart Repair Decision |
|---|---|---|---|
| Bucket switch | $10-20 | 15 minutes | Always repair |
| Humidistat | $20-35 | 30 minutes | Repair if <5 years old |
| Control board | $60-120 | 45 minutes | Repair only if rest of unit pristine |
| Compressor | $200+ | Professional | Replace unit |
Key rule: If repair costs exceed 50% of a new unit’s price, replacement makes financial sense. New 35-pint models like Danby or Frigidaire offer better energy efficiency and come with full warranties.
Kenmore-Specific Maintenance Schedule
Extend Your Unit’s Lifespan with These Steps
Weekly: Empty and rinse the collection bucket to prevent mold growth. Wipe exterior surfaces with a damp cloth.
Monthly: Remove and wash the air filter with mild detergent. Vacuum intake and exhaust grilles. Flush drain hose with white vinegar solution.
Seasonally: Use a fin comb to straighten bent coil fins. Clean evaporator and condenser coils with a soft brush. Store with bucket slightly open to prevent mildew odors during off-seasons.
Critical clearance requirements: Maintain 12 inches front and rear, 6 inches on sides for proper airflow. Never operate below 65°F ambient temperature to prevent coil freezing.
Final safety reminder: Always unplug your Kenmore dehumidifier and wait 5 minutes for capacitors to discharge before any repair. Take photos of wire connections before disconnecting components. If your unit is under warranty, contact Kenmore first—opening the chassis may void coverage. With these proven Kenmore dehumidifier repair techniques, you’ll restore moisture control in your space without breaking the bank, often in less time than waiting for a service technician. Start with the bucket switch test—it solves nearly half of all “dead unit” scenarios with just $15 and 15 minutes of your time.


