Your Danby dehumidifier sits in the corner, quietly waiting to banish excess moisture from your home—but only if you know how to unlock its full potential. Whether you’re battling summer humidity or managing damp basement conditions, mastering your dehumidifier’s controls transforms it from a mysterious box into your home’s moisture guardian. This guide walks you through every button, setting, and scenario you’ll encounter with your Danby dehumidifier so you can finally stop wondering how to use danby dehumidifier properly.
Most users struggle with one critical step that renders other controls useless, leaving them frustrated with unresponsive buttons and ineffective moisture removal. You’ll learn exactly how to set humidity levels correctly, avoid common setup pitfalls, and optimize performance for your specific needs in just minutes. No more guessing why your unit won’t adjust settings or stops working unexpectedly—this guide solves those problems before they happen.
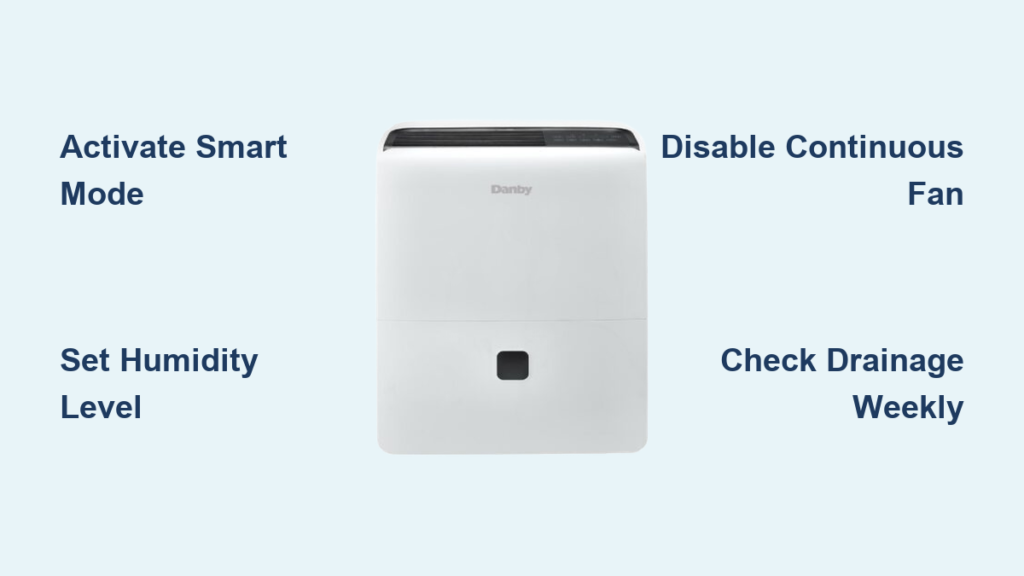
Activate Smart Dehumidify Mode First

Before you can control humidity levels, you must engage the Smart dehumidify feature—the essential gateway to all settings. This button, located second from the left on your control panel, acts as a master switch that unlocks humidity adjustment capabilities. Without pressing this button first, your arrow controls will appear completely unresponsive, leading many users to believe their unit is malfunctioning.
Press This Button Before Any Other Settings
Step 1: Locate the Smart dehumidify button (second from left on control panel)
Step 2: Press it once—you’ll see the display respond immediately
Step 3: Wait for the indicator light to activate
Step 4: Now your arrow buttons will properly adjust humidity levels
This single step resolves nearly all “my dehumidifier won’t change settings” complaints. Many first-time users skip this critical activation step and waste hours troubleshooting non-existent problems. Think of the Smart dehumidify button as the ignition key to your moisture control system—without turning it on, none of the other controls function.
Set Your Target Humidity Level Correctly
Once Smart dehumidify mode is active, use the arrow buttons to establish your ideal humidity level. Your Danby dehumidifier accepts settings between 35% and 85% relative humidity, adjustable in precise 5% increments. Remember: lowering the percentage value produces drier air, while increasing the percentage maintains more moisture.
Choose Your Setting Based on Your Environment
- 35-45%: Maximum moisture removal for severely damp basements or flood recovery
- 50-60%: Comfortable living spaces during typical humid weather
- 65%: Ideal backup humidity level when air conditioning fails
- 75-85%: Maintains higher moisture in dry climates or winter months
Pro tip: Setting 35% creates desert-like conditions perfect for moisture emergencies, while 85% keeps your space comfortably humid during dry winter months. Most homeowners find 50-55% ideal for year-round comfort in living areas.
Adjust Settings Efficiently
Up arrow: Increases humidity percentage (allows more moisture to remain in air)
Down arrow: Decreases humidity percentage (removes more moisture)
Each press changes the setting by 5%. The display clearly shows your current target. Hold either button for rapid adjustment through larger ranges—this saves time when making significant changes. After setting your desired level, the unit automatically monitors ambient humidity and activates only when needed to maintain your specified conditions.
Disable Continuous Circulation Mode Immediately
Your Danby dehumidifier includes a continuous circulation mode that runs the fan constantly regardless of humidity levels. While this might seem beneficial, it actually prevents proper humidity control and locks out your settings adjustments. Many users accidentally activate this mode during initial setup and then wonder why their humidity controls won’t respond.
Turn Off Continuous Circulation to Enable Humidity Control
- Check if the fan runs non-stop regardless of humidity levels
- Look for the continuous circulation indicator on your display panel
- Press the mode button until continuous circulation turns off
- Confirm Smart dehumidify mode remains active after disabling
When continuous circulation is enabled, your humidity adjustment controls become inaccessible. This is the second most common reason for “unresponsive controls” complaints after failing to activate Smart dehumidify mode. Disable this feature unless you specifically need constant air movement without humidity control.
Monitor Automatic Operation Cycles
After correctly setting your target humidity, your Danby dehumidifier takes over completely. The system continuously monitors room conditions and activates automatically when needed, independent of your air conditioning system status. Understanding normal operation patterns prevents unnecessary concern about your unit’s performance.
Recognize These Normal Operation Signs
Compressor starts: Humidity has exceeded your set point threshold
Compressor stops: Humidity has dropped below your set point
Fan cycles: Normal operation between compressor cycles for even air distribution
No activity: Room humidity perfectly matches your set point
Give the unit 24-48 hours to stabilize at your new setting. Initial operation may seem frequent as the system establishes equilibrium in your space. Important: The dehumidifier functions entirely separate from your HVAC system—it activates based solely on humidity levels, not temperature.
Troubleshoot Common Control Issues

Arrow Buttons Won’t Respond
Problem: Up/down arrows do nothing when pressed
Solution: Press the Smart dehumidify button first, then attempt adjustments
Unit Stops After Setting Change
Problem: Dehumidifier appears to quit working after adjustment
Solution: Check if continuous circulation mode is accidentally enabled
Humidity Won’t Drop
Problem: Setting 45% but room stays at 70%
Solution: Verify proper drainage, check for full collection tank, ensure room size matches unit capacity
Settings Keep Changing Back
Problem: Humidity setting reverts to default unexpectedly
Solution: Unit likely experienced power interruption—settings reset during outages
Optimize Settings for Real-World Scenarios
Emergency AC Failure Response
When your air conditioning fails during summer heat, set your dehumidifier to 65% immediately. This prevents that sticky, uncomfortable feeling without over-drying your space. The unit operates independently of your HVAC system, providing immediate humidity relief even when your AC is down. You’ll notice improved comfort within hours as excess moisture is removed.
Basement Moisture Control
For damp basements, start at 45% and monitor for 48 hours. If walls still feel damp or musty odors persist, drop to 40%. Never go below 35%—this extreme dryness can cause dry skin, respiratory irritation, and excessive static electricity. Basements typically require lower settings than living spaces due to naturally higher moisture levels.
Winter Humidity Management
Heating systems often over-dry air in winter. Set your dehumidifier to 75-80% to maintain comfortable moisture levels. This prevents dry sinuses and static shock while avoiding condensation on windows. During cold months, you’re actually using your dehumidifier to prevent excessive dryness rather than remove moisture.
Verify Your Settings Are Working Properly
Use a Separate Hygrometer for Accuracy
Place a standalone humidity monitor across the room from your dehumidifier. After 24 hours, readings should match your set point within 5%. Significant discrepancies indicate potential issues:
- Room exceeds unit’s capacity for effective moisture removal
- Air leaks bringing in outside moisture from outdoors
- Improper dehumidifier placement (too close to walls or corners)
Observe Operation Cycles for Normal Behavior
Normal cycling pattern: Compressor runs 10-20 minutes, then rests 20-40 minutes
Warning signs: Constant running without rest periods or never starting
Solution: Adjust setting by 5-10% and monitor for improved cycling behavior
Maintain Peak Performance with Simple Habits
Clean Air Filter Monthly for Maximum Efficiency
A clogged filter dramatically reduces moisture removal effectiveness. Remove the filter monthly and vacuum or rinse according to your model’s instructions. Clean filters improve airflow, enhance moisture extraction, and extend compressor life. Pro tip: Set phone reminders to clean your filter on the first of each month.
Check Drainage Weekly to Prevent Shutdowns
Whether using the collection tank or continuous drain option, verify proper drainage weekly. A full tank automatically shuts down operation until emptied, while clogged drain hoses cause overflow issues. Empty the tank when the indicator shows it’s full—don’t wait until automatic shutdown occurs.
Position for Optimal Airflow and Moisture Removal
Place your dehumidifier:
– At least 12 inches from walls and furniture for proper airflow
– Away from heat sources or direct sunlight that could affect sensors
– In the center of the space when possible for even moisture removal
– On a level surface to ensure proper drainage system operation
Your Danby dehumidifier transforms humid, uncomfortable spaces into pleasant living environments with just a few correct button presses. Remember the golden rule: activate Smart dehumidify mode first, disable continuous circulation, then set your target humidity. The unit handles everything else automatically once configured properly. Start with moderate settings around 50-55% for living areas, then adjust based on your comfort and the unit’s response. Within 48 hours of correct setup, you’ll experience noticeable improvement in air quality and comfort—proof that you’ve finally mastered how to use danby dehumidifier to its full potential.