
Your Hisense dehumidifier was humming along perfectly, pulling gallons of moisture from the air each day. Then suddenly—nothing. No lights, no fan, no water collection. Or perhaps it’s running constantly without making a dent in your humidity levels. These frustrating scenarios plague thousands of Hisense owners annually, but the good news is that most issues have straightforward solutions you can tackle yourself.
This guide walks you through every possible failure point in your Hisense dehumidifier, from simple power fixes to complex sensor problems. You’ll learn exactly what to check, how to fix it, and when to call professionals. By the end, you’ll have your unit running efficiently again—or know definitively if it’s time for replacement.
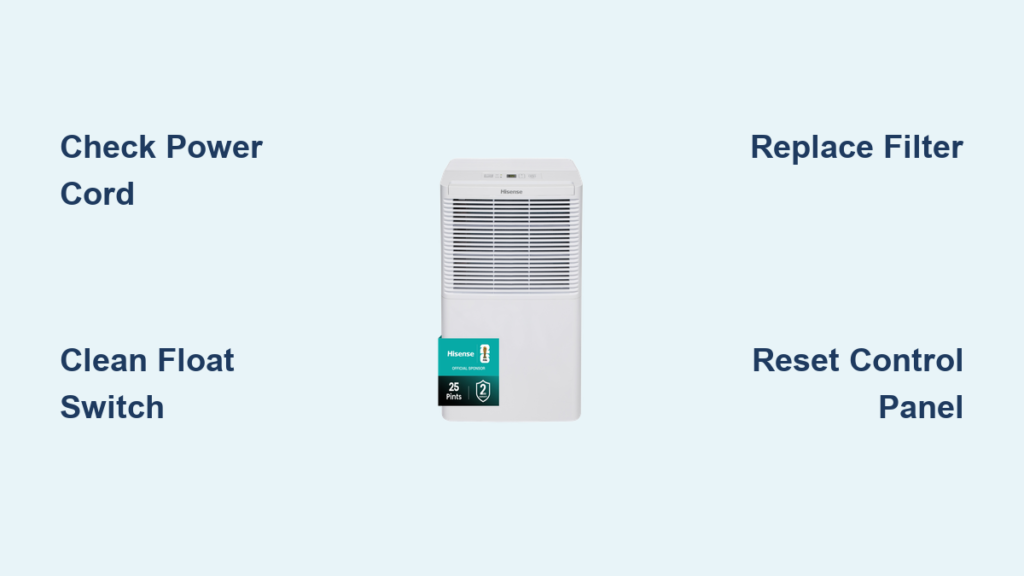
Power Cord and Outlet Problems Killing Startup
Start with the most basic but often overlooked issue: the power cord. Unplug your dehumidifier and examine the entire length for visible damage. Look for cuts, fraying, or dark burn marks near the plug. Gently flex the cord—if you feel internal breaks or see exposed wires, replace it immediately. Hisense uses model-specific cords, so check your unit’s label (DH-50K1SJE5, DH-70K1SJE5, or DH-100K1SJE5) before ordering a replacement.
Pro tip: Many “dead” dehumidifiers simply need a circuit breaker reset. Hisense units draw significant power—up to 7.5 amps on startup—so overloaded circuits commonly trip. Test the wall outlet by plugging in a lamp or phone charger. If nothing works, head to your circuit breaker panel and check for tripped switches. Reset the breaker and try your dehumidifier again.
When external power checks out but your unit remains lifeless, the internal power control board likely failed. Symptoms include zero LED response, no fan movement, and no compressor sounds. These boards manage voltage distribution throughout the unit and require exact replacement—voltage specs vary between models. Locate the board (usually behind the control panel) and note the part number before sourcing replacements.
Water Tank Sensor Sticking Causes False “Full” Readings
Your Hisense shuts off automatically when the collection tank fills, but a stuck float switch can trick the system into thinking it’s full when empty. Remove the tank and locate the small plastic float arm near the sensor housing. Gently move it up and down—it should glide smoothly. If sticky, mineral deposits are the culprit. Clean with a damp cloth, focusing on the magnetic reed switch area.
The magnetic reed switch detects float position but attracts iron particles over time. Dip a cotton swab in white vinegar and clean the sensor housing thoroughly. Rinse with clean water and dry completely. Reinstall the tank, ensuring it seats firmly. The unit should restart immediately if this was your issue.
Using the drain hose feature? Common mistakes halt operation. First, verify you’re using 3/8″ inner diameter hose—thinner hoses restrict flow. The hose must maintain a continuous downward slope to your drain. Check for kinks or blockages by running water through it. Don’t forget to remove the rubber drain plug when using continuous drain mode—leaving it in prevents proper drainage.
Clogged Air Filter Choking Dehumidification Performance

Clogged filters are the #1 cause of poor dehumidification. Your washable mesh filter needs cleaning every 250 operating hours—sooner in dusty environments. Remove it from the rear panel and rinse under lukewarm water. Let air-dry completely for 2-3 hours before reinstalling. Operating with a dirty filter causes ice formation on coils and compressor overheating.
Your Hisense needs breathing room. Maintain minimum 12-inch clearance on all sides, especially the rear where warm air exhausts. Operating in tight closets or against walls restricts airflow, causing continuous operation without effective dehumidification. Check that curtains or furniture aren’t blocking vents.
Each model has specific temperature operating limits:
– DH-50K1SJE5: 41°F – 89°F
– DH-70/100K1SJE5: 41°F – 95°F
Operating below 41°F triggers automatic defrost cycles every 30-60 minutes, dramatically reducing efficiency. Above 95°F, the compressor may overheat and shut down protectively.
Error Codes Decoded for Immediate Action

Your Hisense flashes codes for specific failures:
– E1: Humidity sensor error (clean or replace sensor)
– E2: Defrost sensor error (usually covered in ice)
– E3: Room temperature sensor error
– E4: Bucket full sensor malfunction (clean float switch)
All LEDs flashing indicates a system fault. Power cycle the unit first. If flashing persists, unplug for 30 minutes to reset the control board. Still flashing? The control board likely failed and needs replacement—verify your model’s specific board number before ordering.
Access hidden diagnostics by holding the power and humidity set buttons simultaneously for 5 seconds during startup. The display should show sensor readings or error codes. This helps identify if the issue is hardware failure or software corruption.
Compressor Won’t Start Despite Fan Running
You hear the fan but no water collects? The compressor isn’t starting. Listen for clicking sounds—the compressor tries to start but fails, indicating a bad start capacitor. This cylindrical component (about 2 inches long) provides the initial jolt to start the compressor. Replacement requires basic electrical skills and matching the exact specifications for your model.
No sounds at all? Check the compressor relay first—part number 135A1-50B fits multiple models. This small black box clicks when the compressor should start. No click means relay failure. If the relay tests good, the compressor itself may have failed, requiring EPA-certified repair for R410A/R134a systems.
Suspect refrigerant loss if you see coils frost initially then stay warm, water collection drops despite continuous operation, or the compressor runs longer cycles with diminishing results. Look for oily residue around copper connections—this indicates refrigerant leaks. These repairs require certified technicians due to EPA regulations.
Control Panel Unresponsiveness After Moisture Exposure

Touch panels hate moisture. If your Hisense was recently moved from a cold to warm environment, condensation may have formed behind the display. Unplug for 24 hours in a warm, dry room. This often resolves temporary unresponsiveness caused by moisture infiltration.
Static electricity can scramble the control board. Perform a hard reset: unplug the unit for 5 minutes, then hold the power button while plugging back in. Release after 3 seconds. This forces a complete system restart and clears most firmware glitches.
Some models offer hidden diagnostic modes. Try holding the power and humidity set buttons simultaneously during startup for 5 seconds. The display should show sensor readings or error codes. This helps identify if the issue is hardware failure or software corruption.
Prevent Future Failures With Simple Maintenance
Every 3 months, perform this quick maintenance:
1. Unplug and move unit to open area
2. Remove and wash air filter completely
3. Vacuum condenser coils gently with brush attachment
4. Disinfect tank with 1:10 bleach solution, rinse thoroughly
5. Check drain passages for algae—clean with pipe cleaner
6. Ensure caster wheels rotate freely for easy positioning
Schedule yearly professional service for optimal performance. This includes refrigeration pressure testing, electrical connection tightening, sensor calibration verification, and compressor amperage measurement—critical for maintaining your 5-year sealed system warranty.
Hisense provides a 1-year full parts and labor warranty plus 5-year coverage for the compressor, coils, and refrigerant system. Keep your warranty valid by operating within temperature ranges, avoiding unauthorized modifications, and performing proper maintenance.
Quick Fix Reference for Common Scenarios
Unit Completely Dead
- Test power cord for damage
- Verify 115V at outlet
- Check circuit breaker
- Reset by unplugging 5 minutes
- Inspect power control board
No Water Collection
- Clean air filter thoroughly
- Check for coil ice formation
- Verify humidity setting
- Ensure 12″ clearance on all sides
- Test for refrigerant leaks
Continuous Operation
- Lower humidity set point
- Check room size vs capacity
- Inspect for air leaks
- Clean all sensors
- Verify temperature range
Your Hisense dehumidifier should now be running smoothly. Remember that prevention beats repair—stick to the quarterly maintenance schedule and operate within specified conditions. If problems persist after following these steps, contact Hisense support at 1-888-935-8880 with your model and serial numbers ready. Most issues resolve with these fixes, saving you hundreds in service calls or premature replacement.


