
That persistent red light on your AeraMax air purifier has suddenly appeared, disrupting the clean air flow in your home. This isn’t just a random glitch—it’s your unit’s urgent signal that something requires immediate attention. Thousands of AeraMax owners encounter this exact issue within the first year of ownership, making the “aeramax air purifier red light” one of the most common troubleshooting scenarios for this popular air cleaning system.
Don’t panic—this guide delivers precise solutions for every red light scenario you might face. You’ll discover exactly what each light pattern means, how to diagnose the underlying cause in under two minutes, and the most effective fixes to restore your air purifier’s peak performance. Whether it’s a simple filter reset or a more complex sensor issue, you’ll have your AeraMax running quietly and efficiently again before you know it.
Why Your AeraMax Air Purifier Red Light Won’t Turn Off
The red light on your AeraMax unit serves as a critical communication system, but understanding its specific message requires knowing how it behaves. Unlike other air purifiers with multiple indicator lights, AeraMax uses a single red light with different patterns to communicate distinct issues that need your attention.
Solid Red Light: Filter Replacement Alert
When your AeraMax displays a steady, non-blinking red light, your HEPA or carbon filter has reached the end of its effective lifespan. This warning typically activates after approximately 12 months of standard home use or 6 months in environments with high pollution levels, pets, or smokers. Your purifier’s internal timer tracks runtime hours and triggers this alert when filters can no longer capture particles effectively. Ignoring this warning means your air quality gradually deteriorates as the saturated filters lose their cleaning capacity.
Blinking Red Light: Installation or Sensor Issue
A flashing red light indicates either improper filter installation or sensor problems. This pattern appears when:
- The filter isn’t fully seated in its housing compartment
- The front access panel isn’t completely closed and latched
- The dust sensor window has accumulated debris
- Airflow obstruction triggers the unit’s safety system
This blinking pattern serves as an immediate alert that your purifier can’t function properly until you address the underlying issue.
Red Light With Increased Fan Speed: Emergency Air Cleaning Mode
When your AeraMax displays a red light while simultaneously running at maximum fan speed, your unit has detected dangerously high particle levels in your environment. This emergency mode activates when filters become so saturated they can no longer capture contaminants effectively. The system compensates by increasing airflow in an attempt to maintain air quality, but this is only a temporary solution—you need to replace filters immediately to restore normal operation.
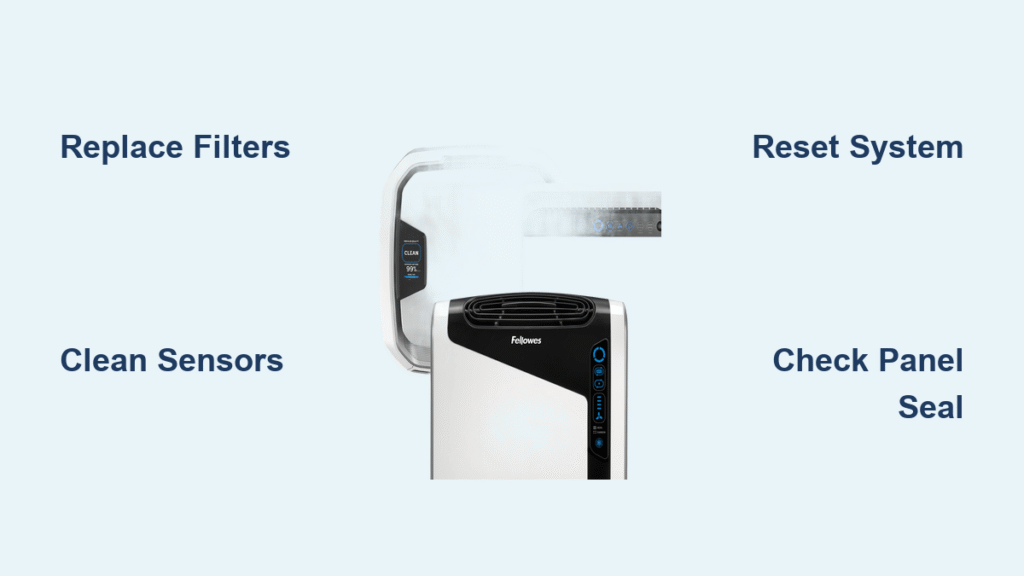
60-Second Red Light Diagnostic Checklist
Before attempting complex repairs, perform this quick visual inspection to identify obvious issues that trigger the “aeramax air purifier red light” warning.
Verify Proper Filter Installation
Open the front panel by pressing the release tabs on both sides and examine how the filters sit in their compartments. Remove each filter and check for correct orientation—look for directional arrows that should point toward the fan housing. Inspect for gaps around the filter edges where unfiltered air could bypass the system. Even a slight misalignment of 1-2mm can trigger the red light warning.
Clean Critical Sensor Areas
Locate the small circular dust sensor window, typically positioned on the unit’s side or back. Shine a flashlight directly at this area to reveal any accumulated dust or debris. A dirty sensor sends false readings to your purifier’s control system, causing unnecessary red light activation. Use your phone’s camera flash to magnify the sensor area for better visibility.
Confirm Front Panel Closure
Run your finger along the entire perimeter of the front panel to ensure it’s completely seated. Listen for the distinct clicking sound as each tab engages with the main housing. A single unsecured tab—even if invisible to the naked eye—can activate the red light warning system. Try gently pressing different sections of the panel while observing the light; if it changes behavior, you’ve found your problem area.
Complete Filter Replacement Procedure

Replacing filters resolves most “aeramax air purifier red light” issues, but improper installation often causes the warning to persist.
Essential Tools for Successful Filter Change
- Model-specific replacement HEPA filter
- Compatible activated carbon pre-filter
- Soft microfiber cleaning cloth
- Vacuum cleaner with brush attachment
- Isopropyl alcohol (for sensor cleaning)
Precise Filter Replacement Steps
- Power cycle the unit – Unplug your AeraMax for at least 30 seconds to reset the internal system
- Remove both filters – Pull the HEPA filter straight out, then lift the carbon pre-filter from its slots
- Thoroughly clean the housing – Vacuum the empty compartment, focusing on corners and sensor areas
- Install the carbon filter first – Slide the black mesh filter into the front slots until fully seated
- Secure the HEPA filter – Push the white filter firmly until you hear it click into the back housing
- Reset the system – Press and hold the filter reset button for 3-5 seconds until the red light turns off
Locating and Using the Reset Button
On most AeraMax models, the reset button hides behind the front panel near the bottom right corner. Look for a small recessed button labeled “RESET” or a circular indentation. For newer touchscreen models, navigate through Settings > Filter Life > Reset instead of searching for a physical button. If you don’t see immediate results, try holding the button for up to 10 seconds.
Sensor Cleaning Techniques That Actually Work
When new filters don’t extinguish the red light, dirty sensors are usually to blame. These components provide critical air quality data to your purifier’s control system.
Effective Dust Sensor Cleaning Method
Power off and unplug your unit before starting. Locate the small sensor window—typically a 1/4-inch circular opening on the side. Dip a cotton swab in isopropyl alcohol and gently clean the sensor lens using circular motions. Never use water or household cleaners as they can damage the sensitive sensor components. Allow at least 5 minutes for complete drying before reassembly.
Proper Air Quality Sensor Maintenance
For models with dual sensors, clean both the particle sensor and odor sensor. The odor sensor sits behind a protective mesh screen and requires careful vacuuming with a brush attachment. Avoid using liquids on this sensor, as moisture can cause permanent damage. Instead, use compressed air at low pressure to dislodge stubborn particles.
Verifying Sensor Functionality
After cleaning, test your sensors by running the purifier on high for 10 minutes in a clean environment. Introduce a small amount of cooking smoke or candle smoke near the intake to see if the unit responds appropriately. If the red light persists without explanation, the sensor itself may require professional replacement.
Advanced Reset Procedures for Stubborn Red Lights

When standard fixes fail, these advanced reset techniques often resolve persistent “aeramax air purifier red light” issues caused by electronic glitches.
Complete System Hard Reset
Unplug the unit and press and hold the power button for 30 seconds while disconnected—this drains residual power from internal capacitors. Wait 2 full minutes before plugging back in. This process clears temporary memory glitches that can cause false alarms and is surprisingly effective for units that have experienced power fluctuations.
Filter Timer Reset Sequence
After installing new filters, manually reset the filter timer through the control panel. With the unit powered on, press and hold the filter reset button until you hear an audible beep or see visual confirmation. On digital display models, navigate to Settings > Filter Life > Reset. If the timer doesn’t reset properly, your unit may require a full factory reset.
Power Supply Troubleshooting
Test your AeraMax in a different wall outlet to rule out electrical issues. Check the power cord for damage or fraying that could cause inconsistent power delivery. If using a power strip or surge protector, bypass it temporarily to determine if voltage fluctuations are triggering false warnings. Stable power delivery is essential for accurate sensor readings.
Persistent Red Light: When to Seek Professional Help
If the red light remains after thorough troubleshooting, your AeraMax may have more serious issues requiring expert attention.
Hidden Airflow Obstructions
Remove the front panel and inspect the fan blades for debris that might restrict airflow. Small objects like paper clips, hair ties, or large dust bunnies can trigger safety shutoffs. Use compressed air to clean around the motor housing carefully—never insert tools into the fan assembly as this can damage delicate components.
Control Board Malfunctions
Visible signs of control board problems include:
– Burning smell from the unit
– Visible moisture damage inside the housing
– Burnt components or discoloration on circuit boards
– Random behavior beyond the red light issue
Replacement control boards typically cost 50-70% of a new unit’s price, making professional evaluation essential before proceeding.
Cost-Effective Service Options
Contact AeraMax customer support at 1-800-474-2147 for warranty claims. For out-of-warranty units over 3 years old, compare repair costs with new unit prices—often replacement becomes more economical than professional repair. Many service centers offer diagnostic fees that apply toward repair costs if you proceed.
Proactive Maintenance to Prevent Future Red Light Alerts
Implement these simple routines to avoid most “aeramax air purifier red light” occurrences and extend your unit’s lifespan significantly.
Effective Monthly Maintenance Schedule
- First week: Vacuum exterior surfaces and check panel alignment
- Second week: Clean intake and output grills with soft brush
- Third week: Inspect and clean dust sensor window
- Fourth week: Perform visual filter inspection for early saturation signs
Filter Life Extension Strategies
Vacuum HEPA filters monthly to remove surface dust without damaging fibers. Rotate carbon filters periodically to ensure even saturation. Use lower fan speeds during periods of good air quality, and position your unit away from high-traffic areas to reduce particle load. These simple habits can extend filter life by 20-30%, saving you money and preventing premature red light warnings.
Your AeraMax red light isn’t just an annoyance—it’s a helpful reminder that keeps your air purifier operating at peak efficiency. By following these diagnostic steps and maintenance routines, you’ll solve most red light issues within 15 minutes. Remember that consistent filter maintenance prevents 80% of red light problems, making regular checkups the best long-term solution for clean air and a quiet, happy purifier. Implement these strategies today to ensure your AeraMax continues delivering the clean, healthy air your home deserves.


