
Your air purifier’s silence used to mean clean air. Now that hum is gone, and you’re left with stale, particle-filled air while dust settles on its darkened display. Before you assume it’s dead and buy a replacement, know this: 8 out of 10 “broken” air purifiers suffer from simple issues you can fix tonight with basic tools. Whether your unit won’t power on, pushes no air, or flashes confusing error lights, this guide delivers step-by-step solutions verified by repair technicians. You’ll diagnose the exact problem, implement fixes under $5, and prevent future failures—all without voiding your warranty.
Power Failure Symptoms Explained
Unit Completely Dead
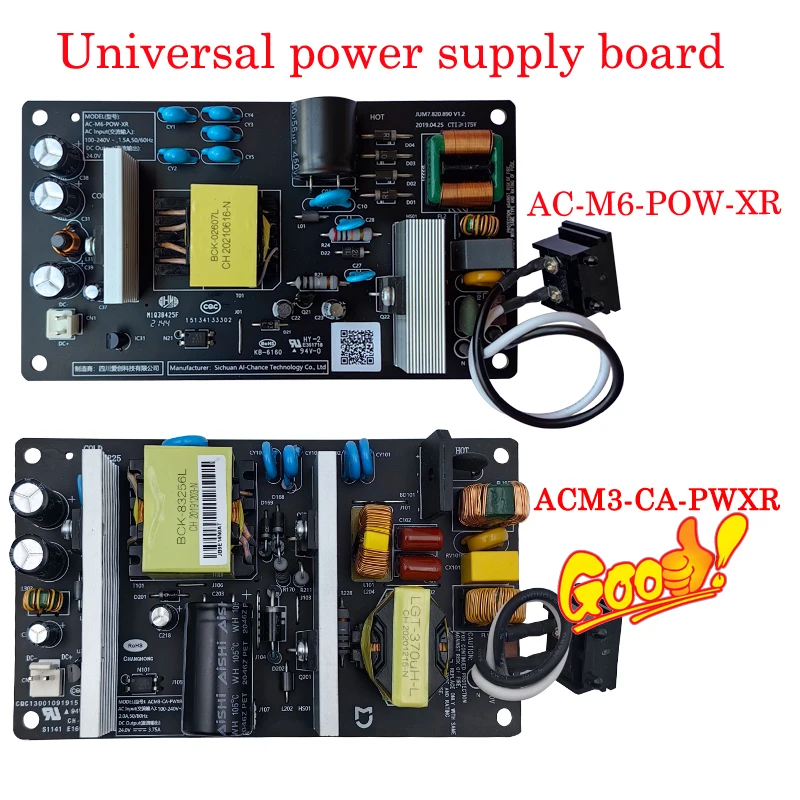
No lights, no fan noise—just a useless paperweight. Start with your wall outlet: plug in a lamp or phone charger. If it works, inspect the purifier’s cord thoroughly for hidden kinks or melted spots near the plug. Next, locate the internal fuse (typically a 2A slow-blow type on the power board). A blackened or broken filament confirms failure. Replace it with an identical Littelfuse 215002 model—never jump the fuse. If the new fuse blows immediately, suspect a failed bridge rectifier or shorted capacitor on the power board.
Shuts Off After Seconds
Your purifier powers up but dies within 30 seconds? First, verify your outlet voltage with a multimeter—it must read 110-125V AC. Anything lower triggers automatic shutdown. Another culprit: dust-clogged safety sensors. Remove the filter and restart the unit. If it runs longer, the reed switch or NFC sensor is dirty. Power down, then clean the sensor area inside the filter bay with 99% isopropyl alcohol and a lint-free swab. Reinstall the filter firmly—misalignment tricks the unit into thinking it’s missing.
Lights On, Fan Silent
The display glows but zero airflow? Disable child lock by holding the power button for 5 seconds (varies by brand). Still no fan? Remove the front grill and manually spin the impeller. If it’s stuck, unwind pet hair or debris wrapped around the hub. If it spins freely but won’t run, test the Hall sensor: unplug the three-wire connector near the motor and measure voltage across the signal wire while turning the impeller. No 0-5V toggle means a faulty A3144 sensor needing replacement.
Airflow Problems Diagnosed
Zero Air Movement
Place your hand over the outlet—no breeze? Remove the filter and test again. Strong airflow without it means the HEPA is either clogged or installed backward (arrows must point toward the fan). If airflow remains weak, inspect the blower wheel for thick dust layers. Use compressed air to clean blades from the clean side. Never submerge HEPA filters—vacuum gently instead.
Weak or Uneven Output
Reduced flow on one side often means a bent impeller blade or loose housing. Power down, remove the grill, and examine each blade. Even a 2mm bend causes imbalance. Straighten carefully with needle-nose pliers. Check housing screws—if loose, the wheel rubs the shroud. Tighten all fasteners before reassembly. Persistent weakness after cleaning indicates motor driver failure.
Loud Hum, No Wind
The motor groans but won’t rotate? This “locked rotor” occurs when bearings seize from dried grease. Unplug the unit, then try turning the shaft with a screwdriver. If gritty, apply one drop of sewing-machine oil to each bearing end. Spin manually for 30 seconds to distribute oil. If it remains stuck, the motor windings are likely shorted—measure resistance across phases; readings below 3Ω or above 100Ω require replacement.
Red or Blinking Lights Decoded
Filter Indicator Won’t Reset
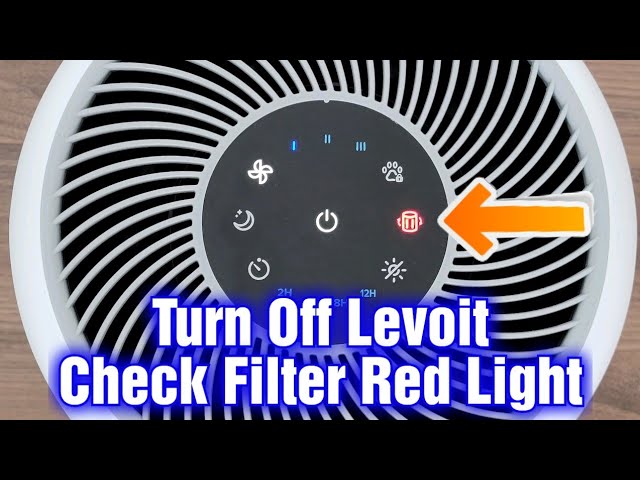
Replaced the filter but the red light glares? Perform a manual reset: for Levoit models, hold the filter button 3 seconds; Honeywell requires 5 seconds on “Check Filter.” No button? Power-cycle the unit with the grill removed, then reinstall the filter while running. This forces sensor recalibration. If the light persists, clean the reed switch with alcohol—it’s likely blocked by dust.
Flashing Error Codes
Count the blinks: three red flashes usually mean “filter missing,” five amber flashes signal sensor faults. Match your pattern to the error legend inside the filter bay. Unlisted codes? Execute a factory reset: unplug, hold the power button, plug back in, and release after 10 seconds. For Wi-Fi models, this also clears corrupted OTA updates causing boot loops.
Sensor Stuck on One Color
Air-quality LEDs frozen on red despite clean air? The PM2.5 laser window is dusty. Remove the two-screw sensor cover, then swab the laser diode and photodiode with 90%+ isopropyl alcohol. Air-dry for 10 minutes. For accurate calibration, place the unit in a sealed box with HEPA-filtered air for 10 minutes post-cleaning.
Tools Needed for Quick Fixes
Essential Toolkit
You’ll need a digital multimeter ($15), Phillips #2 and Torx T15 screwdrivers, 99% isopropyl alcohol, lint-free swabs, and light machine oil. A 10kΩ resistor is critical for safely discharging capacitors—never skip this step. For sensor work, smartphone NFC apps (like NFC Tools) help verify filter tags.
Optional but Handy
Compressed air clears stubborn dust. An ESD wrist strap prevents static damage during board work. Needle-nose pliers fix bent blades. Skip petroleum-based greases—they gum up bearings; use sewing-machine oil only.
5-Minute Visual Inspection
Cord and Outlet Check
Unplug both ends. Feel the cord for nicks or heat damage. Test the outlet with a phone charger—if it charges, the outlet works. Wiggle the plug; loose connections cause intermittent power loss. Burnt smells near the plug indicate internal wire damage—replace the cord.
Filter Bay Examination
Pop the grill. Check for plastic wrap left on new filters, HEPA arrows pointing backward, or foam particles jamming the blower. Verify the magnet on the filter frame aligns with the reed switch—misalignment triggers “filter missing” errors.
Smell Test
Sniff the exhaust vent. Burnt electronics or ozone odor means blown capacitors or fried motor drivers—stop using the unit immediately. Hot plastic smells require board-level repair.
Step-by-Step Power Supply Test
Outlet Voltage
Set your multimeter to AC volts. Insert probes into the outlet’s narrow (hot) and wide (neutral) slots. Readings below 105V cause shutdowns—move to a different circuit. Above 125V risks component damage.
Internal 12 V Rail
Unscrew the rear panel. Locate the yellow or red 12V wire. With power on, probe it to ground. Expect 11.8–12.4V DC. Readings below 10V indicate a failing power board—replace bulging capacitors first.
Capacitor Check
Inspect electrolytic capacitors (cylindrical components). Bulging tops or leaking fluid means failure. Replace 400V 47µF primary capacitors with Panasonic EEU-EE2G470 models (105°C low-ESR types). Always discharge the bulk capacitor with a 10kΩ resistor first—residual 170V DC can shock.
Motor & Blower Rescue
Free a Locked Rotor
Unplug and remove the grill. Twist the impeller hub clockwise and counterclockwise. If stiff, add one oil drop per bearing. Spin manually for 30 seconds. Reassemble and test. If seized, replace the motor—Mabuchi 555-3050 units cost $22.
Hall Sensor Replacement
Unplug the three-wire motor connector. Unscrew the sensor board and replace the A3144 chip. Realign it 1–2mm from the rotor’s magnet ring. Misalignment prevents startup.
Impeller Balancing
Excessive vibration? Run at max speed on a level surface. Use a smartphone accelerometer app as a strobe. Add electrical tape to lighter blades until vibration stops.
Filter & Sensor Fixes
Reset Filter Timer
Brand-specific steps matter: Levoit holds filter button 3s, Honeywell needs 5s on “Check Filter,” Dyson requires 5s on the remote power button. Skip this and your air purifier not working issue persists despite new filters.
Clean PM2.5 Sensor
Power down. Remove sensor cover screws. Swab laser and photodiode lenses with alcohol. Air-dry 10 minutes. Zero-calibrate in a HEPA-sealed box for accuracy.
NFC Tag Hack for Aftermarket Filters
Buy NTAG213 stickers ($0.60). Clone your original filter’s UID using an Android NFC app. Stick it on new filters to bypass “filter missing” errors—works for Levoit, Coway, and most brands.
Common Mistakes to Avoid
- Using WD-40 on bearings: Petroleum grease gums up and worsens seizure—use only sewing-machine oil.
- Ignoring capacitor discharge: A charged bulk capacitor holds lethal 170V—always discharge with a resistor.
- Installing HEPA backward: Arrows must point with airflow (toward the fan), not against it.
- Breaking tamper seals: Void warranty instantly—photograph seals before removal.
Maintenance Schedule That Prevents 90% of Failures
| Task | Frequency | Time | Critical Impact |
|---|---|---|---|
| Vacuum pre-filter foam | Weekly | 2 min | Prevents blower jams |
| Wipe external vents | Weekly | 1 min | Stops dust buildup |
| Deep-clean HEPA pleats | Quarterly | 10 min | Maintains airflow |
| Replace carbon filter | Annually | 5 min | Avoids VOC saturation |
| Check cord for nicks | Monthly | 1 min | Prevents electrical faults |
When to Replace vs. Repair
Repair immediately: Blown fuses, locked rotors, or dirty sensors—fixes cost under $5 and take <30 minutes. Replace instead: Open motor windings (resistance >100Ω), cracked blower housings, or board failures on units over 3 years old. Compare repair costs ($89–$250) to new units ($120–$400). If your air purifier not working symptoms include burnt smells or persistent error codes after basic fixes, replacement is wiser.
Quick Diagnostic Flowchart
- Dead unit → Test outlet → Check cord → Replace fuse → Inspect power board
- Runs, no air → Remove filter → Clean blower → Lubricate bearings → Replace motor
- Red light on → Reset timer → Clean sensors → Verify reed switch → Clone NFC tag
- Strange noise → Remove grill → Straighten blades → Lubricate → Replace motor
Most “dead” air purifiers simply need a $1 fuse, cleaned sensor, or drop of oil. Spend 20 minutes on these checks before buying new—you’ll revive clean air faster and save $200+. When your air purifier not working crisis strikes, remember: the fix is almost always simpler than you think. Your lungs deserve that quiet hum again—get troubleshooting tonight.


