
Your dehumidifier hums but collects no water. You feel zero airflow while the compressor runs endlessly. This frustrating scenario—where humid air circulates freely despite your unit running—almost always points to dehumidifier fan motor repair. Most failures stem from preventable issues: dried lubrication, blown thermal fuses, or seized bearings. The good news? You can diagnose and fix 80% of these problems yourself with basic tools, avoiding $150+ service calls. This guide delivers precise troubleshooting steps and repairs verified by appliance technicians, so you’ll restore moisture removal within hours.
Why Your Dehumidifier Fan Stops Spinning Mid-Cycle
When your fan motor fails, the refrigeration system continues cooling the evaporator coil—but without airflow, humidity can’t condense. This creates a deceptive “working” unit that runs endlessly while humidity soars. Recognizing these specific failure patterns prevents wasted time on unnecessary part replacements.
Zero Airflow Despite Compressor Running
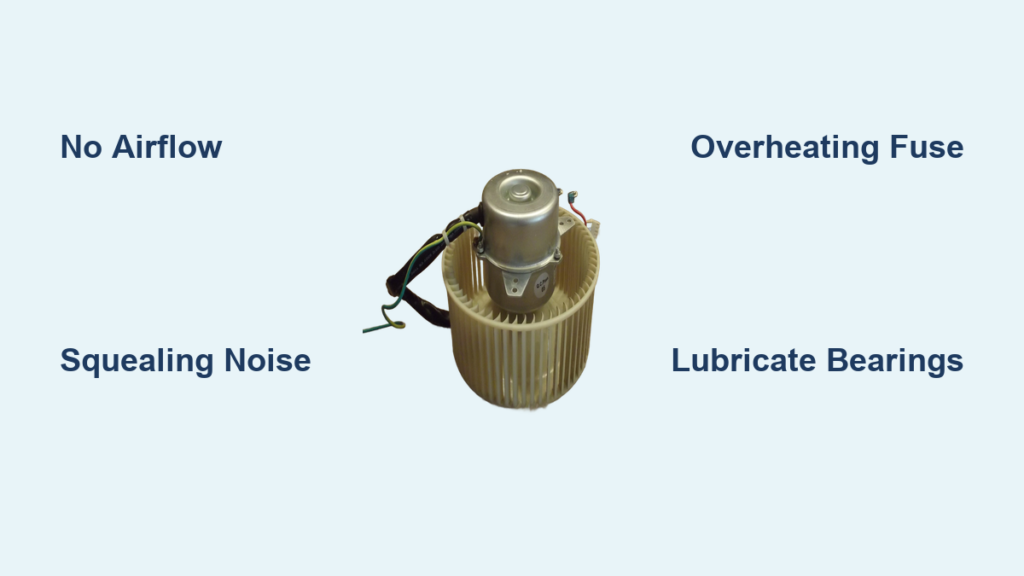
Place your hand directly over the air outlet while the unit operates. If you detect no breeze but hear the compressor humming, your fan motor has failed. This symptom occurs because the motor isn’t pulling humid air across the cold evaporator coil—rendering the entire dehumidification process useless. Don’t confuse this with clogged filters; even with clean filters, zero airflow confirms motor or electrical issues.
Warning Noises Before Complete Failure
Listen for these critical auditory clues days before total breakdown:
– Squealing or grinding: Signals dry oilite bearings losing lubrication
– Rattling: Indicates loose fan blades hitting the housing
– Loud buzzing: Points to electrical shorts in windings or a blown thermal fuse
Ignoring these sounds accelerates damage—squealing bearings often seize completely within 48 hours.
Intermittent Operation Cutting Out After 20 Minutes
If your fan runs for 15-30 minutes then shuts off while the compressor continues, overheating is the culprit. This happens when dried lubricant causes excessive friction, tripping the thermal fuse as temperatures exceed 115°C (239°F). The motor restarts only after cooling for 30+ minutes—a clear sign bearings need lubrication or the thermal fuse requires replacement.
Critical Safety Steps Before Opening Your Unit
Dehumidifiers combine water reservoirs and live electrical components, creating serious shock risks during repair. Skipping these precautions could cause electrocution or fire.
Complete Power Disconnection Protocol
Unplug the unit AND remove the water bucket before touching any components. Never rely solely on the power switch—residual current in capacitors can deliver dangerous shocks. Work on a dry surface with rubber-soled shoes, and keep all tools away from metal surfaces near the outlet.
Immediate Hazard Identification Checklist
Before disassembly, inspect for:
– Water leaks near electrical compartments (indicates compromised seals)
– Melted wire insulation or burnt plastic smells (signs of short circuits)
– Corroded terminals or rust on motor housings (exposure to moisture damage)
If you spot ANY of these, stop immediately—these require professional repair due to fire risks.
Visual Inspection: Spot Mechanical Failures in 5 Minutes

Most fan motor issues reveal themselves through simple visual and manual checks. This step avoids unnecessary multimeter testing and pinpoints 60% of problems.
Fan Blade Damage and Obstruction Signs
Remove the front grille (typically 4-6 screws) and examine the blade:
– Wobbling or scraping: Tighten the set screw on the motor shaft
– Cracked/broken vanes: Causes imbalance that strains bearings—replace the blade
– Dirt buildup: Clean with a soft brush; accumulated dust creates uneven rotation that overheats the motor
If the blade resists spinning by hand, dried lubricant is likely seizing the bearings.
Motor Shaft and Bearing Failure Indicators
Gently wiggle the motor shaft while rotating it:
– Side-to-side movement: Worn bushings need replacement
– Rust rings on the shaft: Corrosion from moisture exposure requires lubrication
– Burn marks near the housing: Indicates electrical shorts—motor must be replaced
A seized shaft won’t rotate smoothly and often shows blue discoloration from overheating.
Electrical Diagnosis: Test Power and Windings Safely

When mechanical issues are ruled out, use these electrical tests to confirm motor health. Always prioritize safety—live voltage testing should only be attempted by experienced users.
Confirming Voltage Delivery to Motor Leads
Set your multimeter to AC voltage (200V+ range). With the unit plugged in and running:
1. Carefully probe the motor wire terminals
2. Verify 220-240VAC (or 120VAC for North American models)
Critical warning: If voltage is present but the motor doesn’t run, the issue is motor-specific. If NO voltage registers, check the humidistat or control board instead.
Motor Winding Continuity Test (Safer Alternative)
Unplug the unit and disconnect motor wires. Set your multimeter to ohms (Ω):
– Normal reading: 5-50 ohms (varies by model)
– “OL” or infinite resistance: Open winding—motor replacement required
– Near-zero resistance: Shorted winding—replace motor immediately
This test eliminates shock risks while definitively identifying winding failures.
Repairing the 3 Most Common Motor Failures
Most dehumidifier fan motors use shaded-pole designs prone to three specific failures. Address these in order of simplicity—lubrication fixes 40% of cases without parts.
Replacing a Blown Thermal Fuse in 10 Minutes
Thermal fuses (typically in yellow heat-shrink tubing near red wires) blow when bearings overheat. Test continuity across the fuse—no beep means replacement is needed. Crucial: Use identical temperature-rated fuses (115°C or 130°C) and connect ONLY with crimp connectors. Soldering destroys thermal sensitivity, creating fire hazards.
Lubricating Seized Oilite Bearings Properly
Dry bronze bushings cause 50% of motor failures. Fix this by:
1. Removing the motor and soaking bearings in SAE 30 non-detergent motor oil for 48 hours
2. Replacing the felt wick with oil-saturated material
3. Avoiding household oils (WD-40, 3-in-1)—they evaporate within weeks
This restores smooth rotation in 70% of “stiff shaft” cases.
Salvaging Stuck Bearings Without Shaft Damage
When bearings weld to the shaft:
1. Apply penetrating oil and gently twist the bearing counterclockwise
2. Polish the shaft with 400-grit sandpaper if scored
3. Clean the bearing cavity and reapply heavy gear oil
Warning: If the shaft shows deep grooves, replacement is safer—improper repair causes rapid re-failure.
Motor Replacement: Match Specs to Avoid Repeat Failures

When repairs fail, replacement is straightforward—if you match critical specifications. Using incorrect motors causes premature burnout.
Must-Have Tools for Hassle-Free Installation
Gather these before starting: Phillips/flat screwdrivers, 1/4″ nut driver, penetrating oil for stuck blades, multimeter, and labeled containers for screws. Vibration-damping grommets (often included with new motors) prevent future noise issues.
Critical Replacement Motor Specifications
Verify these BEFORE purchasing:
– Frame size and mounting holes (measured in mm)
– Shaft diameter (typically 4mm or 5mm)
– RPM rating (usually 1500-1725 RPM)
– Rotation direction (clockwise/counterclockwise when viewed from shaft end)
Mismatched specs cause excessive vibration or insufficient airflow.
Step-by-Step Installation Without Errors
- Remove old blade: Loosen set screw (direction varies—some require clockwise turns)
- Photograph wiring: Note color codes before disconnecting
- Align new motor: Ensure shaft protrudes 1-2mm beyond the blade hub
- Test before full reassembly: Run unit with front cover loose to confirm smooth operation
Tighten set screws ONLY when the blade is fully seated on the shaft’s flat spot—this prevents slippage.
Preventing Future Motor Failures With 2-Minute Maintenance
Extend motor life by 3+ years with these simple habits. Most failures trace back to neglected maintenance.
Quarterly Blade Cleaning Protocol
Remove and rinse the fan blade every 3 months. Built-up dust creates imbalance that:
– Increases bearing stress by 300%
– Raises motor operating temperatures by 15-20°C
– Triples thermal fuse blowout risks
Dry thoroughly before reinstallation—moisture accelerates corrosion.
Annual Lubrication That Actually Works
Apply 2-3 drops of SAE 30 non-detergent oil to bearing ports yearly. Unlike light oils, this viscosity resists evaporation in humid environments. Skip this step, and bearings dry out within 18 months—causing the telltale squeal preceding total failure.
Finding Compatible Replacement Motors
OEM part numbers (like WT-15D1-02) are cross-referenced across major brands. Always verify compatibility:
Universal Motor Cross-Reference Guide
- Common numbers: YZF-25-8, 4681A20066T
- Compatible brands: GE, Whirlpool, LG, Frigidaire, Maytag, Kenmore
Pro tip: Search using your dehumidifier’s model number—not the motor number—for accurate matches. Aftermarket motors cost $30-50 (vs. $70 OEM) with identical performance.
Final Validation: 4-Step Post-Repair Test
Never skip these checks after repair or replacement:
1. Initial spin test: Verify smooth rotation by hand before powering on
2. 30-second run: Listen for grinding or vibration (indicates misalignment)
3. Airflow check: Hold tissue 6″ from outlet—it should stick firmly
4. Extended test: Run for 30 minutes monitoring for overheating
If the motor stops or buzzes, recheck wiring polarity and set screw tightness.
When to Call a Professional Immediately
Seek expert help if you encounter:
– Tripped circuit breakers when powering on (indicates short circuits)
– Burnt wire insulation or melted components
– Simultaneous compressor and fan failure
– Units under active warranty (DIY repairs void coverage)
Final Tip: Keep a spare thermal fuse ($5) and SAE 30 oil on hand. With annual maintenance, your repaired fan motor will outlast the dehumidifier itself—keeping your space dry for years. Most failures stem from neglect, not complexity; 10 minutes of prevention saves hours of repair.


