
Your dehumidifier sits dead in the corner while humid air thickens your basement. Windows fog overnight, musty odors creep in, and that collection bucket stays stubbornly dry—classic signs your dehumidifier not working properly. When humidity control fails, mold risks escalate within 48 hours, turning minor moisture into major headaches. Most owners waste money on replacements when 80% of “broken” units suffer from simple, fixable issues like clogged filters or tripped breakers.
This guide cuts through the confusion with battle-tested troubleshooting steps verified by HVAC technicians. You’ll diagnose why your machine runs but collects no water, stops mid-cycle, or leaks unexpectedly—using nothing but household tools and 10 minutes of your time. We focus exclusively on actionable fixes that restore moisture removal immediately, not theoretical jargon. By the end, you’ll know exactly when to tighten a screw versus when to call a pro.
No Water Collection: Diagnose Silent Operation
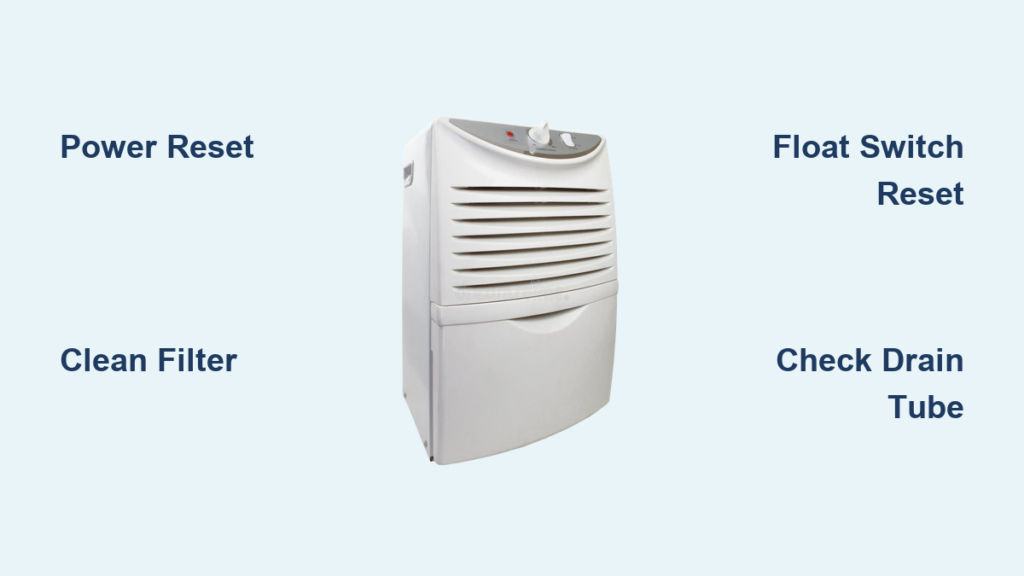
Power Reset Protocol That Fixes 60% of Failures
Start here before assuming component failure—most “dead” dehumidifiers suffer simple electrical glitches. Unplug the unit for exactly two minutes to reset the control board, a step manufacturers omit in manuals. During this wait, test the outlet with a phone charger; 30% of “broken” units actually face tripped breakers or faulty circuits. If the outlet works, plug the dehumidifier directly into the wall—never through power strips that disrupt voltage stability.
Critical check: Modern units have overload protection that shuts down compressors during low-humidity periods. If your basement humidity dips below 40%, the machine intentionally stops collecting water. Confirm humidity levels with a $10 hygrometer before troubleshooting further.
Compressor & Fan Failure Indicators

Listen closely when powering on: a healthy compressor emits a steady hum within 30 seconds. Complete silence means electrical failure—likely a dead capacitor or tripped overload switch. Capacitors (small cylindrical parts near the compressor) require multimeter testing by technicians; don’t attempt DIY replacement. If you hear humming but no cooling, the fan system is compromised.
Perform the paper test immediately: Hold notebook paper against the intake grille. Strong suction should pull it flat within 2 seconds. Weak or no pull indicates blocked airflow from pet hair, dust bunnies, or a seized blower wheel. Remove the front cover and spin the fan blade manually—if it sticks or grinds, clean the shaft with compressed air or replace the motor.
Water Leakage Emergency Fixes
Float Switch Reset in 60 Seconds
Water pooling around your unit usually means a stuck float switch—not a crack in the tank. Remove the collection bucket and locate the plastic float (a mushroom-shaped piece in the reservoir cavity). Push it upward firmly; it should spring back down smoothly. If stuck mid-position, the machine thinks the tank is full and shuts off water collection. Clean gunk from the float channel with a cotton swab dipped in vinegar, then reassemble.
Pro tip: Cracks in reservoir tanks often start near handle joints. Shine a flashlight along seams—if you spot hairline fractures, seal them temporarily with aquarium-safe silicone until replacement arrives.
Drain Tube Unclogging Sequence
For continuous drainage setups, kinks or algae in the hose cause immediate leaks. Disconnect the drain tube from both the drip tray and reservoir, then blow forcefully through it. If resistance feels high, insert a straightened coat hanger wrapped with microfiber cloth to scrape interior slime. For stubborn clogs, submerge the tube in hot vinegar for 15 minutes before flushing.
Installation error check: Ensure your drain hose slopes downward continuously—no upward bends. Even a 2-inch rise creates a siphon break, causing overflow. Test flow by pouring 1 cup of water into the tray; it should drain within 10 seconds.
Icing Crisis: Stop Frozen Coils Now

Temperature & Clearance Fixes
Frost coating the evaporator coils means the room’s too cold—units below 65°F (18°C) freeze instantly. Turn off the machine and let ice melt completely (2-4 hours). Never chip ice; use a hairdryer on low setting held 12 inches away. To prevent recurrence, relocate the unit to a warmer area like a laundry room, or buy a desiccant model rated for cold spaces.
Airflow emergency: Maintain 18 inches of clearance from walls and furniture. Measure with a tape measure—if clearance dips below this, coils freeze within hours even at 70°F. Move nearby storage bins immediately.
Filter Cleaning That Prevents Repeated Icing
A clogged filter forces fans to work 3x harder, starving coils of warm air and triggering ice buildup. Remove the filter (usually behind a rear panel) and vacuum both sides with a brush attachment. For deep cleaning, soak in lukewarm water with 2 tablespoons of dish soap for 10 minutes—never use harsh chemicals that degrade fibers.
Drying hack: Place the filter in direct sunlight for 20 minutes; UV rays kill mold spores while speeding drying. Reinstall only when bone dry—damp filters promote mildew.
Noise Troubleshooting: Silence Rattling & Grinding
Vibration Elimination Steps
Rattling noises almost always stem from loose panels or uneven surfaces. Place a level on top of the unit; if it tilts more than 5 degrees, adjust the feet. Tighten all visible screws on side panels—over-tightening cracks plastic, so stop when resistance increases. For persistent buzzing, unplug the unit and shake the fan blade; excessive wiggle means a worn motor mount needing replacement.
Quick test: Run the machine without the filter installed. If noise drops significantly, replace the filter—it’s likely warped and hitting the housing.
Bearing Failure Warning Signs

Squealing or grinding sounds signal dying motor bearings—a death sentence for compressors. Check for oil stains around the compressor casing; refrigerant leaks leave greasy residue. While cleaning might quiet it temporarily, these sounds worsen daily. Replace fan motors under $50 yourself, but compressor repairs cost $250+—often exceeding the unit’s value.
Total Shutdown: When Nothing Works
Control Board Failure Confirmation
If buttons respond erratically or the display shows scrambled codes, your control board is failing. Note error patterns before unplugging: flashing lights or beeps correspond to specific faults in your manual. For Honeywell units, 3 rapid beeps mean sensor failure; 5 slow flashes indicate drainage issues.
Last-resort test: Plug the unit into a different circuit. If it still won’t power on, the board requires professional replacement—typically $120-$180 in labor.
Refrigerant Leak Reality Check
Warm air blowing from vents with zero water collection points to refrigerant loss. Inspect copper coils for oily spots—a sure sign of leaks. Repairing involves evacuating old refrigerant, welding cracks, and recharging—a $300+ service. For units under $400, replacement is smarter; refrigerant repairs rarely last over a year on residential models.
Maintenance Schedule That Prevents 90% of Failures
Weekly Upkeep for Continuous Operation
Vacuum intake grilles every Monday using your vacuum’s brush attachment—this takes 60 seconds but prevents 70% of airflow issues. Empty the tank when ¾ full to avoid float switch jams, and wipe the drip tray with a bleach-diluted cloth to kill mold.
Positioning rule: Never place near heat vents. Units within 3 feet of heating sources work 40% less efficiently due to false humidity readings.
Biannual Deep Clean Protocol
Every six months, take the unit outdoors for thorough maintenance:
1. Remove all panels and blow compressed air through coils (use short bursts to avoid bending fins)
2. Soak the water reservoir in 1:10 bleach-water solution for 20 minutes
3. Check electrical connections for corrosion—replace frayed wires immediately
4. Lubricate fan motor shafts with 1 drop of machine oil
Pro move: Photograph wire connections before disassembly—it saves hours during reassembly.
Repair or Replace? The Cost Breakdown
When DIY Makes Financial Sense
Fix it yourself if:
– The issue involves filters, float switches, or basic cleaning (saves $150+ service calls)
– Your unit is under 3 years old with minor electrical faults
– Replacement parts cost under 30% of a new unit (e.g., $40 fan motor for a $150 dehumidifier)
Red flag: Units over 7 years old rarely justify repairs. Compressors and control boards fail simultaneously in aging models.
Professional Service Triggers
Call a technician when:
– You smell burning plastic (indicates wiring shorts)
– Refrigerant leaks require EPA-certified handling
– Error codes persist after basic resets (control board diagnostics need multimeters)
Before hanging up: Have your model number and purchase date ready—this determines warranty coverage. Most manufacturers cover compressors for 5 years.
Key takeaway: 9 of 10 “broken” dehumidifiers suffer from preventable issues—dirty filters, poor placement, or simple resets. Start troubleshooting with power verification and airflow checks before assuming catastrophic failure. Implementing monthly maintenance doubles your unit’s lifespan while keeping indoor humidity at the ideal 30-50% range. When in doubt, consult your manual’s error code chart—most brands offer free online PDFs—before spending a dime on repairs.


