
Your GE dehumidifier sits idle while moisture continues to build up in your basement or laundry room. The humidity makes the air feel heavy, windows fog up, and musty odors linger—yet your GE dehumidifier not working properly leaves you frustrated and wondering what’s wrong. Before you consider expensive replacement options, understand that most GE dehumidifier failures have simple, affordable fixes you can complete in under 30 minutes with basic tools. This guide shows you exactly how to diagnose and repair your malfunctioning unit, saving you money and restoring comfort to your home.
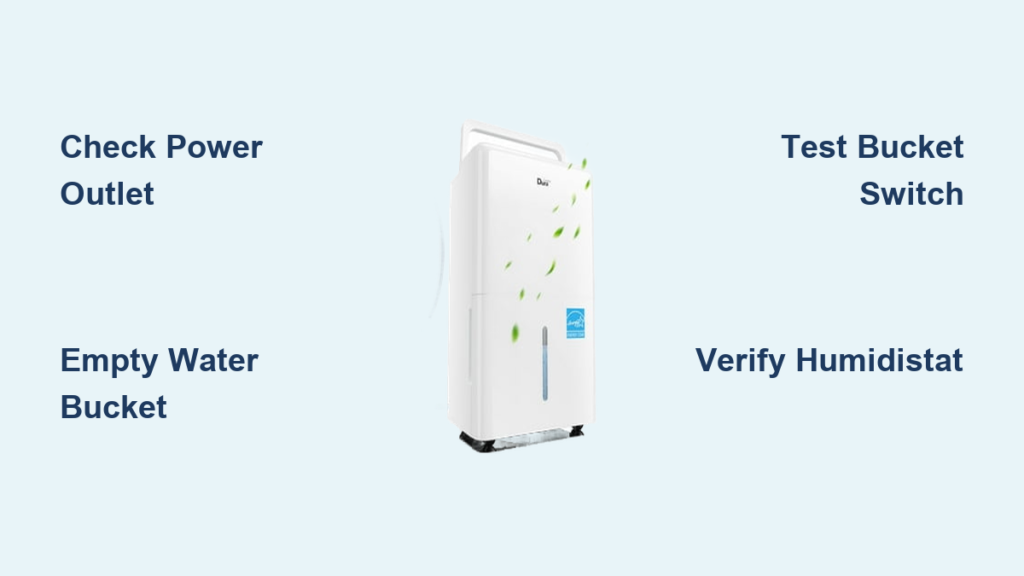
Most “GE dehumidifier not working” issues stem from just a few common problems that aren’t actually the dehumidifier’s fault. Whether your unit won’t power on, shuts off unexpectedly, or runs without removing moisture, the solution often involves checking power connections, emptying the water bucket, or testing simple electrical components with an inexpensive multimeter. By following this systematic approach, you’ll identify the true culprit and get your dehumidifier working properly again.
Verify Power Connections Before Panicking
Test Your Electrical Outlet Immediately
When your GE dehumidifier not working shows no signs of life, start with the most basic check that often gets overlooked. Unplug your dehumidifier and insert a different appliance like a phone charger or lamp into the same outlet. If this test device doesn’t power on, the problem isn’t your dehumidifier—it’s your electrical supply. Many homeowners waste time troubleshooting their appliance when the real issue is a tripped circuit breaker or blown fuse affecting that specific outlet.
Reset Tripped Circuit Breakers Properly
Head to your electrical panel and look for any circuit breakers that have tripped to the “off” position. Dehumidifiers draw significant power, especially during startup, which can trip breakers that haven’t been used in months. Flip any suspect breakers fully to the “off” position before moving them back to “on”—partially tripped breakers won’t reset properly otherwise. After resetting, plug your dehumidifier back in and test it. This simple electrical reset solves nearly one-third of “GE dehumidifier not working” cases before you even open the unit.
Inspect Power Cord for Hidden Damage
Examine your dehumidifier’s power cord along its entire length for cuts, frays, or signs of damage from pets or furniture. Pay special attention to where the cord enters the unit and near the plug. Even minor damage can interrupt power flow and create safety hazards. If you find any damage, replace the entire power cord rather than attempting makeshift repairs. A damaged cord prevents your GE dehumidifier not working from receiving consistent power, causing intermittent operation or complete failure.
Empty the Water Bucket and Test the Safety Switch
Confirm Bucket Is Properly Seated
Your GE dehumidifier has a built-in safety switch that automatically shuts off operation when the water bucket fills to capacity. This prevents messy overflows but creates confusion when owners forget to check the bucket. Pull out the bucket completely—if it’s full, empty it and ensure it clicks firmly back into place. Many “GE dehumidifier not working” complaints are simply caused by a full bucket or one that isn’t seated correctly in its compartment.
Test Bucket Switch with Multimeter

When the bucket switch fails in the “open” position, your unit thinks the bucket is always full, preventing operation. Use a multimeter set to continuity mode to test this switch. Locate the switch (typically behind the bucket compartment), remove the wires, and touch the multimeter probes to the switch terminals while simulating bucket insertion. If you don’t hear the continuity beep, the switch has failed and needs replacement—a $15 part that takes under 20 minutes to install.
Clean Bucket Switch Contacts
Mineral deposits and mold can build up on the bucket switch contacts over time, preventing proper electrical connection. Remove the bucket and locate the metal contacts where the bucket engages the switch. Gently clean these points with a cotton swab dipped in white vinegar, then dry thoroughly before reinserting the bucket. This simple maintenance step prevents false “bucket full” readings that make your GE dehumidifier not working when everything else is functional.
Troubleshoot Humidity Control System Failures
Adjust Humidistat to Highest Setting
If your GE dehumidifier not working appears to run but isn’t removing moisture, check your humidistat setting first. Turn the dial to the highest setting (usually 90% or labeled “continuous”) and listen for the compressor to engage. If the unit springs to life, your humidistat was simply set below the current room humidity level. Many users mistakenly believe their dehumidifier has failed when it’s merely set to maintain a drier environment than the unit can achieve in very damp conditions.
Test Humidistat for Electrical Continuity
When the humidistat fails mechanically, it can’t detect humidity levels accurately. Access the humidistat by removing the control panel cover, then set your multimeter to continuity mode. Test across the humidistat terminals while slowly adjusting the dial from lowest to highest setting. You should hear a distinct beep as the contacts close at certain humidity levels—no continuity at any setting indicates a faulty humidistat requiring replacement.
Check Electronic Humidity Sensor
Some newer GE models use electronic humidity sensors instead of mechanical humidistats. These sensors can fail due to age or corrosion, causing your GE dehumidifier not working to either run constantly or not activate at all. Test by comparing the unit’s humidity reading with a separate hygrometer. If the readings differ by more than 15%, the sensor likely needs replacement. Unlike mechanical humidistats, electronic sensors typically require professional calibration after installation.
Diagnose Cooling System Component Failures
Listen for Compressor Activation
When your GE dehumidifier not working shows power but doesn’t cool, press your ear close to the unit after turning it on. You should hear a distinct “click” followed by a low humming sound as the compressor starts. No click means the compressor isn’t receiving power—retrace your steps to check bucket switch, humidistat, and control board functionality before suspecting the compressor itself.
Test Compressor Electrical Continuity

Only test the compressor after confirming all other components work properly. Access the compressor terminals (usually at the bottom rear of the unit), remove connecting wires, and set your multimeter to resistance mode. Test for continuity between each pair of terminals—there should be some resistance reading on all combinations. No continuity on any terminal pair indicates a failed compressor, which typically makes replacement more economical than repair due to high service costs.
Allow Proper Compressor Cool-Down Period
If your unit recently shut off during operation, the compressor might be in thermal protection mode. Most dehumidifiers have built-in delays to prevent damage from rapid cycling. Wait 3-5 minutes before attempting to restart—this cool-down period allows internal components to reset. Rushing to restart immediately after shutdown creates the false impression that your GE dehumidifier not working has failed when it’s simply protecting itself.
Follow This Diagnostic Sequence for Fast Results
Complete Visual Inspection Checklist
Before grabbing tools, perform this quick visual inspection:
– Power status: Cord intact, outlet working, breaker reset
– Water system: Bucket empty and properly seated
– Airflow: Filters clean, vents unobstructed
– Control settings: Humidistat above current room humidity
Systematic Component Testing Order
Follow this priority sequence to avoid unnecessary part replacement:
1. Power supply (5 minutes): Confirm electricity reaches the unit
2. Bucket switch (10 minutes): Test with multimeter for continuity
3. Humidistat (10 minutes): Verify operation across humidity range
4. Humidity sensor (15 minutes): Compare readings with separate hygrometer
5. Control board (20 minutes): Look for visible damage or burnt components
6. Compressor (15 minutes): Test continuity only after confirming other components work
Determine Repair Versus Replacement
Replace your unit if:
– Compressor has failed (repair costs exceed 50% of new unit price)
– Control board requires replacement on units over 5 years old
– Multiple components show signs of failure simultaneously
– Unit is more than 7 years old with recurring issues
Repair your unit if:
– Single component failure (bucket switch, humidistat)
– Replacement parts cost under $50
– Unit is under 5 years old with otherwise good performance
– You’re comfortable performing basic electrical component replacement
Prevent Future GE Dehumidifier Failures
Establish Monthly Maintenance Routine
Prevent “GE dehumidifier not working” emergencies with simple monthly maintenance: Empty and clean the water bucket with a mild bleach solution to prevent mold growth. Vacuum air intake grilles and replace or wash filters according to manufacturer instructions. Check that the unit sits level on the floor—tilting causes premature bucket switch wear and improper water drainage.
Maintain Optimal Operating Conditions
Keep your dehumidifier at least 6 inches away from walls and other objects to ensure proper airflow. Never use extension cords, which can cause voltage drops that affect performance. Operate in temperatures above 65°F—cold basements cause ice buildup on coils and compressor strain. Position your unit away from heat sources that could interfere with accurate humidity readings.
Most GE dehumidifier failures trace back to three culprits: power issues, full water buckets, or failed bucket switches. Start your troubleshooting with these quick checks before diving into more complex diagnostics. By following this systematic approach, you’ll solve most “GE dehumidifier not working” problems in under 30 minutes without professional help. Regular maintenance prevents future issues, keeping your home comfortable and your dehumidifier running efficiently for years to come.


