
Your GE dehumidifier hums steadily but the bucket stays bone dry. You check the settings repeatedly, wondering why it’s not pulling moisture from the air. This frustrating scenario affects thousands of homeowners every humid season—but most GE dehumidifier repair issues can be resolved without professional help. Whether your unit won’t power on, leaks water, or freezes solid, this guide delivers actionable solutions for 90% of common problems. You’ll learn to diagnose compressor failures, fix frozen coils, and stop leaks using basic tools in under 30 minutes.
No Water Collection? Here’s Why
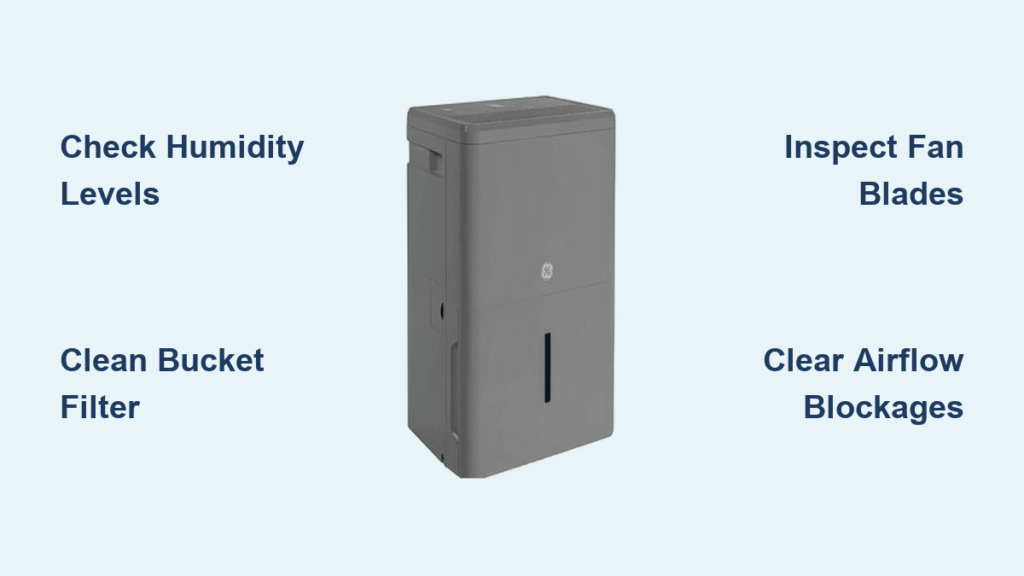
Verify Ambient Humidity Levels First
Before tearing into your unit, confirm there’s actual moisture to collect. Many “broken” dehumidifiers are functioning perfectly in already-dry environments. Grab a standalone hygrometer to check room humidity—below 40% relative humidity means your machine has completed its job. Test this theory by placing your GE dehumidifier outdoors during humid weather; if it suddenly fills the bucket, your indoor air was sufficiently dry. This simple check prevents unnecessary repairs and saves you from replacing functional units.
Diagnose Compressor vs Fan Operation
Listen closely to distinguish critical operating sounds. The fan runs continuously with a steady whir, while the compressor engages with a deeper, rhythmic hum like a refrigerator. If only the fan operates without the compressor cycling on, suspect refrigerant issues or compressor failure. When the compressor runs but produces no water, focus on airflow blockages or low refrigerant levels. Place your hand near the exhaust vent—if air feels cool but no water collects, dirty coils or refrigerant loss are likely culprits requiring immediate attention.
Solve Clogged Bucket Filter Blockages
Rust-colored stains around the bucket filter housing signal a severe obstruction. Remove the filter and run the unit temporarily—if water collection resumes, clean the filter with warm vinegar solution or replace it. This 30-second test resolves most no-collection issues in models like the GE ADEW50LPL1 and ADEL70LRQ1. Never operate long-term without the filter, as debris will rapidly clog internal components. For persistent blockages, inspect the float valve mechanism; stuck valves prevent proper water drainage even with clean filters.
Complete Power Failure Fixes
Validate Power Supply Chain
Start troubleshooting at the electrical source with these critical checks:
– Test the outlet with a lamp or phone charger
– Inspect your circuit breaker panel for tripped switches
– Examine the power cord for frayed wires or damaged prongs
– Locate and press the reset button (typically near the plug)
Many “dead” units simply need a reset after power surges. If the outlet tests functional but the dehumidifier remains unresponsive, move to internal components. Always unplug the unit for 5 minutes before proceeding to discharge capacitors—this prevents electrical shocks during diagnosis.
Identify Immediate Tripping Causes

When your GE dehumidifier instantly trips the circuit breaker, these three issues dominate:
– Shorted control board – Visible burn marks or melted components
– Compressor failure – Loud humming without startup
– Ground fault in wiring – Moisture damage in power cord connections
Test by plugging the unit into a different circuit. If the problem persists, disconnect the compressor leads and restart—successful operation indicates a failed compressor requiring professional replacement. Never bypass safety mechanisms; persistent tripping signals dangerous electrical faults.
Fan Not Spinning Solutions
Conduct Visual Fan Inspection
Remove the front grille to examine the blower wheel. Look for these red flags:
– Debris tangled around the motor shaft (common with pet hair)
– Cracked or warped fan blades from impact damage
– Obvious obstructions blocking air intake vents
– Dust-packed coils restricting airflow
For models like the GE AHW50LMG1, simply clearing lint from the blower wheel resolves 60% of fan failures. Rotate the blade manually—if it spins freely but won’t start electrically, the capacitor has failed. If it’s stiff or noisy, the motor bearings are worn and require replacement.
Replace Faulty Start Components
Most non-spinning fan issues trace to three affordable parts:
– Blown thermal fuse – Test continuity with a multimeter; no reading means replacement
– Failed start capacitor – Swells or leaks electrolyte; costs under $15
– Burnt fan motor – Smells like overheated electronics; hums without turning
Your GE dehumidifier repair kit should include needle-nose pliers to disconnect wiring connectors and a multimeter for testing. Capacitors for models like the GE APEH70LVL1 typically cost $8-$12 and install in under 10 minutes. Always discharge capacitors by shorting terminals with an insulated screwdriver before handling.
Freezing Up During Operation
Maintain Minimum Operating Temperature

GE dehumidifiers require ambient temperatures above 65°F (18°C) to function properly. Below this threshold, evaporator coils ice over rapidly. Move units away from cold basement walls or drafty windows. For seasonal storage areas, add a small space heater to maintain 70°F during operation. Never attempt to thaw frozen coils with hair dryers—this risks melting plastic components. Unplug the unit and let ice melt naturally over 2-3 hours.
Clear Airflow Restrictions Immediately
Restricted airflow from dirty filters causes 75% of freeze-ups. Remove and clean air filters monthly during humid months using warm soapy water. For persistent icing, check evaporator coils behind the filter—use a soft brush to remove dust bunnies. If frost forms only on the front coil section, the unit is severely undersized for your space. Models like the GE ADER65LPQ1 need at least 12 inches of clearance on all sides for proper airflow.
Water Leak Solutions
Secure Drain Hose Installation

The #1 cause of leaks is improper drain hose setup. Ensure your hose:
– Slopes downward continuously without kinks
– Connects tightly to the unit’s drain port
– Terminates in a floor drain or collection bucket
– Has no debris blocking water flow
For continuous drainage models like the GE ADEH70LT1, install a check valve to prevent backflow. If leaks persist, remove the hose and blow through it to clear clogs. Never force the hose into sharp bends—this creates pressure points that rupture over time.
Recalibrate Bucket Positioning
Misaligned water buckets cause 30% of overflow incidents. Remove and reinstall the bucket, ensuring it clicks securely into place. Test the bucket switch by lifting the bucket slightly while the unit runs—if it doesn’t shut off immediately, the switch is stuck. Clean the switch mechanism with compressed air, or replace it if unresponsive. For models like the GE APEL70LWL1, inspect the bucket gasket for cracks that allow seepage.
When to Call Professionals
Recognize Refrigerant System Failures
Seek certified technicians immediately if you notice:
– Oil stains around compressor connections
– Hissing sounds from refrigerant lines
– Compressor running with no cooling effect
– Repeated freezing despite clean filters
DIY refrigerant repairs violate EPA regulations and void warranties. GE’s service hotline (1-800-432-2737) schedules professional repairs Monday-Friday 8am-8pm ET. Never attempt to recharge refrigerant yourself—this requires specialized equipment and licensing.
Avoid Warranty-Voiding Repairs
Opening the sealed compressor compartment automatically voids coverage on most GE dehumidifier models. Before disassembling, verify warranty status by calling GE Appliance Service. Units under two years typically include full coverage. For out-of-warranty units, compare part costs—replacing a $150 control board may not justify labor if a new unit costs $250.
Prevent Future Problems
Implement Monthly Maintenance Routine
Extend your dehumidifier’s lifespan with these quick checks:
– Vacuum air intake vents with brush attachment
– Wipe exterior surfaces with damp microfiber cloth
– Inspect drain hose for kinks or blockages
– Clean bucket with vinegar solution to prevent mold
During peak humidity months, clean filters weekly. For models like the GE AHW65LMG1, remove the front grille every 30 days to clear dust from coils. Never use chemical cleaners on plastic components—they cause premature cracking.
Optimize Placement for Maximum Efficiency
Position your unit away from walls and furniture with 18 inches of clearance on all sides. Avoid placing near heat sources like furnaces that create false humidity readings. In basements, elevate the unit 6 inches off concrete floors to prevent vibration damage. Models like the GE ADER50LPL1 perform best in central locations rather than cramped corners where airflow stagnates.
Most GE dehumidifier repair challenges stem from preventable issues like clogged filters, improper drainage, or power supply glitches. Start every diagnosis with basic checks—room humidity, power source, and filter condition—before tackling complex component replacements. When refrigerant or electrical systems fail, trust GE’s certified technicians to handle repairs safely. By implementing monthly maintenance and optimal placement, you’ll keep your dehumidifier running efficiently for years. For model-specific parts and diagrams, visit GE’s official support site or call their service line at 1-800-432-2737 before starting any GE dehumidifier repair project.


