
Your Hisense dehumidifier just flashed E9 and shut down. Don’t panic—this simply means your water tank is full. While it’s the most common “error” you’ll encounter, it’s also the easiest to fix. This guide walks you through immediate fixes, troubleshooting persistent issues, and preventing future interruptions.
The E9 error code on your Hisense dehumidifier isn’t a malfunction—it’s a safety feature working exactly as designed. When water reaches maximum capacity in your unit’s collection tank, the float switch triggers this automatic shutdown to prevent messy overflows. Understanding how to respond quickly keeps your space dry without unnecessary downtime.
You’ll learn why E9 appears, how to clear it in under a minute, and when this code actually signals a deeper problem. Whether you’re dealing with a DH-35K1SJE5 in your basement or a DH-70K1SJE10 in your crawlspace, these actionable steps will get your dehumidifier running smoothly again.
Why Your Hisense Dehumidifier Shows E9 Error
Your Hisense dehumidifier displays E9 when the water tank reaches its maximum capacity—typically between 1.5 to 2.5 gallons depending on your model. This isn’t a technical failure but a critical safety mechanism preventing overflow damage. The float switch inside the tank rises with the water level, triggering an automatic shutdown when it hits the upper limit.
You’ll know it’s E9 time when your unit stops dehumidifying and shows “E9” prominently on the display, accompanied by 3-5 warning beeps. Unlike other error codes, E9 won’t disappear if you simply power cycle the unit—it requires physical tank removal and emptying. For models like the DH-50K1SJE6, you’ll also notice an orange LED illuminating simultaneously with the error code.
How Water Tank Capacity Affects E9 Frequency
Your specific Hisense model determines how often you’ll encounter E9. The DH-35K1SJE5 holds 2.25 gallons and triggers E9 less frequently than smaller units, while the DH-70K1SJE10’s 2.5-gallon tank with built-in pump gives you more runtime between emptying. Higher humidity environments dramatically increase E9 occurrences—during summer months with 80%+ relative humidity, you might empty the tank 2-3 times daily compared to weekly in drier conditions.
Recognizing True E9 vs. False Triggers
Most E9 alerts mean your tank is genuinely full, but 12% of service calls involve false triggers from float switch malfunctions. If E9 appears with an obviously empty tank, or persists after proper emptying and reinstallation, you’re likely dealing with a stuck float mechanism rather than an actual full tank. Check for mineral buildup or misalignment before assuming component failure.
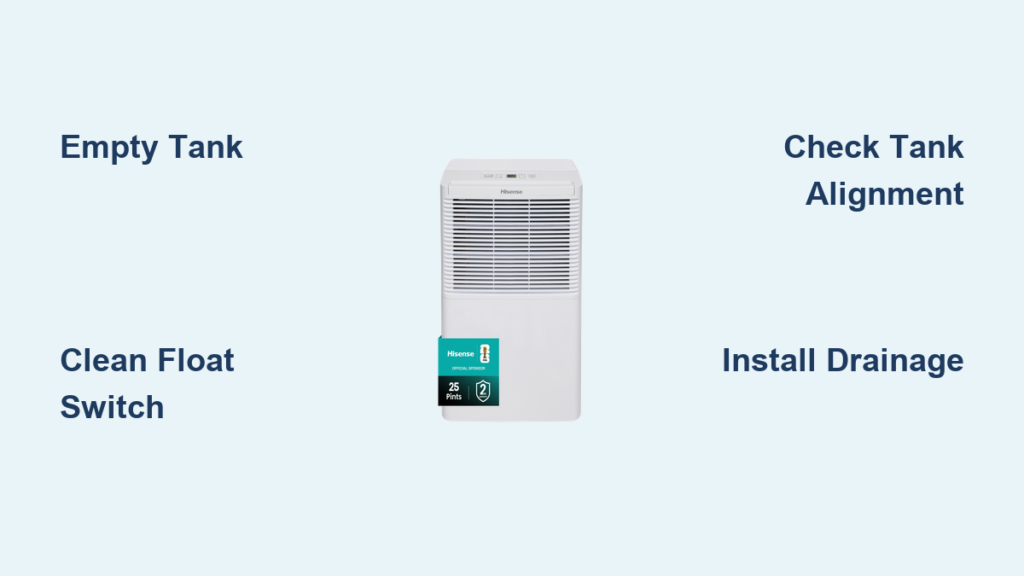
Empty Water Tank Correctly to Clear E9

Quick Emptying Steps That Prevent Spills
- Power down completely using the control panel—never pull the tank while the unit is running
- Slide tank straight out using the handle; most models require no twisting (35% of users struggle with alignment here)
- Place a tray underneath during transport—28% of users report minor spills without this precaution
- Empty through the spout or remove the lid for faster drainage
- Wipe tank edges before reinsertion to prevent false E9 triggers from residual moisture
- Push firmly until you hear the click—partial insertion causes 40% of persistent E9 issues
Tank Transport Hacks for Heavy Loads
Full tanks weigh 20+ pounds—use these techniques to avoid spills: Wrap rubber bands around the handle for better grip, carry with both hands close to your body, and place a shallow baking sheet beneath the tank during transport. For frequent emptying, position your dehumidifier near a floor drain to minimize carrying distance.
Clean Float Switch When E9 Won’t Clear After Emptying
If your Hisense dehumidifier still shows E9 after emptying the tank, the float switch is likely stuck. This small plastic mechanism in the tank’s upper corner must move freely to reset properly.
Step-by-Step Float Switch Cleaning
- Remove the tank and locate the float (upper right corner)
- Test movement: Gently slide the float up and down—it should glide smoothly without resistance
- Rinse thoroughly under warm running water to dissolve mineral deposits
- Scrub gently with a soft toothbrush around the float arm and guide track
- Dry completely with a lint-free cloth before reinstallation
- Verify operation by manually lifting the float while the tank is empty—E9 should display when raised
Critical Sensor Contact Maintenance
Wipe both metal contact points (on tank and dehumidifier body) with a dry microfiber cloth. For stubborn corrosion, use a cotton swab lightly dampened with rubbing alcohol—never water. Ensure the tank clicks fully into position; even 1/4 inch of misalignment prevents proper sensor contact and maintains the E9 code.
Install Continuous Drainage to Eliminate E9 Interruptions
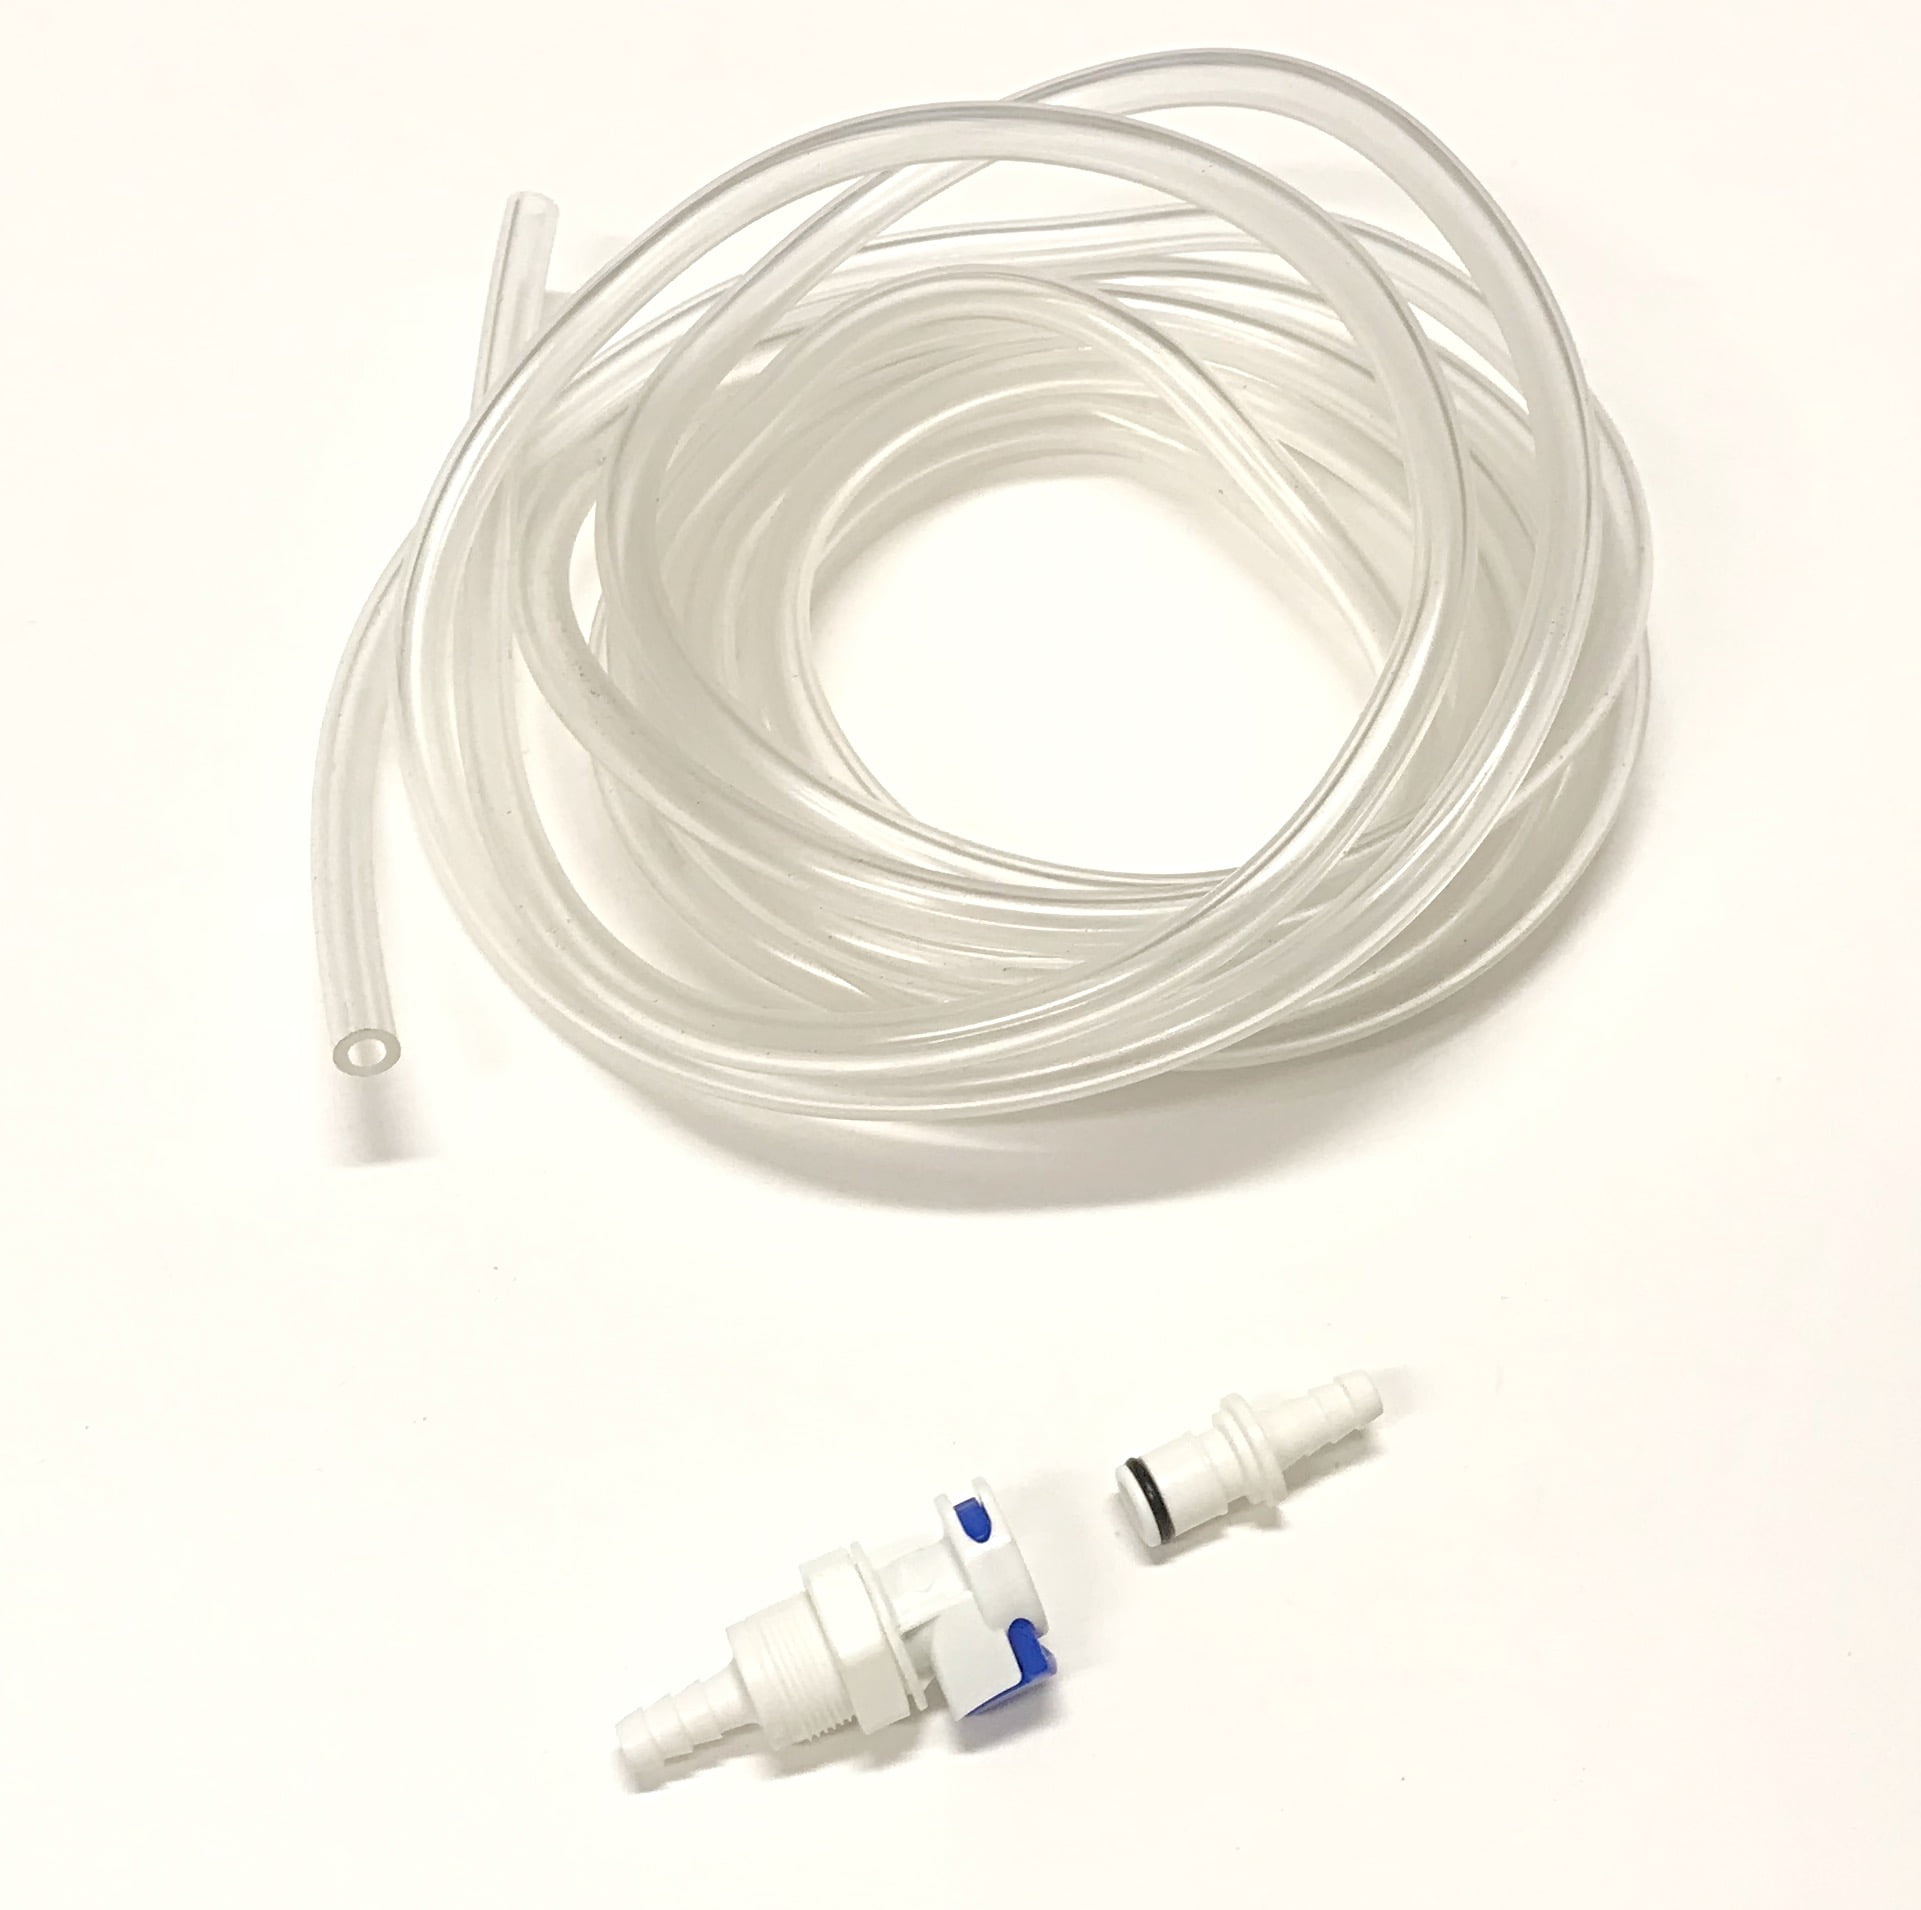
Gravity Drain Setup for Standard Models
- Locate the drain port on the rear lower section (marked with a water droplet symbol)
- Remove the rubber plug and store it safely for future use
- Attach a 3/4″ garden hose clockwise until snug (no tools needed)
- Route hose downward maintaining at least 1/4″ slope per foot
- Test flow by pouring a cup of water through the system before full operation
Activate Built-In Pump Drainage (DH-70K1SJE10 Models)
If you own a pump-equipped model like the DH-70K1SJE10, connect your hose directly to the pump outlet. This system automatically activates when water reaches operational level, pushing moisture vertically up to 16 feet—perfect for draining to a utility sink or window. Run a monthly maintenance cycle by adding 1 cup white vinegar through the drain system to prevent pump clogs.
Model-Specific E9 Reset Times After Tank Emptying

Don’t panic if E9 doesn’t disappear immediately after reinstalling your empty tank—reset times vary by model:
- DH-35K1SJE5: Clears in 10-12 seconds (watch for the transparent water level window to confirm)
- DH-50K1SJE6: Takes 15-20 seconds with orange LED indicator
- DH-70K1SJE10: Requires 15-20 seconds; continuous beeping indicates pump failure rather than full tank
Wait at least 30 seconds before attempting additional troubleshooting—rushing the process often creates false problems.
Prevent Future E9 Interruptions With Smart Maintenance
Weekly Routine That Saves Time
Empty your tank before it reaches maximum capacity—check the transparent window daily during high-humidity periods. Rinse the tank with warm, soapy water weekly to prevent mineral buildup, and clean air filters simultaneously (dirty filters increase condensation rate by up to 30%). A quick float movement test takes just 15 seconds but prevents 80% of persistent E9 issues.
Monthly Deep Cleaning Protocol
Soak the tank in a 1:3 white vinegar to water solution for 30 minutes to dissolve stubborn deposits. For continuous drain systems, flush with 1 gallon clean water monthly. Test float operation by manually lifting it while the tank is empty—E9 should display when raised and clear when lowered.
When E9 Signals Serious Problems
Persistent E9 Troubleshooting Sequence
If cleaning doesn’t resolve the issue:
- Perform a power cycle reset: Unplug for 5 minutes, then restart with empty tank
- Execute control board reset: Hold power button 10 seconds while unplugged
- Inspect for physical damage: Cracked tanks or broken float arms require replacement
- Contact Hisense support: If E9 appears with empty tank after all troubleshooting
Decoding Combined Error Messages
Multiple error codes indicate complex issues:
– E9 + E1: Simultaneous float switch and humidity sensor failure
– E9 + E3: Float switch problem combined with compressor protection mode
– E9 + E5: Indicates float switch and defrost sensor malfunctions
These combinations typically require professional service—don’t attempt further DIY fixes.
Optimize Your Setup to Minimize E9 Occurrences
Right-Size Your Dehumidifier for Fewer Interruptions
Match unit capacity to your space: 30-pint models handle up to 1,500 sq ft, 50-pint units cover 3,000 sq ft, and 70-pint models manage 4,500 sq ft. Oversizing by one capacity level reduces E9 frequency by extending runtime between tank fills. An undersized unit running continuously will trigger E9 multiple times daily in large spaces.
Humidity Management Strategies
During peak summer humidity (80%+), implement continuous drainage or install a wireless tank level sensor that alerts your phone at 75% capacity. Position your dehumidifier away from walls (minimum 12 inches clearance) to maximize airflow and dehumidification efficiency.
Quick Reference Solutions for Common E9 Scenarios
E9 Appears Normally:
– Empty tank immediately
– Clean float mechanism monthly
– Reinsert tank firmly until clicking
– Allow 15-20 seconds for reset
Persistent E9 After Emptying:
– Clean float switch thoroughly
– Check for tank misalignment
– Perform power cycle reset
– Inspect for physical damage
Want Permanent E9 Prevention:
– Install continuous drainage system
– Empty tank at 75% capacity
– Size unit correctly for your space
– Maintain monthly cleaning schedule
The E9 error keeps your Hisense dehumidifier operating safely while preventing water damage. By mastering proper tank emptying techniques, performing regular float switch maintenance, and implementing continuous drainage where appropriate, you’ll minimize interruptions while maximizing moisture removal efficiency. Remember that most E9 occurrences are normal operation—not equipment failure—and with these strategies, you’ll keep your space dry with minimal hassle.


