
Your Ionic Pro air purifier silently battles dust, pollen, and pet dander daily—but when airflow weakens or that persistent “Clean” light glows, it’s screaming for attention. Trapped particles gum up the collection blades and coat ionizing wires, choking performance until cleaning becomes urgent. Ignoring this turns your purifier into an expensive paperweight while indoor air quality plummets. This complete how to clean a Ionic Pro air purifier guide delivers the exact home-friendly process using everyday supplies, restoring peak efficiency in under 30 minutes. You’ll never need costly replacements again when you master these manufacturer-approved techniques.
Unplug and Wait: Why 10 Minutes Prevents Electric Shock
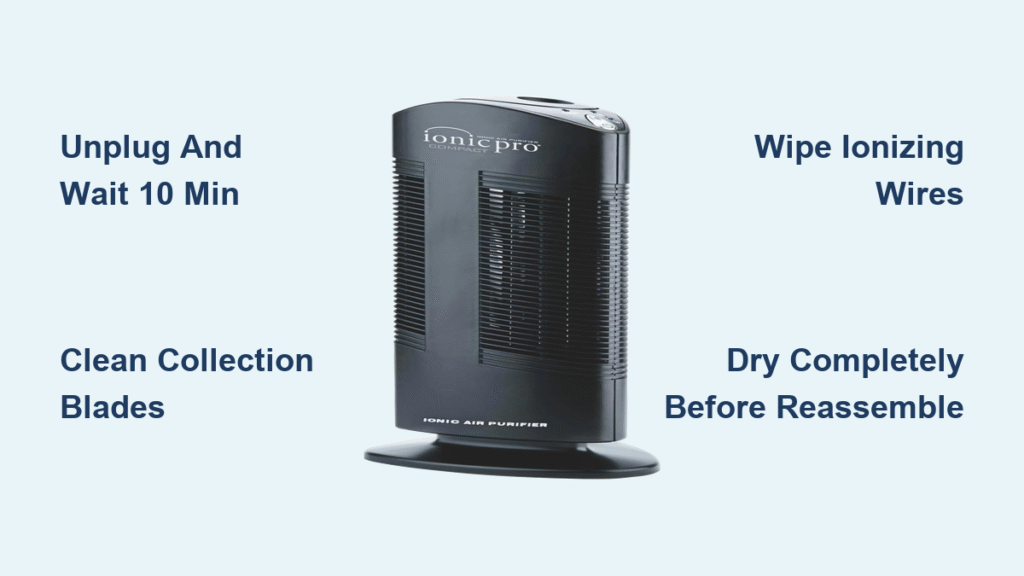
Never skip this critical step. Ionic Pro units store dangerous electrical charges in ionizing components even after unplugging. Always disconnect power completely and wait ten full minutes before touching internal parts—rushing risks painful shocks from residual voltage. This discharge period protects you while preparing the unit for safe disassembly.
Workspace Setup Checklist
- Clear a stable, well-lit surface near a sink with bright overhead lighting
- Lay two soft towels: one for delicate parts, one for moisture absorption
- Gather supplies within arm’s reach: isopropyl alcohol, microfiber cloths, soft brush
- Ensure the area has cross-ventilation to disperse any ozone during testing
Remove Front Grill Without Breaking Tabs

Locate the two spring-loaded release tabs at the top corners of your Ionic Pro’s front grill. Press both tabs inward simultaneously while pulling the grill straight toward you—it should glide off smoothly. If resistance occurs, release and re-press tabs fully; forcing it cracks the plastic housing. Place the grill face-up immediately to prevent scratches on its glossy surface.
Extract Collection Blade Assembly Safely
Behind the grill sits the magnetic collection blade assembly—a stack of parallel metal plates. Grip the top handle firmly and pull straight out, applying slight side-to-side wiggling if stuck. Hold it upright at all times; tilting dumps accumulated debris back into the unit. Note the blade orientation for correct reinstallation—edges must align with airflow direction.
Dry Debris Removal: Tap and Brush Collection Blades Properly
Before washing, eliminate loose particles over a trash can. Hold the blade assembly vertically and tap its sides firmly to dislodge dust bunnies. Use a soft paintbrush (never metal) to sweep between plates top-to-bottom in airflow direction only. Sideways brushing bends delicate blades permanently, reducing electrostatic efficiency by up to 40%.
Why Brushing Technique Makes or Breaks Performance
Bent blades create gaps where charged particles escape, forcing your unit to work harder. Damaged assemblies cause arcing sounds and trigger the “Clean” light prematurely. If blades feel sticky after dry cleaning, proceed to washing—but never skip this dry step. Moisture traps debris deeper into crevices during rinsing.
Wash and Rinse Collection Blades: Soap Solution Recipe
Mix one teaspoon of unscented dish soap per quart of warm water (max 100°F/38°C). Submerge the entire blade assembly for 5–10 minutes to soften grime. Gently scrub between plates with a soft sponge, focusing on edges where buildup concentrates. Rinse under running water until beads disappear—soap residue attracts more dirt.
Drying Tips to Prevent Warping in 4 Hours
Shake off excess water, then stand blades upright on a dry towel for even air circulation. Never use heat—hair dryers on “cool” setting only, held 12+ inches away. Speed drying takes 4–6 hours; test dryness by touching edges—if cool to skin, it’s ready. Moisture causes electrical shorts that melt internal components.
Clean Ionizing Wires Without Breaking Them

These hair-thin wires charge airborne particles before collection. Inspect for breaks, kinks, or dark spots—if damaged, replacement is mandatory. For cleaning, dip a cotton swab in 70% isopropyl alcohol and glide feather-light along each wire’s length. Replace swabs every 2–3 wires to avoid redepositing grime.
When to Replace Wires Instead of Cleaning
If wires appear saggy, discolored, or produce buzzing during operation, cleaning won’t restore function. Attempting repairs risks complete failure—order manufacturer-specific replacements. Never adjust wire tension manually; improper tension causes arcing that burns out the ionization module.
Vacuum Interior Housing Without Damaging Electronics
With blades removed, use a vacuum’s soft brush attachment to clear dust from fan vents and housing corners. Keep suction low—high power dislodges wiring. Focus on the exhaust grille where debris accumulates fastest. For stubborn residue, wipe with a microfiber cloth barely dampened with water—never spray liquids inside.
Fan Blade Cleaning for Maximum Airflow
If accessible, rotate fan blades slowly by hand while vacuuming. Clean between blades with a water-dampened cotton swab, stopping if blades feel fragile. Skip this step if your model seals the fan chamber—forced access voids warranties.
Reassemble Without Common Mistakes
Bone-dry parts are non-negotiable. Even invisible moisture causes short circuits. Slide the blade assembly straight into tracks until it clicks—misalignment creates scraping sounds. Snap the front grill into place by pressing top corners until both tabs audibly lock. A loose grill reduces airflow by 25%.
How to Check for Proper Blade Alignment
After reassembly, shine a flashlight through the front grill. Blades should cast even shadows with no gaps. If light passes unevenly, remove and realign the assembly. Incorrect positioning causes the “Clean” light to stay illuminated despite thorough cleaning.
Test Operation After Cleaning: What Sounds Mean Trouble
Plug in the unit and start on low speed. Listen for 30 seconds:
– ✅ Normal: Near-silent operation after startup hum
– ❌ Clicking/buzzing: Moisture in components or blade-wire contact
– ❌ Grinding: Misaligned blades scraping housing
– ❌ Strong ozone smell: Damaged wires or debris causing arcing
If issues occur, unplug immediately and recheck dryness and alignment.
Set Your Ionic Pro Cleaning Schedule by Home Type
Standard homes: Clean blades every 3 weeks. Pet owners/smokers: Weekly cleaning prevents brown residue buildup. Ionizing wires: Clean every 2 months—more often if you notice reduced airflow between blade cleanings. Track cycles with phone reminders to avoid performance drops.
Adjust Frequency for Pollen and Seasons
- High pollen season: Clean blades weekly regardless of “Clean” light
- Winter (closed windows): Extend to 4-week intervals
- After construction/dusting: Clean immediately—even “low” dust levels clog blades faster
Troubleshoot Persistent “Clean” Light After Maintenance
If the indicator stays lit post-cleaning:
1. Re-dry blades completely—moisture is the #1 culprit
2. Inspect ionizing wires for alcohol residue; re-clean with dry swab
3. Verify blades aren’t bent from improper handling
4. Check for debris in blade tracks using a flashlight
Never ignore this light—continued operation with dirty components overheats motors.
Must-Have Supplies vs. Dangerous Cleaners to Avoid
Essential Toolkit
- 70% isopropyl alcohol (electronics-safe)
- Soft paintbrush or electronics cleaning brush
- Lint-free microfiber cloths
- Unscented dish soap
- Cotton swabs (pack of 100)
Forbidden Items That Destroy Units
- ✘ Bleach or ammonia (corrodes metal plates)
- ✘ Abrasive pads (scratch blade surfaces)
- ✘ Furniture polish (leaves oily residue)
- ✘ Metal tools (bend wires instantly)
- ✘ Hot water (warps plastic components)
Pro Tip: Schedule cleaning for Sunday mornings while coffee brews—5 minutes of blade rinsing prevents 45-minute deep cleans. Your Ionic Pro will run 30% quieter and last years longer with this routine. Remember: when you master how to clean a Ionic Pro air purifier, you’re not just maintaining a machine—you’re safeguarding the air your family breathes daily. Check manufacturer specs for model-specific nuances, and never skip the 10-minute discharge wait—it’s the difference between a quick fix and an emergency repair bill.


