
Your Clorox air purifier battles dust, pollen, and odors daily, but clogged filters and grimy components silently sabotage its performance. When you notice reduced airflow, persistent odors, or that blinking “dirty filter” alert, it’s time for a professional-grade cleaning. This guide delivers the exact steps to revitalize your unit without risking damage to sensitive electronics. You’ll learn model-specific filter handling, sensor maintenance tricks, and a proven schedule to extend your purifier’s lifespan by years—saving you replacement costs while ensuring cleaner indoor air.
Unplug and Prepare Your Clorox Purifier Safely
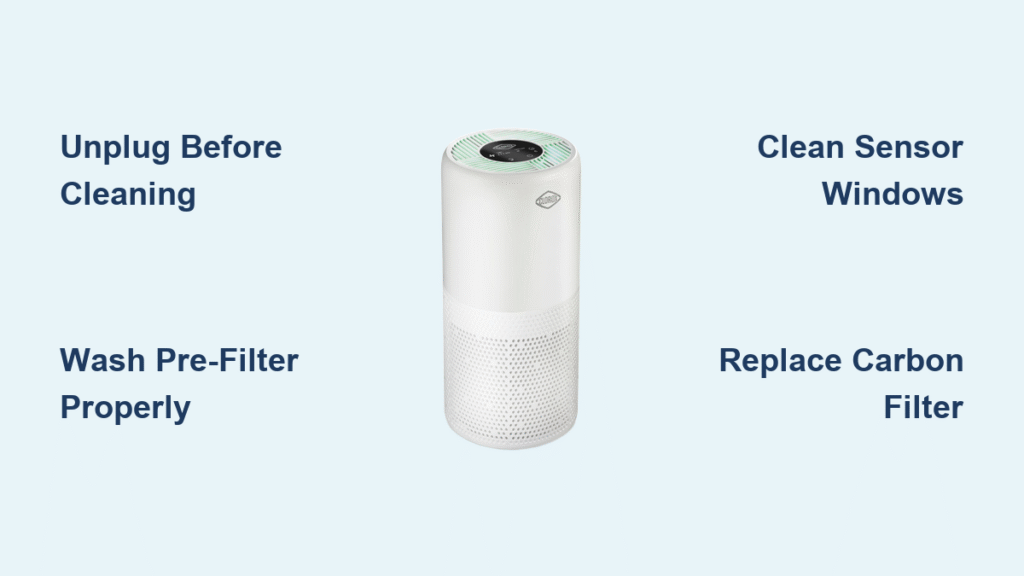
Never skip this critical safety phase. Always disconnect the unit from power before any contact—moisture near live components risks electrical shock or permanent damage. Position your purifier on a stable, well-lit surface away from carpets to avoid recontamination. Allow 30 minutes for internal parts to cool if recently operated. Work in a ventilated space to disperse dust clouds, and keep all liquids far from electrical ports. Remember: Never submerge the main housing in water, as this voids warranties and destroys motors. If you smell burning or see visible damage, stop immediately and contact Clorox support.
Essential Safety Reminders
- Confirm power cord is fully unplugged (not just switched off)
- Wear safety glasses when vacuuming debris to protect eyes
- Keep children and pets away from your workspace
- Avoid aerosol sprays near sensors—they cause false readings
Gather Correct Cleaning Supplies for Your Model
Using improper tools causes scratches, filter damage, or sensor malfunctions. Collect these before starting to avoid mid-process interruptions:
Must-Have Supplies
– 3–4 lint-free microfiber cloths (paper towels shed fibers)
– Soft-bristled brush (a clean toothbrush works for vents)
– Vacuum with narrow crevice attachment
– Bowl of lukewarm water + 2 drops unscented dish soap
– Cotton swabs and compressed air can (for sensors)
Dangerous Items to Avoid
– Bleach or ammonia-based cleaners (corrode housing)
– Steel wool or abrasive pads (scratch plastic surfaces)
– Excessive water (causes mold in drainage channels)
– Compressed air on full blast (bends fan blades)
Wipe Exterior Surfaces Without Damaging Controls
Dust-clogged vents restrict airflow by up to 30%, but aggressive cleaning cracks plastic housings. Start here for immediate performance gains. Dampen one microfiber cloth with water only—never spray directly onto the unit. Gently wipe all surfaces using circular motions, focusing on intake grilles where pet hair accumulates. For control panels, use a barely damp cloth and dry instantly; moisture seeping behind buttons causes unresponsive touch controls. Finish with a dry cloth to prevent water spots. Pro tip: Clean exterior weekly during high-pollen seasons to maintain optimal suction.
Critical Vent Cleaning Technique
- Use your soft brush to dislodge debris from horizontal slats
- Vacuum loosened particles with lowest suction setting
- Dip cotton swabs in soapy water for stubborn grime in narrow gaps
- Wipe residue with damp cloth and dry within 10 seconds
Remove Filters Correctly Based on Your Model Type
Forcing panels open cracks plastic latches. Front-access models (like Clorox 230) require simultaneous side-tab presses—pull straight out until resistance stops, then lift upward. Rear-access units (e.g., Clorox 340) need counterclockwise handle twists before sliding panels toward you. Never yank filters; they slide in side tracks. Identify components immediately: The coarse pre-filter (washable mesh) protects the white HEPA cartridge (replaceable) and black carbon slab (odor absorber). If filters stick, check for warped housing—a sign of prior water damage.
Filter Identification Cheat Sheet
- Pre-filter: Gray mesh screen (lasts 2+ years with cleaning)
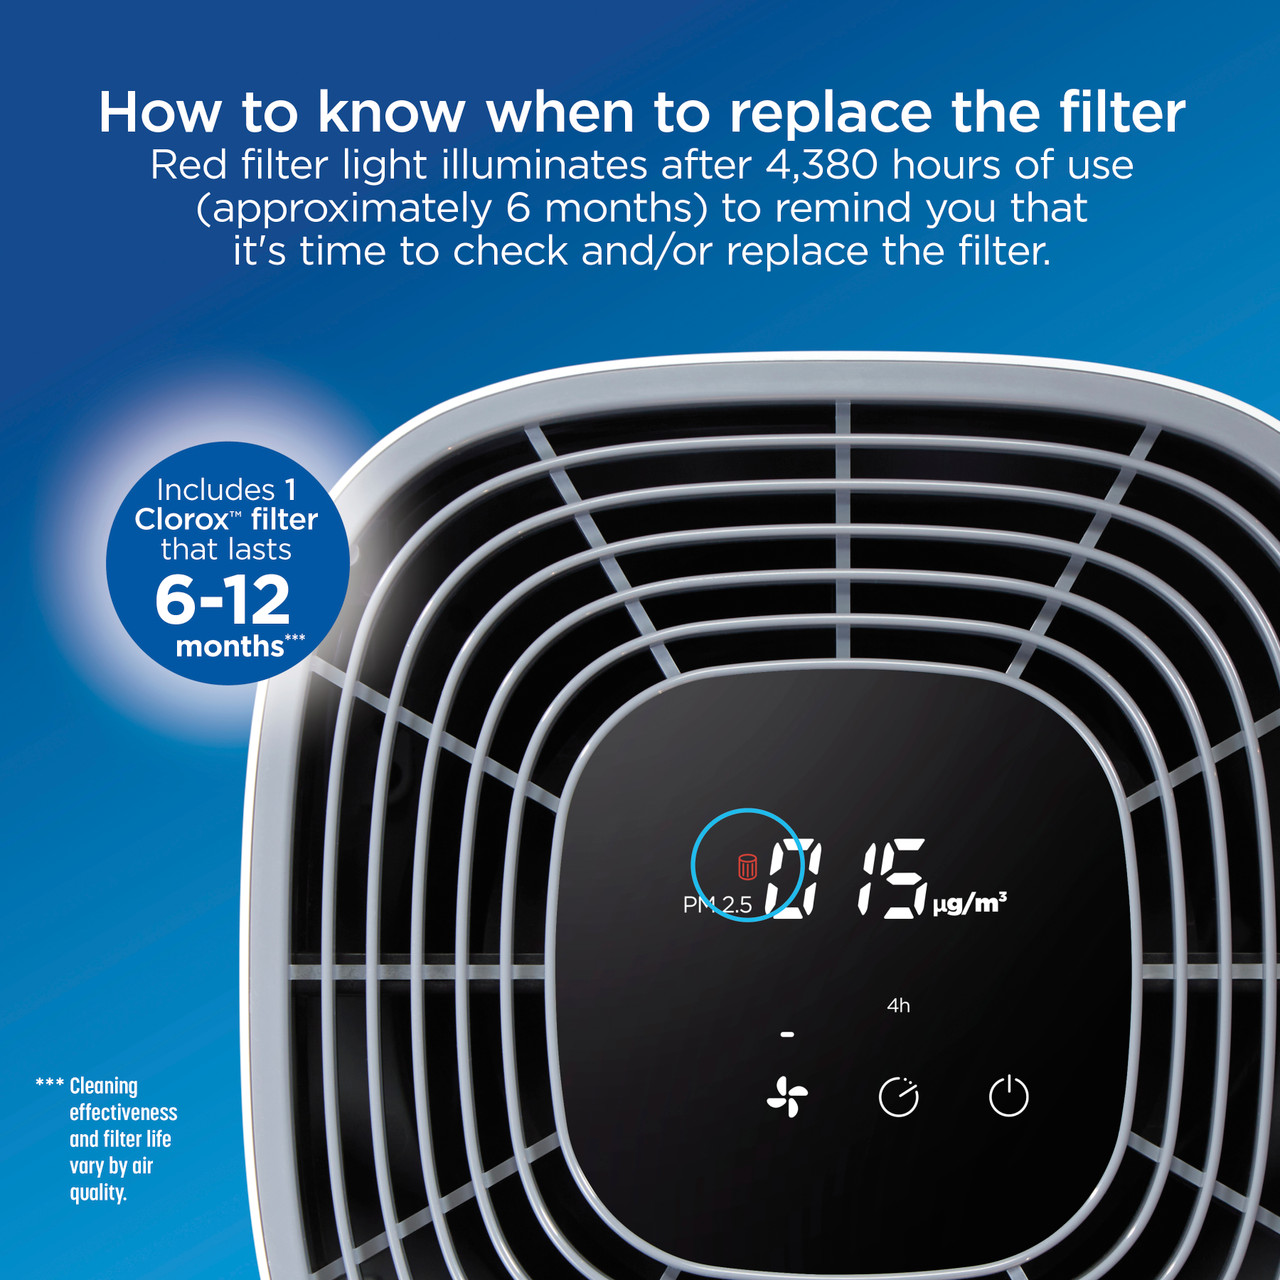
- HEPA filter: Pleated white fabric (replace every 6–12 months)
- Carbon filter: Black honeycomb texture (replace after smoke exposure)
Deep Clean Washable Pre-Filters Thoroughly
Skipping pre-filter maintenance overloads your HEPA filter, cutting its lifespan in half. Remove the mesh screen and tap it firmly against a trash can outdoors—never indoors where debris recirculates. Rinse under lukewarm water from back to front to push particles away from the filter structure. Apply 2 drops of soap and gently massage with fingers; scrubbing tears fibers. Rinse until water runs crystal clear, which takes 1–2 minutes. Air-dry vertically for 24 hours in direct sunlight—dampness breeds mold that ruins HEPA filters. Never use heat sources like hairdryers; they warp the frame.
Maintain HEPA Filters Without Washing

HEPA filters cannot be washed—water destroys their electrostatic charge. Monthly vacuuming preserves efficiency: Set your vacuum to lowest suction, hold the filter vertically, and stroke gently from top to bottom. Focus on pleat edges where dust nests. Replace when airflow drops despite clean pre-filters, or if you see dark spots through the fabric. When installing new HEPA filters, align the airflow arrows toward the fan housing. Some models require securing with small screws—loose filters rattle loudly during operation.
HEPA Replacement Red Flags
- Persistent musty smells after carbon filter change
- Filter indicator stays lit after resetting
- Visible debris trapped between pleats
- Reduced coverage area (e.g., room takes longer to purify)
Revive Carbon Filters or Replace Them
Carbon filters lose effectiveness when saturated with VOCs from cooking or cleaning products. Hold yours against bright light—if you see gray or white patches instead of uniform black, replace it immediately. After wildfires or smoke exposure, swap carbon filters even if not due. Install with airflow arrows pointing toward the fan; backward placement reduces odor removal by 70%. Write the install date on the frame with permanent marker—most last 3–4 months in average homes.
Inspect and Clean Interior Housing Components

With filters removed, examine the empty chamber. Shine a flashlight into fan blades—bent blades cause loud humming. Vacuum loose dust from housing walls using the crevice tool, but never touch fan blades. Check sensor windows (small clear plastic pieces near filters) for dust clouds. Wipe electrical contacts with a dry microfiber cloth only; moisture causes short circuits. If you spot rust on metal parts, replace the unit—corrosion indicates past water damage.
Clean Sensor Windows to Prevent False Alerts
Clogged sensors trigger “filter change” warnings prematurely. Locate the 1cm x 2cm sensor windows (usually near filter slots). First, dry-swab to lift surface dust. Dampen a new swab with water only—soap leaves residue—and wipe in straight lines (circles smear oils). Dry instantly with a clean swab. Test sensors by powering on the unit: If the alert persists, reset per your manual (often holding power + speed buttons for 5 seconds). Dirty sensors are the #1 cause of unnecessary filter replacements.
Reassemble and Test for Peak Performance
Reversing assembly order causes leaks and noise. Install carbon first (arrows toward fan), then HEPA, then pre-filter—never force components. Snap access panels until you hear distinct clicks. Power on and run at lowest speed for 10 minutes while checking:
– Steady airflow (hold tissue 6 inches from outlet—it should flutter)
– No grinding/vibrating sounds
– All indicator lights function
– Filter alert turns off after reset
If airflow feels weak, reopen and verify pre-filter sits flat in tracks—buckled edges block 40% of intake.
Follow This Maintenance Schedule to Avoid Repairs
Monthly pre-filter cleaning prevents 80% of performance issues. Set phone reminders for:
– Weekly: Exterior wipe-down (5 minutes)
– Monthly: Pre-filter wash + sensor check
– Quarterly: HEPA vacuuming + deep housing clean
– Biannually: Full filter replacement
During allergy season or with pets, clean pre-filters every 2 weeks. After cooking smoke, replace carbon filters immediately. Track filter life in your phone notes—Clorox models last 5+ years with consistent care.
Fix Common Post-Cleaning Problems Fast
Reduced airflow? Check pre-filter direction—reversed installation cuts suction by half. Odors lingering? Carbon filters need replacing, not cleaning. False filter alerts? Reclean sensor windows and reset the unit (hold power + filter buttons 8 seconds). Never ignore grinding noises—they mean fan blades hit debris; unplug and vacuum housing immediately. If issues persist after troubleshooting, consult Clorox’s online manual for model-specific diagrams.
Verify Cleaning Success with Simple Tests
Don’t guess—measure results. Place tissue paper 8 inches from the outlet; strong airflow holds it steadily against the vent. Time how long it takes to clear candle smoke (should be under 5 minutes in a 10×10 room). Compare noise levels: A clean unit runs 15–20% quieter. After 24 hours, check filter indicator—properly cleaned sensors stay dark for 30+ days. Consistent maintenance delivers 25% better particle removal and extends filter life by 4+ months.
Key Takeaway: Mastering how to clean Clorox air purifier components properly transforms erratic performance into reliable, hospital-grade air cleaning. Stick to monthly pre-filter washes and seasonal deep cleans—you’ll avoid 90% of common failures while keeping replacement costs at bay. Mark your calendar today: Set recurring alerts for filter maintenance, and your purifier will deliver cleaner, healthier air for years to come.


