
Your Coway air purifier works tirelessly to keep your air clean, but without regular maintenance, its performance drops dramatically. Dust-clogged filters force the motor to work harder, increasing noise and energy consumption while reducing effectiveness. The good news? A thorough cleaning takes just 30 minutes and can restore 90% of lost performance.
This guide walks you through every step of cleaning your Coway air purifier, from quick weekly touch-ups to quarterly deep cleans. You’ll learn which filters to wash, which to replace, and how to troubleshoot common post-cleaning issues—all while keeping your warranty intact.
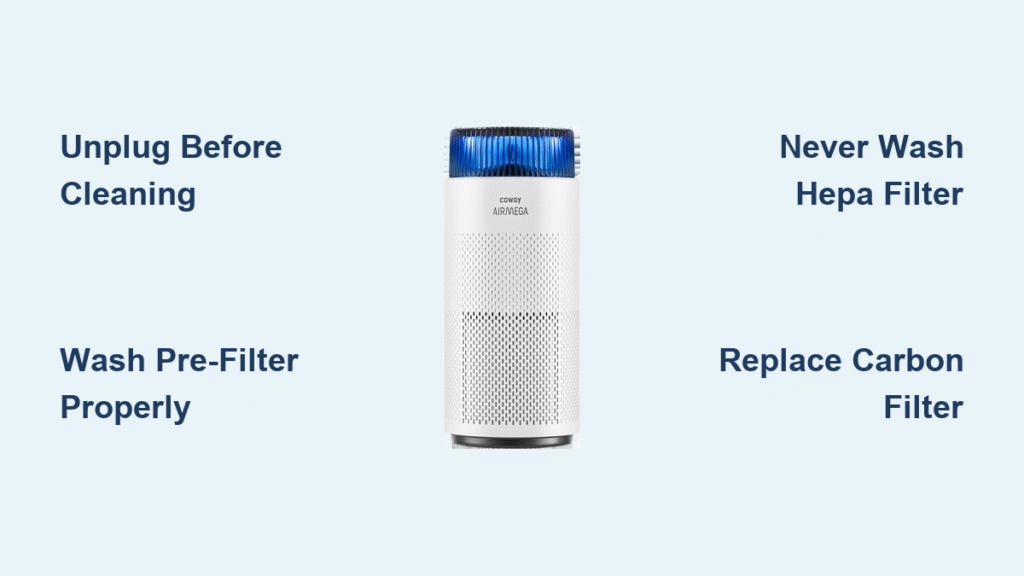
Unplug and Prepare Your Coway Air Purifier
Immediate Safety Steps Before Cleaning
Before you touch a single component, power off your unit and unplug from the wall. If you’ve been running your purifier, wait 10-15 minutes for components to cool—this prevents burns and protects electrical parts from accidental moisture exposure. Work in a well-lit area with all your tools within reach to avoid rushing through the process.
Gather Essential Cleaning Supplies
You’ll need these specific items for a proper Coway air purifier cleaning:
– 3-4 microfiber cloths (dedicated for purifier maintenance)
– Mild dish soap (no harsh chemicals)
– Vacuum with brush attachment
– Separate containers for warm water
– Soft-bristled brush or old toothbrush
– Compressed air (optional for deep cleaning)
Pro tip: Keep a dedicated cleaning kit for your Coway air purifier to avoid cross-contamination from household cleaners that could damage sensitive components.
Clean Your Washable Pre-Filter Properly
Recognize When Your Pre-Filter Needs Cleaning
Check your mesh pre-filter every 2-4 weeks under normal conditions. If you have pets, live in high-pollution areas, or during allergy season, clean it weekly. Visible dust buildup, reduced airflow, or your unit working harder than usual are clear signs it’s time for a wash.
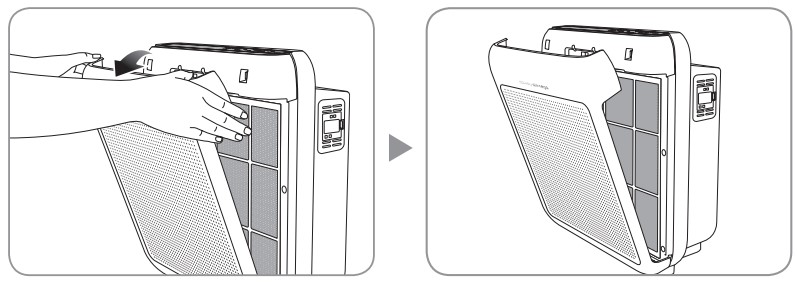
Complete Pre-Filter Cleaning Process
- Press both side release tabs to remove the front panel
- Slide out the mesh pre-filter from its slot
- Rinse under lukewarm water to remove loose debris
- Apply mild soap solution with soft brush using circular motions
- Focus on corners where dust accumulates most
- Rinse until water runs completely clear
- Shake excess water and place on clean towel
- Air dry 4-6 hours minimum – never reinstall damp
Warning: Even slight moisture in the pre-filter can cause mold growth inside your purifier, creating worse air quality than before cleaning.
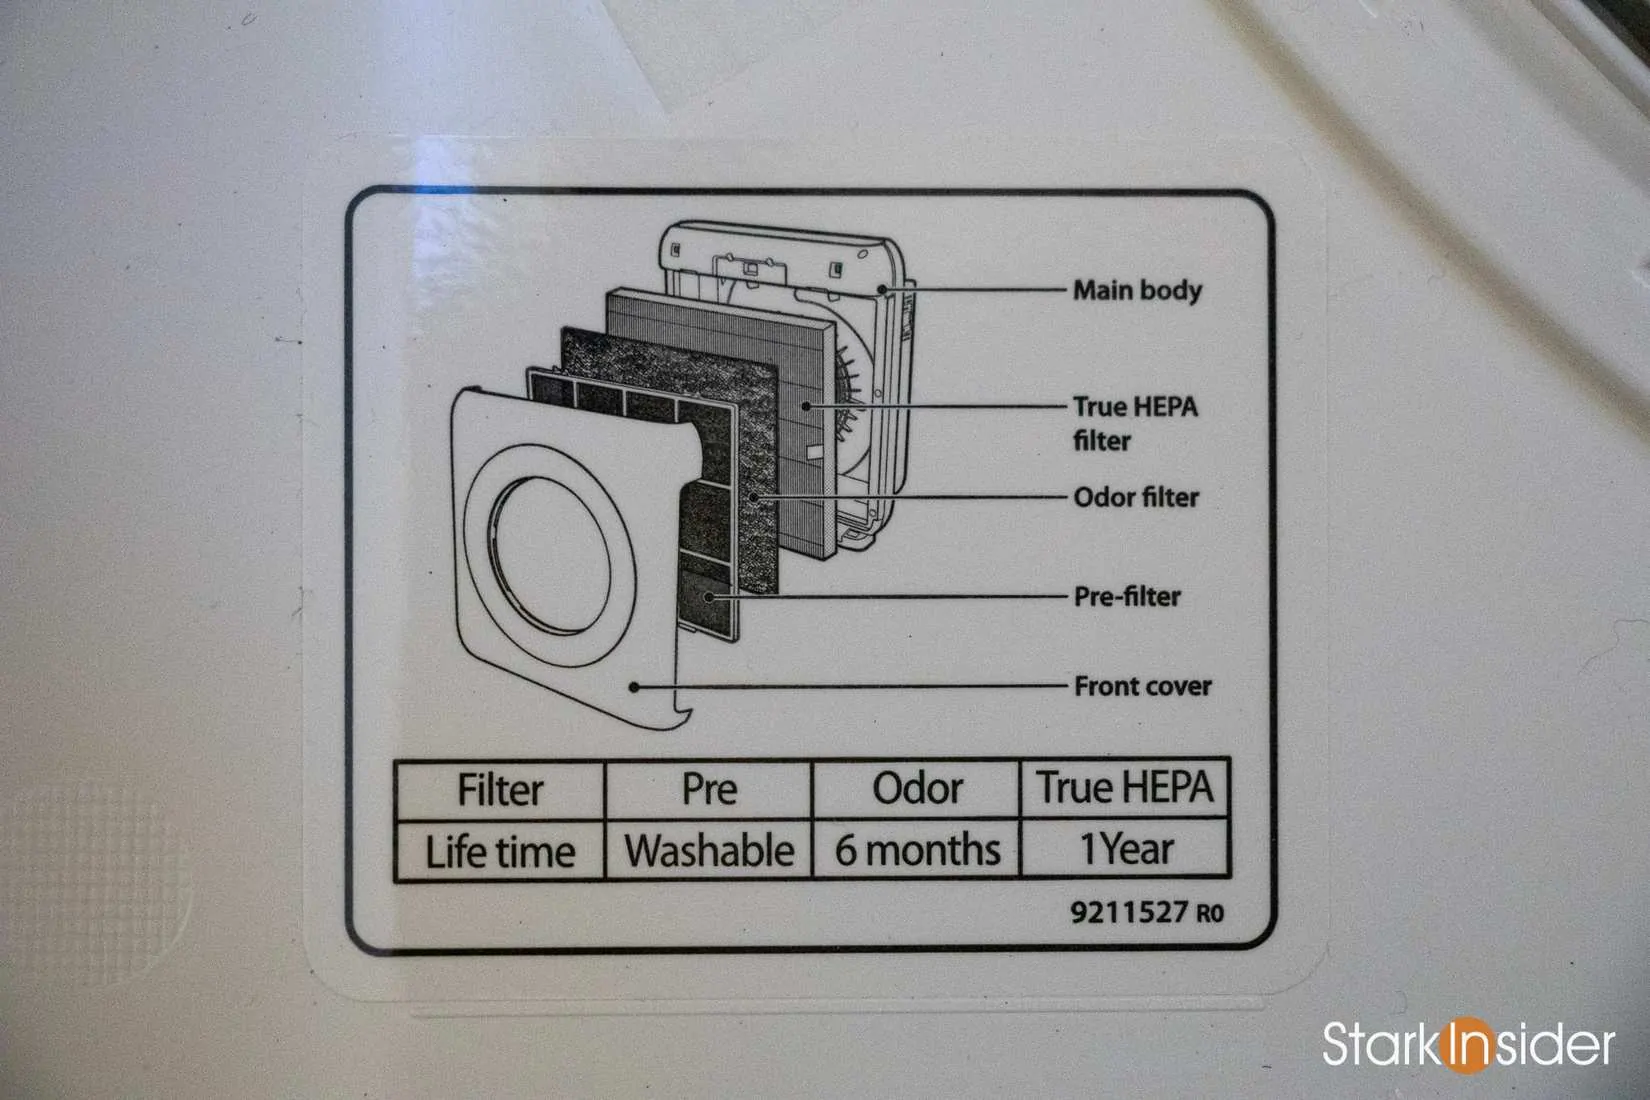
Maintain Your HEPA Filter Correctly

Identify When HEPA Filter Needs Attention
Hold your HEPA filter up to bright light monthly. If light doesn’t pass through evenly, or you see visible gray/black discoloration throughout, replacement is needed. Never wash HEPA filters—moisture destroys their microscopic filtration structure permanently.
Safe HEPA Filter Surface Cleaning Method
When the filter indicator hasn’t activated but you notice light dust:
– Use vacuum’s brush attachment on lowest setting
– Vacuum both sides with gentle, overlapping strokes
– Focus on pleated areas where particles collect
– Replace immediately if any moisture contact occurs
HEPA Filter Replacement Timeline
Replace HEPA filters every 12-18 months under normal use. Heavy smoke exposure, pet dander, or high pollution environments may require replacement every 6-12 months. Document your filter condition with photos to track performance degradation.
Reactivate Your Carbon Filter Effectively
Monthly Carbon Filter Sunning Procedure
Restore your activated carbon filter’s odor-absorbing power by:
– Removing the carbon filter monthly
– Placing in direct sunlight for 2-3 hours
– Rotating every 30 minutes for even exposure
– Avoiding temperatures above 100°F (38°C)
Recognize When Carbon Filter Needs Replacement
Replace carbon filters every 6 months (3 months for heavy use) when:
– Sunlight treatment no longer eliminates odors
– Carbon appears saturated (dark throughout)
– Smoke or chemical odors persist despite cleaning
– You notice reduced air quality improvement after cleaning
Deep Clean Your Coway Air Purifier Unit
Weekly Exterior Cleaning Routine
- Wipe exterior surfaces with slightly damp microfiber cloth
- Clean air intake and output grills using brush attachment
- Use mild soap solution for stubborn marks
- Avoid excess moisture on control panels and sensors
- Dry immediately to prevent water spots or damage
Quarterly Interior Deep Cleaning Steps
- Remove all filters to access internal chamber
- Vacuum interior walls using crevice tool
- Wipe surfaces with barely damp cloth
- Clean fan blades gently with soft brush
- Use compressed air for stubborn dust in hard-to-reach areas
- Ensure complete dryness for 24 hours before reassembly
Sensor Cleaning for Air Quality Models
- Locate sensor housing (usually rear panel)
- Clean window with isopropyl alcohol on cotton swab
- Allow 5-10 minutes for complete evaporation
- Recalibrate sensor via settings menu if available
- Never use water or household cleaners on sensors
Fix Common Post-Cleaning Problems
Restore Reduced Airflow After Cleaning
If your Coway air purifier seems weaker after cleaning:
– Verify pre-filter is completely dry
– Check proper filter seating in tracks
– Ensure front panel fully latches
– Look for obstructions in air intake
– Reset filter indicator using model-specific button combination
Eliminate Persistent Odors After Cleaning
- Replace carbon filter even if within replacement timeframe
- Clean interior with diluted vinegar solution (1:3 vinegar to water)
- Run unit on highest setting in empty room for 2 hours
- Check for mold in humid environments behind filters
Handle Model-Specific Cleaning Variations
Coway Airmega Series Specifics
- Pre-filter: Top-access design, slides forward
- HEPA: Green filter marked with model number
- Carbon: Black mesh, interlocks with HEPA
- Sensor: Right side panel requires regular cleaning
- Filter reset: Hold “Filter Reset” button for 3 seconds
Coway Mighty Series Cleaning Tips
- Permanent washable pre-filter requires thorough drying
- Green “Max2” HEPA designation indicates dual filtration
- Combined HEPA/carbon cartridge simplifies replacement
- Center display needs gentle cleaning to maintain visibility
- Ionizer: Clean with dry cotton swab only if equipped
Follow This Proven Cleaning Schedule
Weekly Maintenance Tasks
- Quick exterior wipe-down
- Check air quality indicator response
- Vacuum intake grill
- Verify normal operation sounds
Monthly Critical Tasks
- Full filter inspection
- Carbon filter sunning
- Sensor cleaning (if equipped)
- Performance verification test
Verify Your Cleaning Was Successful
Post-Cleaning Performance Tests
- Airflow test: Tissue paper should draw strongly to output
- Noise comparison: Should match baseline levels from when new
- Air quality response: Indicator should react quickly to changes
- Timing: Room air should improve noticeably faster than before cleaning
Filter Installation Double-Check
- All arrows point in correct airflow direction
- No gaps between filter and housing
- All access panels secure and latched
- Filter indicator resets properly after installation
Essential Maintenance Tips for Longevity
Document your cleaning schedule by taking photos of filter conditions and noting replacement dates. This creates a performance baseline and helps with warranty claims. Always use genuine Coway filters to maintain your warranty and ensure optimal performance. For homes with pets or allergy sufferers, increase pre-filter cleaning to weekly and consider replacing filters 25% earlier than standard timelines.
Your clean Coway air purifier will reward you with quieter operation, lower energy bills, and most importantly, cleaner air for you and your family. Proper maintenance extends your unit’s lifespan by 3-5 years while keeping your indoor air quality consistently excellent.


