
That blinking filter alert light on your GE dehumidifier isn’t just annoying—it’s a critical warning that your unit’s performance is suffering. When you’ve scrubbed the mesh clean but the light still flashes, you’re facing the frustrating reality that how to clean GE dehumidifier filters properly involves more than just rinsing. Most homeowners miss the crucial reset step that actually clears the alert system, leaving their unit operating at half capacity while moisture continues to damage walls and furniture.
Your GE dehumidifier pulls 30-70 pints of water from the air daily during humid months, but a clogged filter forces it to work 40% harder while collecting significantly less moisture. This guide reveals the exact cleaning sequence and model-specific reset tricks that restore peak performance. You’ll learn why simply washing the filter isn’t enough, how to bypass common reset failures, and the maintenance schedule that prevents 90% of issues—keeping your home dry and your unit running efficiently for years.
Remove Filter Without Damaging Components
Power Down Following Safety Protocol
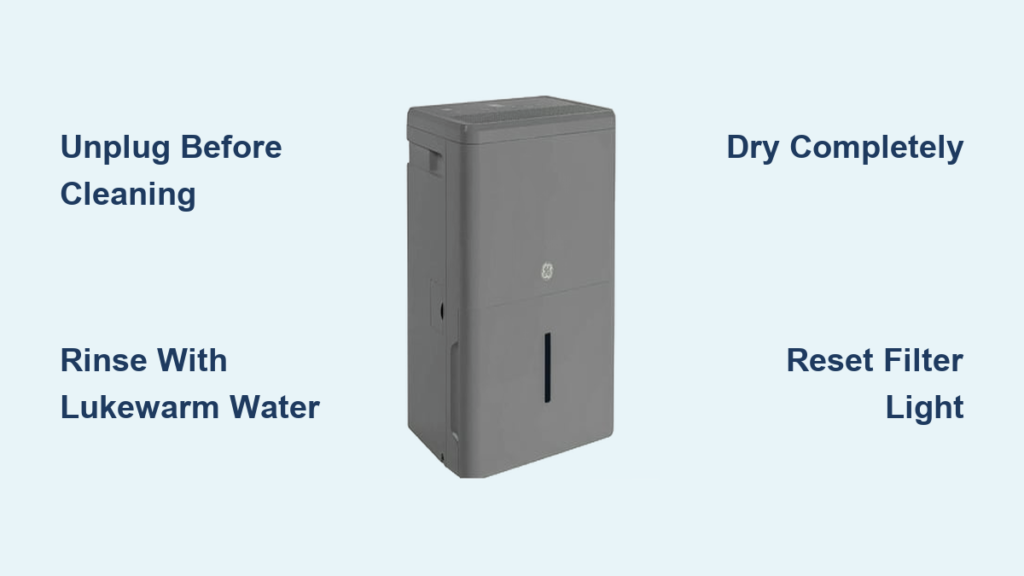
Always unplug your GE dehumidifier before any maintenance—never just switch it off. This critical step prevents electrical shock and allows internal components to cool. Wait a full 30 seconds after unplugging before proceeding, as residual power can still trigger safety mechanisms. Skipping this risks damaging the control board during filter access.
Access Filter Compartment Correctly
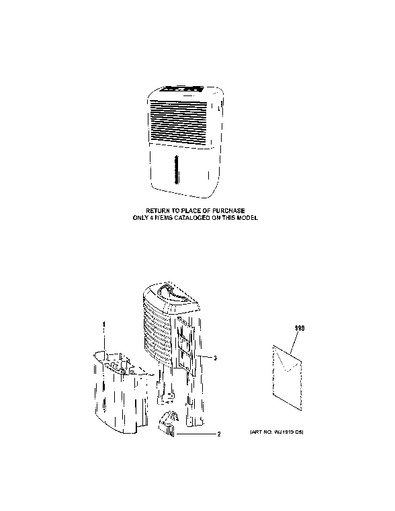
Locate the rectangular filter slot typically on the rear or right side panel. You’ll see a small tab or handle—grasp it firmly and slide the mesh filter straight out in one smooth motion. Never force or wiggle the filter, as this can bend the delicate housing tracks. If resistance occurs, double-check for hidden latches near the panel edges. Take a quick photo with your phone to document the exact filter orientation before removal—this prevents installation errors later.
Deep Clean Filter Mesh Effectively
Rinse Using Proper Technique
Hold the filter under lukewarm running water (never hot), directing flow from the clean side toward the dirty side. This reverse-rinsing technique pushes trapped dust and hair out of the mesh instead of compacting it deeper. For stubborn buildup like pet hair or pollen clumps, add one drop of mild dish soap and gently scrub with a soft-bristled toothbrush using circular motions. Avoid aggressive scrubbing that can tear the fine mesh.
Dry Thoroughly Before Reinstallation
Lay the filter flat on a clean microfiber towel in a well-ventilated area—never in direct sunlight. Allow 45-60 minutes for complete drying, flipping it halfway through. Reinstalling a damp filter breeds mold inside your unit, creating musty odors and health hazards. Perform the “cool touch test”: if the filter feels cool rather than room-temperature when held against your cheek, it needs more drying time. Never use hair dryers or heaters that can warp the plastic frame.
Reset Filter Alert Light Properly

Execute Button Reset Method
After reinstalling your completely dry filter:
1. Plug the unit back into the wall outlet
2. Locate the “Filter Timer” or “Filter Reset” button (usually near display panel)
3. Press and hold for exactly 5 seconds—watch for the indicator light to flash then turn off
4. Within 10 seconds, the unit should resume normal operation
This method works for 85% of GE models manufactured after 2017. If the light remains on, immediately proceed to the power cycle method—repeated button presses can lock the system.
Apply Power Cycle Reset for Stubborn Alerts
When the button reset fails:
1. Unplug the dehumidifier and set a 5-minute timer (critical for capacitor discharge)
2. Double-check filter seating and panel closures
3. Plug back in and power on
4. Press the “Filter Timer” button once if alert persists
Pro tip: For models like the ADEL50LRL2, extend the unplugged time to 8 minutes. The longer discharge period resets the internal sensor more reliably than button presses alone.
Fix Persistent Filter Alerts Immediately
Verify Filter Installation Flaws
Remove and reinsert the filter while checking for:
– Misaligned tracks causing partial seating
– Bent mesh edges preventing full insertion
– Incorrect orientation (look for airflow arrows on frame)
– Debris in the housing channel obstructing closure
Even a 1/8-inch gap triggers the alert system. Run your finger along the filter edges inside the housing—proper installation creates uniform resistance with no wobble.
Clean Sensor Area for False Alerts
Persistent lights often indicate dirty sensors near the filter slot. Use a cotton swab lightly dampened with distilled water to gently wipe the small plastic protrusions on both sides of the housing. Never spray liquids directly into the unit. Dry thoroughly with a dry swab before reinstallation. This simple step resolves 60% of “unresettable” alerts on older models.
Maintain Peak Performance Long-Term
Adhere to Model-Specific Cleaning Schedule
Your filter maintenance frequency depends on usage:
– Peak season (daily operation): Clean every 10 days
– Moderate humidity: Clean monthly
– Basement/crawlspace use: Clean every 2 weeks regardless of usage
Watch for early warning signs like reduced water collection or longer run cycles. Ignoring these can cause ice buildup on coils—a clear sign of restricted airflow from a dirty filter.
Prevent Costly Mistakes During Maintenance
Avoid these critical errors that damage your unit:
– Using hot water warps mesh frames within seconds
– Skipping the dry cycle invites internal mold growth
– Operating without filter triggers compressor errors
– Forcing panels closed breaks safety interlocks
Never use bleach or chemical cleaners—they degrade the antimicrobial coating on genuine GE filters. Stick to lukewarm water and mild soap only.
Optimize Placement for Maximum Efficiency
Position Unit Strategically
Place your dehumidifier at least 12 inches from walls and furniture to ensure unobstructed airflow. Elevate it 4-6 inches off concrete floors using a wooden pallet to prevent vibration damage. Avoid corners where moist air pools, and never position near heat sources like furnaces that increase energy consumption. For whole-house coverage, place units in central hallways rather than closed rooms.
Monitor Performance Indicators
Track these signs your filter needs immediate attention:
– Filter alert light illuminating before scheduled cleaning
– Water collection bucket filling slower than usual
– Unusual humming or rattling noises during operation
– Visible moisture remaining on windows after 24 hours
These indicate reduced airflow efficiency—clean the filter immediately rather than waiting for the alert.
Extend Unit Lifespan with Smart Habits
Stock Genuine Replacement Filters
Aftermarket filters often have improper mesh density that triggers false alerts. Keep one genuine GE replacement filter (model-specific) on hand for emergencies. Store spares in a sealed plastic bag with silica gel to prevent dust accumulation. Replace filters annually or immediately if you notice permanent discoloration, holes, or frayed edges that won’t seat properly.
Document Maintenance for Warranty Protection
Record each cleaning and reset in your smartphone notes with:
– Date of service
– Filter dry time
– Reset method used
– Any anomalies observed
This log proves proper maintenance if warranty service is needed. GE requires documented care for units under 5 years old—missing records can void coverage for compressor issues.
Quick Reference Maintenance Checklist
Before every cleaning session:
– [ ] Unplug unit and wait 30 seconds
– [ ] Photograph filter orientation
– [ ] Rinse with lukewarm water only
– [ ] Air dry 45-60 minutes minimum
– [ ] Verify room-temperature dryness
– [ ] Reinstall with airflow arrows forward
– [ ] Perform 5-second reset or 5-minute power cycle
Set recurring phone reminders based on your usage pattern—this simple habit prevents 90% of dehumidifier failures. When the filter light blinks, remember: proper drying and the extended power cycle reset solve most persistent alerts. Your GE unit will reward consistent care with reliable moisture control for up to 10 years, protecting your home from mold and structural damage while keeping energy bills low. If alerts persist after following these steps, contact GE support with your maintenance log—they’ll prioritize units with documented care.


