
That stale, musty odor when your Mooka air purifier kicks on? It’s screaming for immediate filter maintenance. Most users wait until their unit wheezes like an old vacuum before realizing annual filter cleaning isn’t optional—it’s essential for maintaining the 99.97% particle capture your HEPA system promises. This guide shows exactly how to clean Mooka air purifier filters properly to avoid destroying the delicate electrostatic charge that makes them effective.
You’ll learn which filters can survive water exposure (only one type), how to spot replacement warning signs before performance drops, and the critical drying techniques that prevent mold growth in your supposedly “clean” system. Whether you own a GL-FS32, AC-2620C, or E-300L model, this hands-on guide delivers the precise steps needed to restore optimal airflow and purification efficiency in under 30 minutes.
Match Your Mooka Model to Correct Cleaning Method
GL-FS32 Filter System Cleaning Protocol
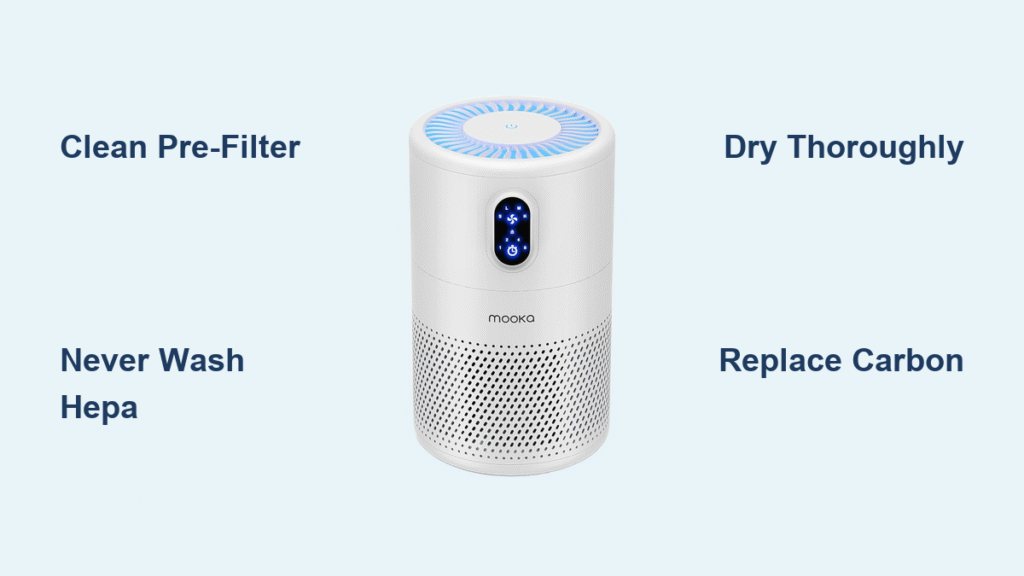
Your three-stage GL-FS32 requires specific handling for each component. The front panel releases via a bottom button—press firmly and slide the entire assembly straight out. You’ll see the washable mesh pre-filter as the first layer, followed by the non-washable HEPA filter, and finally the replaceable carbon layer. Never attempt to wash the HEPA or carbon components on this model—water permanently destroys their particle-capturing capabilities.
AC-2620C UV-C Model Special Requirements
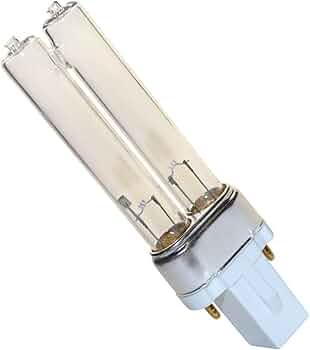
This four-stage system demands extra caution with its UV sterilization chamber. After removing filters, locate the quartz sleeve surrounding the UV bulb—it needs monthly alcohol cleaning but never water exposure. Critical warning: Always wear gloves when handling UV components and never touch the bulb with bare fingers, as skin oils create hot spots that shorten bulb life. Check for the faint blue glow during operation to verify UV functionality after cleaning.
E-300L Compact Unit Filter Access
Snap off the back panel to reveal the all-in-one cartridge design. Unlike other models, the pre-filter detaches separately for washing while the HEPA and carbon layers remain fused. Don’t force separation—these components aren’t designed for individual cleaning. The compact size means less drying space, so lay the pre-filter flat on a microfiber cloth away from direct sunlight to prevent warping.
Essential Safety Steps Before Filter Cleaning
Power Down and Cool-Off Procedure
Unplug your Mooka completely and wait a minimum of 30 minutes before touching internal components. UV-C bulbs retain heat significantly longer than expected—rushing this step risks serious burns. For ozone-generating models, wait 60 minutes to allow residual ozone to dissipate completely before opening the unit.
Workspace Setup for Mess-Free Cleaning
Clear a flat surface larger than your air purifier unit and lay down 2-3 microfiber cloths to catch debris. Keep your handheld vacuum within immediate reach—filter pieces become slippery when damp. Position yourself near an open window if possible, as carbon filters release trapped odors during handling that can trigger sensitivities.
Required Tools for Proper Mooka Filter Cleaning
- Handheld vacuum with brush attachment (use lowest suction setting)
- Soft paintbrush (never substitute wire brushes that damage filter fibers)
- Three microfiber cloths minimum (one for cleaning, two for drying)
- Fragrance-free dish soap (2-3 drops maximum for pre-filter washing)
- Lukewarm water only (hot water melts filter adhesives)
- Timer for tracking critical drying periods
- Phone flashlight for inspecting hidden debris in filter tracks
Clean Pre-Filter Step-by-Step Without Damage
Remove and Initial Debris Removal
Slide out the mesh pre-filter—it’s always the front-most layer. Hold it horizontally over your trash can and tap gently against your palm to dislodge large particles. Never whack it against hard surfaces; the mesh tears easily and compromises its particle-capturing ability. For pet hair buildup, use your fingers to loosen clumps before vacuuming.
Vacuum Both Sides Thoroughly
Use the lowest suction setting on your handheld vacuum. Hold the nozzle 2-3 inches away from the filter surface to prevent stretching the mesh. Work in straight lines across the entire surface, not circles, which create uneven cleaning. Focus extra attention on the outward-facing side—this catches 80% of pet hair and large particles before they reach the HEPA layer.
Wash and Rinse Process
Rinse under lukewarm running water first to remove loose debris. Apply 2-3 drops of mild soap to a damp microfiber cloth—never pour soap directly on the filter. Gently scrub both sides using light circular motions, focusing on discolored areas. Rinse until water runs completely clear, typically 2-3 minutes. Pro tip: Hold the filter up to light to check for remaining debris pockets.
Critical Drying Phase
Air dry flat for 6-8 hours minimum on a clean microfiber cloth. Speed up drying with a cool hair dryer held 6 inches away for 15-20 minutes, rotating the filter every 5 minutes. Never reinstall damp—moisture breeds mold within 24 hours in the HEPA layer beneath. Test dryness by pressing a dry cloth against the filter; no moisture should transfer.
HEPA Filter Care Rules You Must Follow

Vacuum-Only Maintenance Technique
HEPA filters lose their electrostatic charge permanently when wet. Hold your vacuum 2-3 inches from the filter surface. Use straight-line motions on the dirty air intake side only—never circular motions that damage fibers. Limit vacuuming to 3-4 cleaning cycles before replacement becomes mandatory, regardless of appearance.
Replacement Warning Signs You Can’t Ignore
Dark spots or visible discoloration mean immediate replacement—these indicate permanent clogging. Reduced airflow after pre-filter cleaning signals a saturated HEPA layer. Persistent odors that the carbon filter can’t absorb also indicate replacement time—typically every 6-8 months for average use, but only 3-4 months in high-pollution environments.
Carbon Filter Limitations and Maintenance

No Washing Allowed—Ever
Activated charcoal loses odor-absorbing capacity permanently when wet. Water collapses the microscopic pore structure that traps volatile organic compounds and smoke particles. If your carbon filter gets accidentally damp, replace it immediately—drying won’t restore its effectiveness.
Revival Attempts (Limited Success)
Place your carbon filter in direct sunlight for 2-3 hours monthly to release some trapped odors. This extends lifespan by 10-15% maximum. Rotate the filter 180 degrees halfway through exposure for even “recharging.” Warning: Never use heat sources like ovens or hair dryers—these destroy carbon structure.
Deep Clean Filter Housing for Maximum Performance
Weekly Quick Clean Routine
Vacuum the interior using your crevice tool to remove accumulated dust around filter tracks. Wipe plastic surfaces with a barely damp microfiber cloth—no cleaning solutions needed. Check intake and output vents for obstructions using your phone flashlight. Spend 2 minutes maximum on this quick maintenance to prevent performance degradation.
Monthly Thorough Cleaning
Remove all filters first. Vacuum every internal surface thoroughly, paying special attention to corners where dust accumulates. Disinfect plastic areas with a 50/50 water and white vinegar solution applied to a microfiber cloth. Allow 1-2 hours for complete drying before reinstalling filters—moisture in the housing damages electrical components.
Common Cleaning Mistakes That Destroy Filters
HEPA Washing Disasters
Water destroys HEPA effectiveness permanently by collapsing the fiber structure and eliminating electrostatic charge. Once wet, replacement becomes the only option. If you accidentally get your HEPA filter damp, replace it immediately—don’t wait for performance issues.
Incomplete Drying Issues
Reinstalling a slightly damp pre-filter creates perfect mold breeding conditions between the filters. Always err on the side of longer drying times—overnight drying beats dealing with mold remediation later. Test dryness thoroughly: press a dry cloth against all surfaces; any moisture transfer means more drying time needed.
Maintenance Schedule Optimization for Your Lifestyle
Pet Households Filter Cleaning Strategy
Clean pre-filters every 2 weeks due to accelerated hair accumulation. Replace HEPA filters every 4-5 months instead of the standard 6-8. Carbon filters need replacement every 2 months for persistent pet odors. Keep spare filters on hand to avoid purification gaps during cleaning cycles.
Allergy Sufferers Critical Cleaning Protocol
Monitor daily performance and clean at the first sign of reduced efficiency—don’t wait for scheduled maintenance. Keep spare filters on hand to avoid downtime during peak allergy seasons. Run your Mooka on high for 10 minutes daily to prevent moisture buildup that triggers mold growth.
Clean filters transform your Mooka from a wheezing dust blower back into the 99.97% particle-capturing powerhouse you paid for. Mark your calendar now for monthly pre-filter cleaning and schedule HEPA replacements—you’ll notice the difference in air quality and save 5-10% on energy costs with properly maintained filters. Your lungs (and wallet) will thank you next month when the cleaning reminder pops up.


