
Your Winix air purifier battles dust, pollen, and pet dander 24/7, but when performance drops and that red filter light glares at you, a full cleaning session is overdue. Instead of replacing your unit, a targeted 30-minute cleaning restores peak airflow and extends your purifier’s lifespan—saving you hundreds. This guide delivers the exact steps to clean any Winix model, from the popular 5500-2 to the sleek AM90. You’ll discover which components wash safely, which require vacuuming only, and which demand special care to avoid damage. Let’s get your air purifier breathing easy again with professional-grade techniques.
Unplug and Discharge Before Any Cleaning
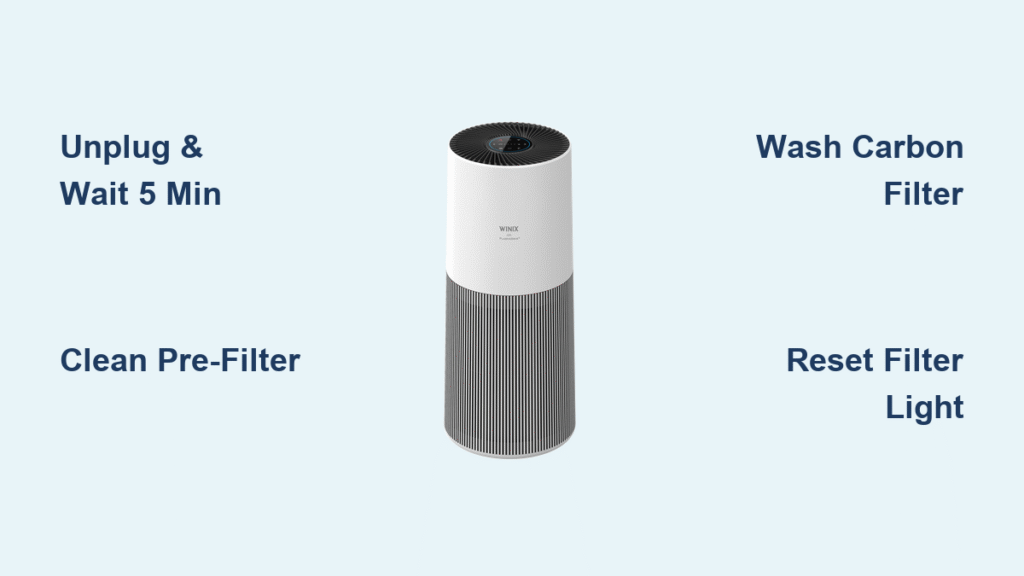
Never skip this critical safety sequence—residual voltage in electronics can cause shocks even after power-off. Start by turning your Winix unit OFF at the control panel, then physically unplug it from the wall outlet. Wait exactly five minutes to allow internal capacitors to discharge completely. Rushing this step risks electrical injury.
During this cooldown period, prepare your workspace on a clean, flat surface covered with a microfiber towel to prevent scratches on the glossy housing. Keep all tools within arm’s reach—scrambling for supplies mid-clean risks contaminating freshly cleaned parts or accidentally bumping the unit.
Safety non-negotiables:
– Confirm unit is unplugged for ≥5 minutes
– Verify no moisture near electrical components
– Keep children/pets away from workspace
– Never use bleach or ammonia-based cleaners
Gather Winix-Specific Cleaning Tools
Generic cleaners leave residue that fouls sensors and voids warranties. Assemble this exact toolkit based on Winix’s specifications:
Must-have items:
– Anti-static nylon brush (for grill fins)
– Lint-free microfiber cloths (300 GSM minimum)
– Handheld vacuum with low-suction setting
– pH-neutral dish soap (no fragrance)
– Distilled water (prevents mineral spots)
– Cotton swabs (100% cotton)
– 70% isopropyl alcohol wipes (exterior only)
Pro Tip: Shine a flashlight into filter tracks while cleaning—dust hides in crevices invisible under normal lighting. Skip compressed air cans near electronics; they can force debris deeper into sensitive components.
Match Cleaning Steps to Your Winix Model

Your model dictates specific access points—check the label on the unit’s back before proceeding:
Critical model differences:
– 5500-2: Front grill slides downward; washable carbon mesh filter
– C545: Rear grill pops off; foam carbon filter requires gentle handling
– A231: Side magnetic grill; carbon filter is disposable only
– AM90: Top grill lifts off; touchscreen requires special sensor care
All models share identical internal components behind the grill: permanent pre-filter, non-washable HEPA cartridge, and PlasmaWave emitter. Never force grills—slide, pop, or lift per your model’s design to avoid breaking clips.
Clean Intake Grills Without Damage
Weekly Dusting Technique
Surface dust chokes airflow before it reaches filters. Always dry-dust weekly:
- Hold your soft-bristle brush at a precise 45° angle to grill fins
- Sweep against the grain to lift dust outward (never push inward)
- Follow with handheld vacuum on LOW setting, holding nozzle 1-2 cm away
- For control panels, dampen (don’t soak) a microfiber cloth with distilled water
Warning: Spraying liquids directly onto panels risks moisture seeping into circuitry. Wipe sensors weekly with a dry microfiber cloth to maintain accurate air quality readings.
Deep Clean Pre-Filter Properly
Vacuum First, Wash Only When Necessary
Your pre-filter traps large particles and needs bi-weekly vacuuming:
- Release grill per your model (slide down/pop/lift)
- Remove filter by grasping the tab—never bend or twist
- Vacuum on LOW setting from 1-2 cm above mesh (prevents stretching)
- Inspect for tears or sagging indicating replacement time
When washing is required (monthly or when vacuuming fails):
– Rinse under lukewarm water only—no soap for carbon mesh types
– For greasy residue: 1 drop mild soap in 500ml water, soak ≤5 minutes
– Dry vertically for 24 hours on a towel—any moisture breeds mold
– Reinstall with arrow on filter frame matching airflow direction inside unit
Handle Carbon Filters Correctly

Washable vs. Disposable Carbon Types
Washable mesh (5500-2/AM90):
– Rinse under cool water only—soap strips activated carbon granules
– Pat between towels; air-dry 12 hours away from direct sunlight
Disposable sheets (A231):
– Never wash—replaces every 3 months regardless of appearance
– Washing destroys odor-absorbing properties permanently
Replacement trigger: Persistent cooking/smoke odors despite clean pre-filter and HEPA signal exhausted carbon.
HEPA Filter Handling Rules You Must Follow

Never Wash True HEPA Filters
Water destroys the delicate fiber matrix that traps microscopic particles. Instead:
Critical inspection points (every 3 months):
– Gray discoloration covering >50% of pleat surface
– Increased fan noise on Turbo setting
– Filter indicator light stays red after reset
Installation mistake to avoid: Colored gasket must face outward with white side toward the unit interior. Reverse installation creates dangerous back-pressure and loud operational noise.
Deep Clean PM2.5 Sensors Quarterly
Laser Sensor Maintenance Protocol
Clogged sensors cause false air quality readings. Clean every 3 months:
- Locate the small “PM2.5” vent (usually rear/side) and remove dust cap with a fingernail
- Dip cotton swab in 70% isopropyl, squeeze until barely damp
- Swipe lens in one direction only (circular motions scratch coatings)
- Vacuum intake tunnel with narrow nozzle (insert ≤1 cm)
Pro Tip: Clean immediately after wildfire season or home renovations when particle loads spike—this prevents false “poor air quality” alerts.
PlasmaWave Emitter Cleaning Only When Needed
Needle Electrode Care Protocol
This component rarely needs cleaning—only address if amber indicator blinks:
- Power down and unplug for ≥10 minutes (longer discharge time required)
- Use short compressed air bursts from 10 cm distance
- Never touch needles—they break easily requiring professional replacement
White residue on needles indicates normal ozone by-product accumulation; don’t attempt manual removal.
Reset Filter Indicators After Cleaning
Model-Specific Reset Methods
Physical button models (5500-2/C545):
– Press and hold reset button for 5 seconds until red turns green
Touchscreen models (AM90):
– Navigate Settings → Filter → Reset → Confirm
Critical post-reset test: Run on High for 2 minutes—any recurring red light means reinstall filters correctly or repeat reset.
Sensor recalibration: After major cleaning, place unit in closed room for 30 minutes, then hold Mode + Timer for 5 seconds until fan cycles through speeds.
Follow This Maintenance Schedule
Stick to these timeframes for optimal performance:
| Task | Frequency | Time Required |
|---|---|---|
| Exterior dusting | Weekly | 2 minutes |
| Pre-filter vacuum | Bi-weekly | 5 minutes |
| Pre-filter wash | Monthly | 15 min + dry time |
| Carbon filter care | 3 months | 10 minutes |
| HEPA replacement | 12 months | 5 minutes |
Fix Common Post-Cleaning Issues
Red light won’t reset: Hold button for full 5 seconds—partial presses fail
Musty odor after cleaning: Pre-filter wasn’t fully dry; remove and dry 24+ hours
Loud fan noise: HEPA installed backwards—flip white side toward unit interior
Sensor stuck at 500 AQI: Dust cap missing or sensor window still dirty
Amber PlasmaWave blink: Emitter needs compressed air cleaning—follow quarterly procedure
Warranty Protection Essentials
Disassembling beyond filter housing (e.g., opening fan compartment) voids your 2-year warranty. Never use bleach or ammonia—residue off-gases and creates false sensor readings that trigger unnecessary service calls. Keep all filters away from children; HEPA fibers can cause skin irritation, and small parts pose choking hazards.
Your Winix air purifier now operates at factory-fresh efficiency. Set phone reminders for monthly pre-filter cleaning and annual HEPA replacement—you’ll enjoy cleaner air with 30% lower energy consumption. When that replacement time arrives, you’ll swap filters in five minutes flat, extending your unit’s life for years.


