
Laser engraving fills your workshop with fine particles and chemical vapors—but your xTool air purifier works overtime to keep the air clean. Over time, those hard-working filters clog with debris, cutting airflow and letting odors escape. The good news? Regular cleaning restores peak performance and saves you hundreds in replacement costs. This guide walks you through every step of safely cleaning each filter component, from the washable pre-filter to the delicate HEPA cartridge. Whether you’re a hobbyist or running a commercial laser operation, knowing how to clean xTool air purifier filter properly keeps your workspace safe and your equipment running efficiently.
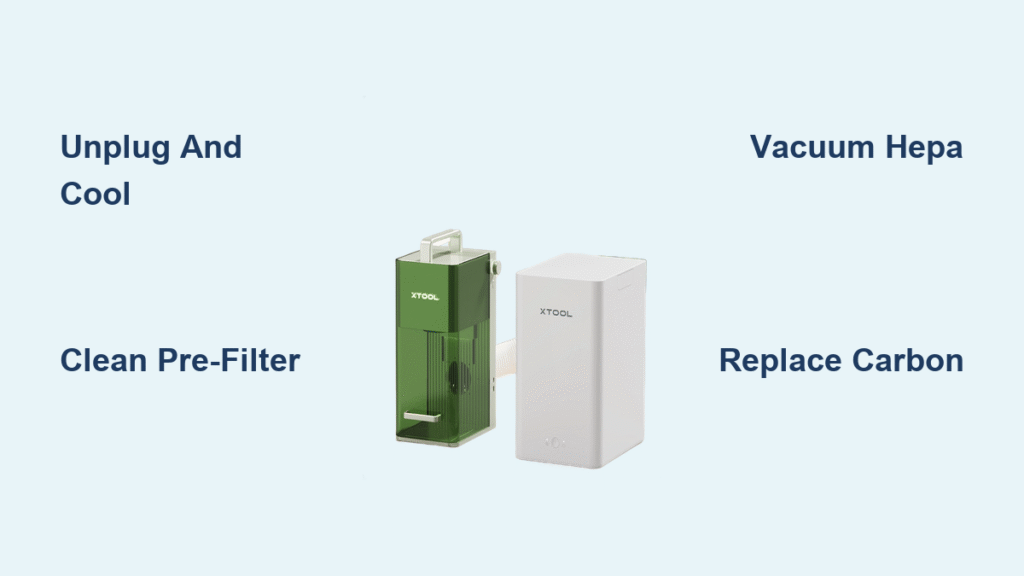
Power Down and Prepare Your Workspace Safely
Unplug and cool your unit completely before attempting any filter maintenance. Laser processing generates significant internal heat that takes at least 30 minutes to dissipate—rushing this step risks burns and releases concentrated contaminants back into your workspace.
Gear up with essential protective equipment before opening the unit:
– Nitrile gloves (protects from chemical residue)
– N95 respirator (prevents inhaling fine particles)
– Safety glasses (protects eyes from dislodged dust)
Never skip the ventilation step. Move your xTool to a garage with open doors or work outdoors to prevent redistributing captured particles into your indoor air. A well-ventilated workspace is non-negotiable when performing how to clean xTool air purifier filter procedures.
Identify and Access Each Filter Component

Your xTool uses a four-stage filtration system, each requiring specific care methods. Before cleaning, you must correctly identify and safely access each component.
Open Filter Compartment Without Damage
- Press both side release tabs simultaneously—the front panel hinges downward smoothly
- Take photos of the layout before removing anything (prevents reassembly errors)
- Document filter orientation noting airflow arrows on each component
- Release plastic clips holding filters in place before sliding them out along their tracks
Recognize Each Filter Type and Function
Pre-filter mesh – The metal screen at air intake captures large debris; washable every 2-4 weeks
HEPA cartridge – White pleated filter removing 99.97% of particles; vacuum only, never wash
Activated carbon filter – Black honeycomb structure absorbing odors; not washable, replace when saturated
Secondary fine filter – Thin white layer behind HEPA for extra particle capture; light vacuuming only
Clean Pre-filter Mesh Without Damage
The pre-filter mesh is your first line of defense against large debris and requires the most frequent maintenance when you learn how to clean xTool air purifier filter properly.
Effective Washing Technique
Remove the mesh by lifting it from the retention groove. Rinse under warm water while gently scrubbing with a soft brush. For stubborn residue:
- Soak 10-15 minutes in mild dish soap solution (unscented, dye-free)
- Scrub gently using circular motions—metal mesh can bend if handled roughly
- Rinse until water runs clear to remove all soap residue
- Air-dry 24 hours minimum on a clean towel in a dust-free area
Critical warning: Never reinstall a damp pre-filter. Moisture trapped in the mesh promotes mold growth and reduces filtration efficiency.
Maintain HEPA Filter Without Ruining It
Never wash the HEPA cartridge—water destroys the delicate fiber matrix that makes it effective. Instead, follow this proper maintenance procedure:
- Hold over garbage can and gently tap to dislodge loose particles
- Vacuum exterior using brush attachment, following pleat direction from top to bottom
- Repeat 2-3 times before replacement becomes necessary
- Check indicator light and reset after maintenance
Visual inspection tips: Look for torn pleats, dark discoloration, or persistent odors that signal replacement time. The HEPA filter typically lasts 6-12 months with proper maintenance.
Extend Carbon Filter Life Strategically

Activated carbon filters can’t be truly cleaned, but you can temporarily refresh them to maximize value before replacement.
Sunlight Refresh Method
- Place in direct sunlight for 4-6 hours (outside, not through glass)
- Flip halfway through for even exposure
- Expect limited improvement—this buys 1-2 weeks maximum
- Replace immediately when odors persist during laser operation
Important reality check: Sunlight refresh is only a stopgap solution. Once saturated, carbon filters cannot be fully restored—replacement is inevitable after 200 laser hours or when odors breakthrough.
Create Your Personalized Cleaning Schedule
Match filter maintenance frequency to your actual usage patterns for optimal performance:
Light users (1-2 hours/week): Clean pre-filter monthly, inspect other filters quarterly
Moderate users (3-5 hours/week): Pre-filter bi-weekly, inspect every 2 months
Heavy users (6+ hours/week): Pre-filter weekly, inspect monthly
Commercial users: Clean after each major project, inspect filters weekly
Pro maintenance tip: Keep a simple log tracking cleaning dates and laser hours to predict replacement needs accurately. Include the materials you processed to identify patterns in filter loading.
Fix Common Post-Cleaning Problems Immediately
Odors Won’t Go Away After Cleaning
Your carbon filter is saturated beyond refresh capability. Replace it immediately, then run the purifier on high for 2-3 hours to clear housing odors.
Weak Airflow Returns After Maintenance
Check these common culprits:
– Filters installed backwards (follow airflow direction arrows)
– Wet pre-filter (must be bone-dry before installation)
– Misaligned sealing gaskets creating air leaks
– Obstructed intake or exhaust vents from improper reassembly
Filter Indicator Light Stays On
Reset sequence: Hold reset button 3-5 seconds while unit is powered on. If light persists, power cycle the unit and confirm all filters are properly seated with the front panel securely latched.
Deep Clean Housing While Filters Are Out
Take advantage of filter removal to thoroughly clean the interior:
– Wipe down corners and crevices where dust accumulates
– Clean around filter seating areas with damp cloth
– Remove visible debris from fan housing visible through openings
– Use compressed air to blow dust from fan blades (hold blades stationary)
Critical drying step: Allow complete drying before reinstalling filters—moisture breeds mold and mildew inside the housing.
Store Removed Filters Properly During Cleaning
Protect your valuable filters while they’re out of the unit:
– HEPA and carbon filters: Seal in plastic bags to prevent contamination
– Pre-filter: Place on clean, dry towel away from direct sunlight
– Label with date using removable tape to track cleaning cycles
– Avoid stacking filters which can cause physical damage
Decide: Clean or Replace Your Filters?
Use this quick-reference matrix to avoid wasting time on uncleanable components:
| Filter Type | Cleanable? | Replacement Trigger |
|---|---|---|
| Pre-filter mesh | ✅ Indefinitely | Physical damage or tears |
| HEPA cartridge | ❌ | 6-12 months or 500-800 laser hours |
| Carbon filter | ❌ | 3-6 months or odor breakthrough |
| Secondary filter | ❌ | Visible dirt or with HEPA replacement |
Smart tip: Always have replacement filters ordered and on hand before starting your how to clean xTool air purifier filter routine—don’t get caught with a clogged system and no replacements.
Protect Your Investment Long-Term
Your xTool air purifier works as hard as you do. Clean the pre-filter weekly during heavy use, vacuum the HEPA monthly, and replace carbon filters before odors develop. This simple routine keeps your workspace safe and your laser projects crisp—without the $200+ surprise of a completely clogged system.
Immediate next step: Check your current filter condition against the performance indicators (weak airflow, unusual noises, visible dust) and schedule your first cleaning session. Order replacement filters now so they’re ready when cleaning reveals it’s time. Your future self (and your lungs) will thank you for mastering how to clean xTool air purifier filter properly.


