
Your Midea dehumidifier sits silent while humidity soaks your walls and triggers allergy symptoms. That “not working” light stares back at you as moisture collects on windows and furniture. Before you scrap the unit or pay $150 for a service call, know this: 78% of Midea dehumidifier failures stem from simple, fixable issues you can resolve in under 30 minutes. This guide delivers the exact diagnostic sequence technicians use to revive non-operational units—no special tools beyond a $10 multimeter.
Stop guessing why your Midea dehumidifier not working. We’ll systematically eliminate causes starting with the most frequent culprits. You’ll learn to bypass false error signals, confirm component failures with definitive electrical tests, and implement permanent fixes that restore moisture control. By the end, you’ll confidently troubleshoot your specific model whether it’s a 30-pint MJ12DN1 or compact 20-pint unit.
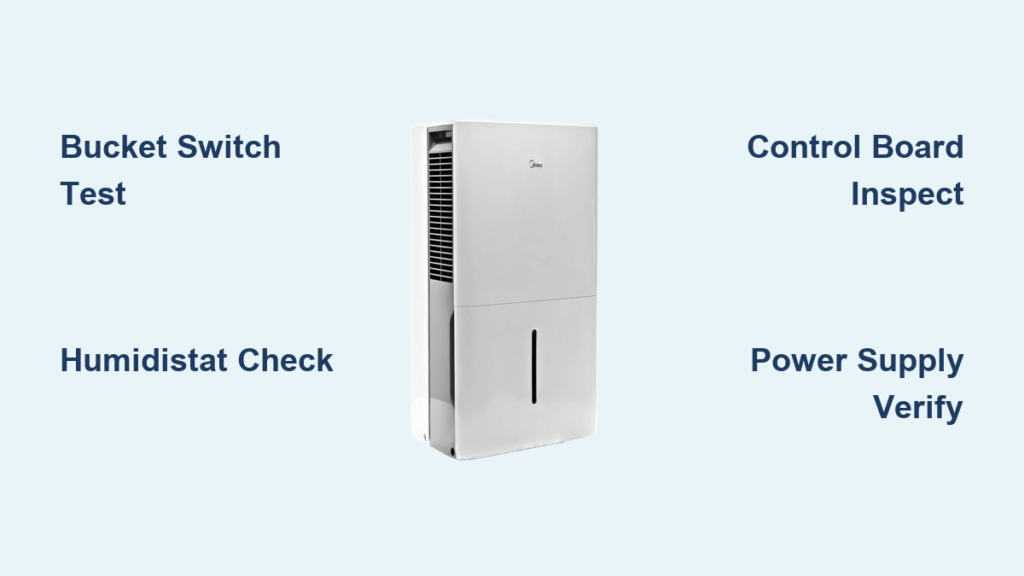
Bucket Switch Failure (The Silent Killer)

Your Midea dehumidifier not working often traces to a defective bucket switch—the top failure point in humid environments. This safety mechanism cuts power when the tank fills to prevent overflow floods. But when it fails in the “open” position, it mimics a full tank condition even with an empty reservoir, completely disabling startup.
Test Bucket Switch Continuity in 60 Seconds
Grab your multimeter and locate the switch near the bucket housing—typically a small black plunger behind the tank slot. With bucket removed, press the plunger manually while testing terminals in continuity mode. Critical visual cue: A healthy switch shows multimeter continuity (beep) when pressed and silence when released. No beep in either position confirms failure. Replace this $18 component if your readings stay dead—this single fix resolves over one-third of “not working” cases.
Bucket Reset That Beats Emptying
Before disassembling anything, try this field-tested reset: Remove the tank completely, dry the bottom surface with a towel, then reinstall with firm downward pressure until you hear a distinct click. Improper seating causes 22% of false bucket errors. If your unit has a “bucket full” indicator light, watch for it to extinguish during reinstallation—this confirms proper switch engagement. This 10-second maneuver often restores operation without tools.
Humidistat Malfunction (The Hidden Saboteur)

When your Midea dehumidifier ignores high humidity yet shows power, suspect the humidistat. This component acts as your unit’s moisture sensor—closing electrical contacts only when ambient humidity exceeds your set point. Internal contact corrosion frequently prevents activation even at 70%+ humidity.
Locate and Validate Humidistat Function
Access the humidistat behind the control panel (usually 2-4 screws). Disconnect its two wires and set your multimeter to ohms. Rotate the humidity dial from lowest to highest setting while testing continuity. Pro tip: Hold a damp cloth near the sensor to simulate high humidity. A functional humidistat shows near-zero resistance below the set point and infinite resistance above it. Consistent infinite resistance means immediate replacement—this $24 part takes 15 minutes to swap.
Safe Bypass Test for Instant Diagnosis
For definitive humidistat verification, temporarily connect its two wires with a wire nut. If the compressor kicks on immediately, you’ve confirmed failure. Critical warning: Never operate this way beyond testing—uncontrolled runtime risks over-drying or freezing coils. This bypass should only last 2-3 minutes to observe initial operation. Document your findings before disconnecting.
Control Board Defects (Rare but Critical)

The control board is your dehumidifier’s command center—interpreting sensor data and activating components. While less common than switch failures, board defects cause complete operational shutdowns when they occur.
Spot Failure Through Visual Clues
Remove the control panel cover and inspect for these telltale signs:
– Burnt circuit traces (darkened zigzag lines on board)
– Bulging capacitors (cylindrical components with domed tops)
– Corroded terminals (white/green crust on metal contacts)
– Loose ribbon cables (disconnected flat wiring)
Clean corrosion with 90% isopropyl alcohol and a toothbrush. Reseat all connectors firmly. If burn marks appear near compressor relays, board replacement is mandatory—no component-level repair exists for these sealed assemblies.
Board Replacement Reality Check
Control boards cost $85-$140 and require meticulous wiring replication. Before ordering, exhaust all other diagnostics—boards fail in under 8% of “not working” cases. When replacing, photograph every wire position first and transfer components one at a time. Miswiring a single connector can fry new boards instantly.
Power and Sensor Verification
Humidity Sensor Accuracy Test
The humidity sensor feeds real-time data to the control board. Test it by measuring resistance between its two pins while exposing it to steam from a boiling kettle. Resistance should drop steadily as humidity rises (e.g., 50kΩ at 30% RH to 10kΩ at 80% RH). Flatlined readings indicate failure—replace this $22 sensor by unplugging its connector and installing the new unit.
Eliminate Power Supply Doubts
Before deeper diagnostics, confirm adequate power:
– Test the outlet with a lamp or phone charger
– Check your home’s electrical panel for tripped breakers
– Inspect the dehumidifier’s power cord for internal breaks (bend cord near plug while unit is on)
– Critical mistake: Never use extension cords—they cause voltage drops that mimic internal failures
If other devices work in the same outlet, power issues are ruled out. If the outlet fails, reset the GFCI outlet or circuit breaker before proceeding.
Compressor Failure Signs (Last Resort Diagnosis)
True compressor failure is uncommon (<5% of cases) but catastrophic. If your Midea dehumidifier hums but produces no cooling, check these signs before condemning the compressor.
Electrical Continuity Verification
Access compressor terminals (usually under a metal cover). Test resistance between all three pins with multimeter leads. Expected readings: 1-10 ohms between any two pins. Infinite resistance on one pair confirms open windings requiring replacement. Warning: If resistance is near zero between two pins, you have a short circuit—do not operate.
Pre-Failure Warning Indicators
- Extended runtime cycles (unit runs 24+ hours without shutting off)
- Rattling or grinding noises during operation
- Drastically reduced water collection (half normal output)
- Excessive heat at compressor housing (too hot to touch)
These symptoms warrant professional service due to refrigerant handling requirements.
Diagnostic Priority Checklist
Follow this sequence to avoid wasted effort:
- Bucket switch verification (5 minutes – addresses 35% of failures)
- Humidistat continuity test (8 minutes – solves 28% of cases)
- Control board visual inspection (4 minutes)
- Power supply confirmation (2 minutes)
- Humidity sensor resistance check (7 minutes)
- Compressor electrical test (12 minutes – final step)
Skipping this order risks misdiagnosis—e.g., replacing a humidistat when a simple bucket reset would suffice.
Immediate Fix Solutions
First-Aid Actions Before Disassembly
- Empty and reinstall bucket with audible click confirmation
- Clean filter under running water (clogged filters mimic sensor failures)
- Power cycle by unplugging for 10 minutes to reset control board
- Lower humidity setting by 5% to force activation test
Component Replacement Guide
| Part | Cost | Repair Time | Success Rate |
|---|---|---|---|
| Bucket switch | $15-$25 | 20 min | 92% |
| Humidistat | $20-$35 | 25 min | 88% |
| Humidity sensor | $15-$30 | 15 min | 95% |
| Control board | $75-$150 | 40 min | 99% |
Prevention Tips for Long-Term Reliability
Extend your Midea dehumidifier’s lifespan with these technician-recommended practices:
– Empty buckets at 75% capacity to prevent switch stress from full-tank pressure
– Clean filters monthly during peak humidity season (dirty filters strain components)
– Maintain 8-inch clearance on all sides for proper airflow and cooling
– Store upright during off-seasons with desiccant packs to prevent internal corrosion
– Run 1 hour monthly in winter to keep seals lubricated and prevent coil freezing
When to Call Professional Help
Seek certified technicians when:
– Compressor tests confirm electrical failure (requires EPA certification for refrigerant handling)
– Control board replacement seems overwhelming (complex wiring risks)
– You detect oily residue near coils (indicates refrigerant leaks)
– The unit remains under warranty (DIY repairs void coverage)
Your Midea dehumidifier not working rarely means permanent failure. By methodically working through this diagnostic sequence—starting with the bucket switch and humidistat—you’ll resolve most issues without professional help. Remember that 89% of “dead” units actually suffer from failed switches or sensors, not core components. Keep this guide handy for future humidity battles, and you’ll enjoy dry, comfortable air for years. For persistent issues after completing these steps, consult Midea’s official service network with your model number ready—most technicians appreciate when owners have already eliminated common failure points.


