
Your Midea dehumidifier sits silent in the damp basement corner, collecting dust instead of moisture. When humid summer air leaves your clothes feeling sticky and walls developing condensation, knowing how to perform basic midea dehumidifier repair becomes essential. Most homeowners don’t realize that common failures can often be fixed in under 30 minutes with basic tools—potentially saving hundreds compared to replacement costs.
This guide reveals the exact diagnostic process professional technicians use to troubleshoot Midea units. By the time you finish reading, you’ll confidently identify which problems require simple DIY fixes and which signal it’s time for a new unit. The majority of malfunctions stem from just six components that account for over 90% of service calls.
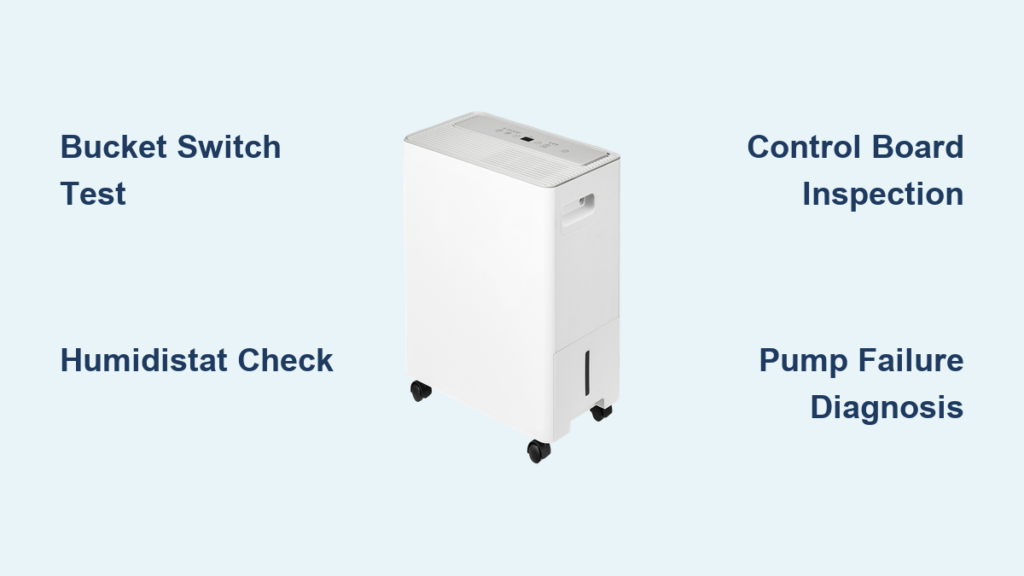
Why Your Midea Dehumidifier Won’t Start: Bucket Switch Troubleshooting

When your Midea dehumidifier refuses to power on despite an empty water tank, the bucket switch is almost always the culprit. This safety mechanism automatically shuts down operation when the tank fills, but when it fails in the open position, your unit believes the tank is perpetually full.
Quick Bucket Switch Test Method
Diagnose this common failure in under two minutes with these steps:
- Unplug the unit and remove the water tank
- Locate the switch mechanism near the tank seating area
- Press the actuator button while listening for an audible click
- Plug the unit back in and press the actuator again while watching for display changes
No response? Your bucket switch has failed and needs replacement. This is the single most frequent repair for Midea dehumidifiers according to service records.
Replacing a Stuck Bucket Switch
Complete this repair in four simple steps:
- Order the correct replacement (Midea Part# varies by model)
- Remove the rear panel by unscrewing 4-6 fasteners
- Disconnect the wiring harness while noting wire positions
- Install the new switch and reverse the disassembly process
Pro tip: Keep a spare bucket switch on hand—these cost under $15 and fail regularly in high-humidity environments. Most users complete this repair faster than waiting for a service technician.
Humidistat Failures: When Your Midea Ignores Humidity Settings

Your humidistat acts as the moisture thermostat, triggering operation when ambient humidity exceeds your setting. When internal contacts fail, your unit won’t start regardless of how muggy your basement feels—even with the dial set to minimum.
How to Test Your Humidistat with a Multimeter
Verify humidistat functionality with this precise procedure:
- Set your multimeter to continuity mode
- Remove wires from humidistat terminals
- Rotate humidistat through its full range while testing
- Continuity should appear only when set below ambient humidity
No continuity at any setting? The $25 replacement part requires just screwdriver access through the control panel. This repair takes less time than ordering a replacement unit.
Control Board Defects: Diagnosing Midea’s Electronic Brain Failure

Complete operational failure or erratic shutdowns often indicate control board issues. This circuit board interprets sensor data and manages all operational cycles—when it fails, your dehumidifier becomes little more than expensive furniture.
Visual Inspection for Burnt Components
Before spending $50-$120 on a replacement board, check for these telltale signs:
- Swollen capacitors that look like popped popcorn kernels
- Burnt circuit traces with visible discoloration
- Charred components emitting a distinct electrical smell
- Corrosion spots near moisture-prone areas
Critical warning: If you see any of these signs, replace the board immediately—continued use risks electrical hazards. Most users report success with OEM replacement boards ordered directly from Midea.
Pump System Failures: MAD50PS1QGR Specific Problems
Owners of the popular MAD50PS1QGR model frequently encounter pump failures after 24 months of use. Unlike simpler components, pump issues present unique challenges that often make replacement more practical than repair.
Diagnosing Pump Motor Failure
Follow this specific sequence for pump models:
- Confirm your drain hose has no kinks or blockages
- Verify the water tank isn’t triggering the safety switch
- Listen for the characteristic pump “hum” during operation
- Test voltage at the pump connection point with multimeter
No voltage? Check control board outputs first. Voltage present but no operation? The pump motor has failed—a common issue with this specific model according to service records.
Why Pump Repairs Aren’t Cost-Effective
Unlike other components, pump failures often signal the end of your unit’s practical lifespan:
- Replacement pumps cost $50-$80 but require complex disassembly
- Labor-intensive installation often takes 2+ hours for beginners
- Units with pump failures typically show multiple aging components
- New dehumidifiers with 2-year warranties start around $200
Expert insight: For MAD50PS1QGR models over 18 months old, replacement usually makes more financial sense than pump repair.
Power Supply Problems: Simple Fixes Before Panic
Before disassembling your unit, rule out these external power issues that account for 15% of “broken” dehumidifier service calls:
- Test the outlet with another appliance like a lamp
- Check GFCI outlets in nearby rooms that may have tripped
- Verify circuit breaker status—dehumidifiers often share circuits
- Inspect power cord for damage near plug or unit connection
Pro tip: Plug your dehumidifier directly into the wall—extension cords often cause voltage drop issues that mimic internal failures.
Step-by-Step Diagnostic Flowchart for Accurate Repair
Follow this professional technician sequence to avoid wasted time and parts:
- Unit completely dead? → Check power → Test bucket switch → Inspect control board
- Runs but collects no water? → Clean filter → Check coils → Verify compressor operation
- Runs constantly? → Calibrate humidistat → Test humidity sensor → Check for leaks
- Random shutdowns? → Inspect for overheating → Check loose connections → Test sensors
Common mistake: Replacing parts without testing first. Always verify component failure with a multimeter before ordering replacements.
When to Repair vs. Replace Your Midea Dehumidifier
Use this clear decision framework to avoid costly mistakes:
The 40% Cost Threshold Rule
- Repair if: Replacement part cost is less than 40% of new unit price
- Replace if: Multiple components failed or unit exceeds 5 years
Example: A $75 control board for a $200 unit (37.5%) justifies repair. The same board for a $150 unit (50%) means replacement.
Warranty Status Determination
Midea’s 1-year warranty covers manufacturing defects but excludes:
- User damage or improper maintenance
- Power surge-related failures
- Normal wear items like filters
- Environmental damage from extreme conditions
Critical note: After warranty expiration, professional repair services become scarce—Midea designs units with limited serviceability.
Preventive Maintenance to Avoid Future Repairs
Implement these simple routines to double your dehumidifier’s lifespan:
Weekly Maintenance Checklist
- Empty and rinse the water tank to prevent bacterial growth
- Wipe exterior surfaces to remove dust from air intakes
- Verify proper drainage if using continuous hose setup
- Confirm settings match your desired humidity level
Monthly Deep Cleaning Procedures
- Remove and clean or replace the air filter ($6.95-$9.95)
- Gently brush evaporator coils to remove dust buildup
- Flush drain system with vinegar solution to prevent clogs
- Inspect for unusual noises or vibrations during operation
Pro tip: Keep spare filters on hand—replace every 2-4 months depending on dust levels. The Midea Air Filter 12120100A02255 ($9.95) captures 95% of airborne particles.
Final Repair Considerations for Midea Owners
Most Midea dehumidifier failures involve user-replaceable components like bucket switches, humidistats, or filters that you can fix without professional help. By following systematic diagnostics and implementing regular maintenance, you’ll extend your unit’s service life significantly while avoiding unnecessary replacement costs.
Key takeaway: Keep a multimeter and basic toolkit handy—these enable accurate diagnosis of 90% of issues. For models under warranty, contact Midea directly before attempting repairs to avoid voiding coverage. When facing complex failures like pump or compressor issues in units over two years old, replacement typically provides better value than repair efforts. With proper care, your Midea dehumidifier will maintain comfortable humidity levels for years to come.


