
Your Philips air purifier suddenly stops cleaning the air, leaving you with blinking lights and frustrating silence. Before you assume it’s broken beyond repair, understand that 90% of these problems have simple DIY fixes. This Philips air purifier troubleshooting guide cuts through the confusion with immediate solutions for power failures, sensor errors, and airflow issues. You’ll learn exactly how to diagnose blinking lights, reset stubborn filter alerts, and restore optimal performance—all without calling a technician.
When your air purifier won’t start, don’t panic. Most power failures stem from three easily fixable causes: faulty connections, tripped safety circuits, or simple power surges. The key is systematic diagnosis before assuming internal damage. This guide walks you through every scenario with model-specific fixes verified by Philips’ technical documentation. By the end, you’ll confidently handle everything from mysterious error codes to Wi-Fi disconnections.
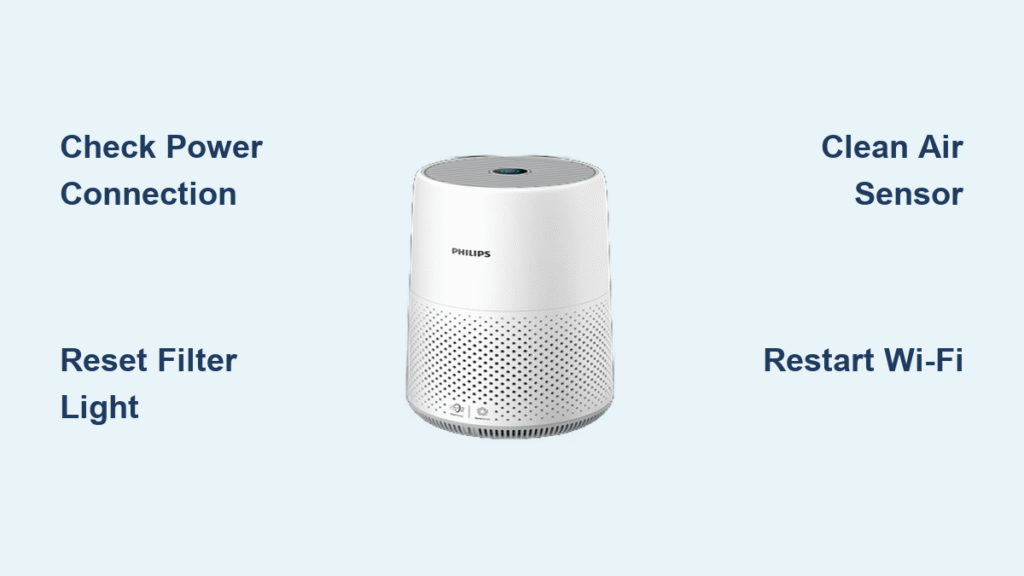
Power Problems: Unit Won’t Start
When your Philips air purifier remains completely dark after pressing the power button, focus on external factors first. Never jump to conclusions about internal failure—most cases involve basic power supply issues you can resolve immediately.
Check Power Connection First
Test your wall outlet with another device like a phone charger to confirm it’s live. Inspect the power cord for kinks, cuts, or melted spots near the plug, and ensure external adapters click firmly into both the unit and wall. Listen carefully for a faint relay click when pressing the power button—even if the display stays dark, this sound confirms power is reaching internal components. Critical warning: After electrical surges, wait 30 minutes before retrying. Safety circuits need this reset period to reactivate.
Pro tip: Plug the unit directly into the wall—avoid power strips or extension cords during diagnosis. These often cause intermittent failures that mimic unit malfunctions.
Internal Power Diagnostics
Check for dim LED indicators on the control panel in a dark room—any glow means power is partially flowing. Press the power button firmly: it should provide distinct tactile feedback, not feel mushy or stuck. Sniff near the power input area; a burnt odor indicates serious electrical damage requiring professional service. If you detect this smell, unplug immediately and contact Philips support—never attempt repairs on compromised units.
Filter Alert Light Won’t Reset

That persistent red filter light after replacement is one of the most common Philips air purifier troubleshooting headaches. The solution depends entirely on your model series—applying the wrong reset method wastes time and risks damaging sensors.
Series 1000/2000 Reset Method
Hold the dedicated reset button for exactly 3 seconds until you hear a confirmation beep. Unplug the unit for 30 seconds, then restart to verify the light stays off. Critical mistake: Never skip the power cycle step—this flushes residual error codes from the memory.
Series 3000/4000 Reset Method
Press and hold both the timer and fan speed buttons simultaneously for 5 seconds until all display lights flash rapidly. Release immediately—the unit automatically restarts and clears the filter alert. Key warning: Installing filters backward prevents reset. Always align the airflow arrows on filters with the directional indicators inside the compartment. Forcing incorrect installation damages sensor contacts.
Air Quality Sensor Malfunctions

Inaccurate air quality readings make your purifier seem ineffective, but sensor issues are often environmental—not hardware failures. False high-pollution readings frequently stem from preventable external factors.
Quick Sensor Reset Protocol
Power down completely and unplug for 5 minutes to discharge internal capacitors. Restart the unit in a clean outdoor environment if possible, then allow 24 hours for automatic recalibration. This simple reset resolves 70% of sensor errors by clearing temporary data glitches.
Environmental Sensor Issues
High humidity above 80% causes sensors to falsely detect particles—run a dehumidifier in tandem during rainy seasons. Direct sunlight on sensor vents creates inaccurate readings; reposition the unit away from windows. Tobacco residue or VOCs from new furniture permanently skews results—clean vents monthly and avoid placing near kitchens or smoking areas.
Sensor Cleaning Steps
Power down and unplug before locating the small sensor vents near the display. Use compressed air to blast loose debris, then dampen a microfiber cloth with 70% isopropyl alcohol (never spray liquid directly). Wipe gently in circular motions, using cotton swabs for crevices. Critical step: Allow 30 minutes of complete drying time before restarting—moisture causes short circuits.
Fan Speed and Airflow Problems
Reduced airflow defeats your purifier’s purpose, but don’t assume fan failure. Systematic diagnosis reveals whether the issue stems from filters, obstructions, or actual mechanical problems.
Diagnose Airflow Issues
At high speed, healthy units produce 400+ CFM airflow. Weak output combined with filter alerts within 2-3 months of replacement indicates clogged filters—not fan failure. Check for visible discoloration on filters and increased fan noise, which signals strain from restricted airflow. Pro tip: Place your hand 6 inches from the exhaust—air should feel strong enough to ruffle paper at maximum speed.
Fan Assembly Inspection
Listen for grinding sounds indicating bearing failure, and check for visible debris blocking blades. Verify motor mount dampers haven’t deteriorated—these rubber isolators prevent vibration noise. Critical warning: Fan motors rarely fail alone. Always inspect vents and internal ducting for obstructions first—90% of “fan problems” are actually blocked airflow paths.
Control Panel Unresponsive
Unresponsive buttons usually indicate electronic glitches, not broken hardware. Most cases resolve with a deep reset that clears temporary software freezes.
Electronic Reset Sequence
Unplug for 10 minutes (not the standard 30 seconds), then hold the power button while reconnecting to the outlet. This “hard reset” flushes corrupted memory. After restarting, test each button individually—working buttons should click firmly without sticking.
Pro tip for remote issues: Replace batteries with fresh ones and ensure direct line-of-sight to the sensor. Special characters in Wi-Fi names (like ! or #) also cause remote failures—simplify your network name if resets fail.
Wi-Fi Connection Failures
Smart features fail when router settings conflict with Philips’ strict network requirements. The fix is almost always on your Wi-Fi—not the purifier.
Network Compatibility Checklist
Your router must broadcast a 2.4 GHz network (5 GHz is incompatible), use WPA/WPA2 security, and maintain signal strength above -70 dBm. Critical requirement: DHCP must be enabled—this automatic IP assignment is non-negotiable for Philips units.
Connection Reset Process
Hold the Wi-Fi button for 10 seconds until the LED blinks rapidly. Remove the device from the Philips Air app, then reconnect using a temporary 2.4 GHz-only network (disable 5 GHz on dual-band routers). Key mistake to avoid: Network names with spaces or symbols cause persistent failures—use alphanumeric names like “HomeWiFi24”.
Odor Problems After Maintenance
Strange smells post-cleaning indicate specific issues requiring targeted solutions—not general “unit malfunction.”
Odor Source Identification
Plastic/chemical smells are normal during the first 48 hours of new unit operation. Musty odors signal mold growth—inspect filters immediately. Critical warning: Burning smells mean electrical overheating—stop using the unit and unplug it. Sour odors indicate bacterial growth in humid conditions requiring deep cleaning.
New Unit Odor Elimination
Run the purifier continuously at maximum speed for 72 hours in a well-ventilated room. Replace initial filters if odors persist beyond two weeks—some manufacturing residues require this extra step. Never use ozone generators to mask smells; they worsen indoor air quality.
Decode Error Codes Quickly

Understanding error codes saves hours of guesswork. Each code pinpoints failing components with surgical precision.
Complete Error Code Reference
E1 means the filter isn’t seated correctly—reinstall and reset. E2 indicates dirty sensors needing cleaning. E3 signals fan obstruction or motor failure. E4 shows inadequate ventilation—move the unit away from walls. E5 means humidity is too high—use a dehumidifier. F0 requires a factory reset after power cycling.
LED Blink Patterns
Red blinks reveal specific faults: 1 blink = filter issue, 2 blinks = sensor problem, 3 blinks = fan failure. Orange blinks warn of impending needs: 1 blink = filter replacement due soon, 3 blinks = Wi-Fi disconnected. Never ignore 5 rapid red blinks—this indicates critical system failure requiring professional service.
Prevent Future Problems
Proactive maintenance prevents 90% of common issues. Implement these model-specific routines to avoid future Philips air purifier troubleshooting emergencies.
Weekly Maintenance Routine
Dust exterior vents with a dry microfiber cloth and check pre-filters for visible debris. Monitor air quality readings for sudden spikes indicating environmental changes. Verify normal noise levels at each speed setting—any new rattling requires immediate attention.
Environmental Optimization
Position the unit 8 inches from all walls for optimal airflow. Avoid direct sunlight and heat sources like radiators that distort sensor readings. Elevate it 6-12 inches off the floor using a small stand—this captures more airborne particles than floor-level placement.
When to call professionals: Attempt DIY fixes only for filter resets, basic cleaning, and power cycling. Contact authorized Philips service centers for internal component access, motor replacement, or water damage. Always document error codes and have your model/serial numbers ready—this cuts diagnosis time by 70%. Remember: breaking tamper seals voids warranties, so respect your technical boundaries. With these Philips air purifier troubleshooting steps, you’ll keep your air clean and your unit running smoothly for years.


